


User’s Manual >>
65
CONNECTING TO A PICTBRIDGE
COMPLIANT PRINTER
If a printer that supports PictBridge is available, images can be printed by
connecting the digital still camera directly to the PictBridge-compatible
printer without using a computer.
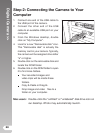
Connecting the camera to the printer
1. Turn on the camera.
2. Slide the mode switch to [
] or [ ].
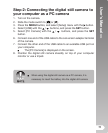
3. Press the MENU button, and select
[Setup] menu with the button.
4. Select [USB] with the / buttons,
and press the SET button.
5. Select [PictBridge] with the /
buttons, and press the SET button.
6. Connect the USB/AV port on the camera and the USB jack on the printer
with the supplied USB cable, then turn on your printer.
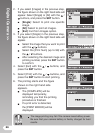
Printing images
When the camera is properly connected to a PictBridge compliant printer, the
PictBridge menu is displayed on the monitor.
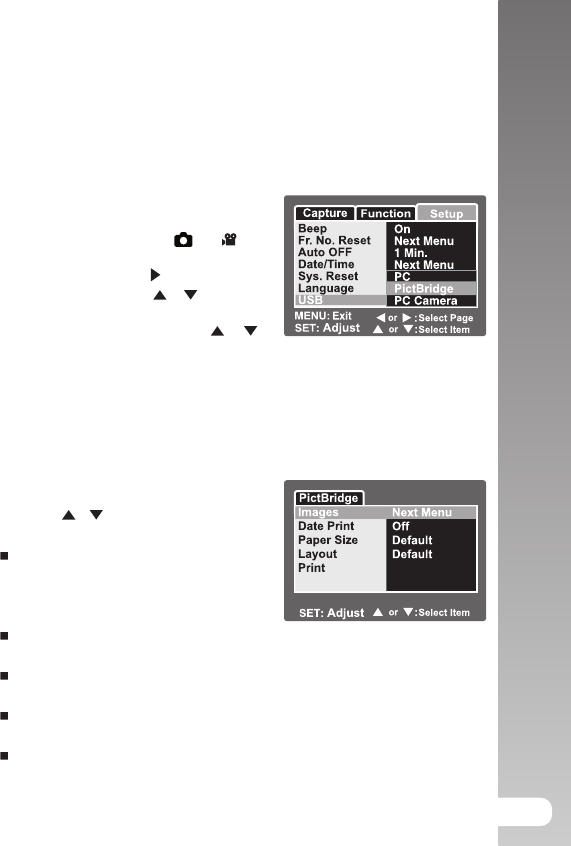
1. Select the item you want to configure
with the
/ buttons, and press the
SET button.
[Images]: Select whether you want
to print specific image or all images.
You may also select printing number
for specific image.
[Date Print]: According to the printer type, select whether you want to
print the image with date imprint or not.
[Paper Size]: Select the desired paper size according to the printer
type.
[Layout]: Select the desired printing layout according to the printer
type.
[Print]: After all settings are configured, select this item to start
printing.