84
G:\SONY\PV\CX18500_GB_kaihan\2887515141\2887515141HDRFX7E\01GB08COM.fm
HDR-FX7E
2-887-515-14(1)
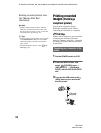
• Do not connect your camcorder to the computer
at this point.
• The computer may not recognize the camcorder
if you connect them with the USB cable before
turning on your camcorder.
• See page 86 for the recommended connection.
1 Turn on the computer.
Close down all applications running on
the computer.
For Windows 2000/Windows XP/
Windows Vista
Log on as an Administrator.
2 Insert a “Memory Stick Duo” into
your camcorder.
3 Prepare the power source for
your camcorder.
Use the supplied AC Adaptor to obtain
AC power (p. 15).
4 Set the POWER switch to VCR.
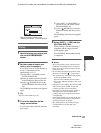
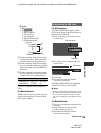
5 Press the MENU button.
The menu index screen is
displayed.
6 Select (OTHERS) t [USB
SELECT] t [ Memory Stick]
with the SEL/PUSH EXEC dial
(p. 71).
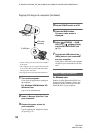
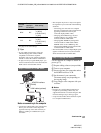
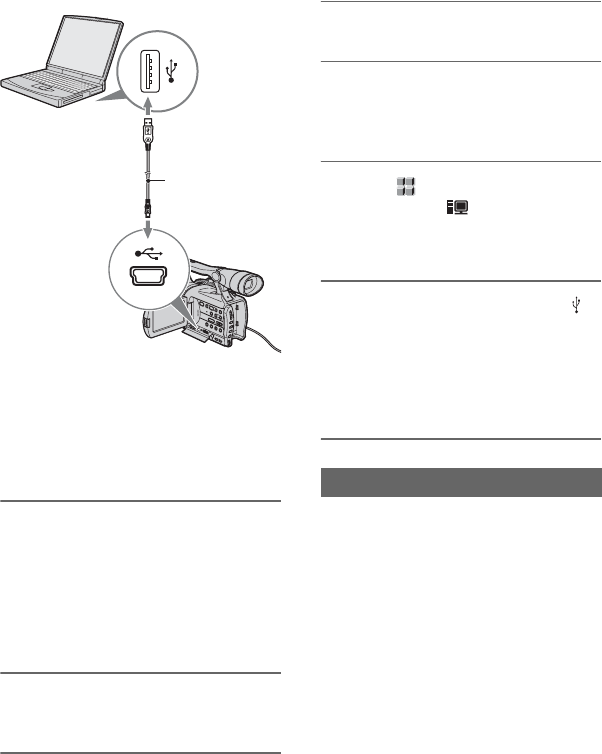
7 Connect the USB cable to the
(USB) jacks on your camcorder
and your computer.
It may take a while until your computer
recognizes your camcorder for the first
time.
For Windows users
Double-click the [Removable Disk] icon
displayed in [My Computer]. Then, drag
and drop a picture in the folder onto the
hard disk drive of your computer.
To USB jack
USB cable
(supplied)
To USB jack
Step:2 Copying the pictures
Copying still images to a computer (Continued)


