


Setups
Scheduling Recordings
32
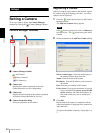
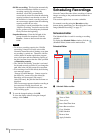
To create a date/time event using the list
view
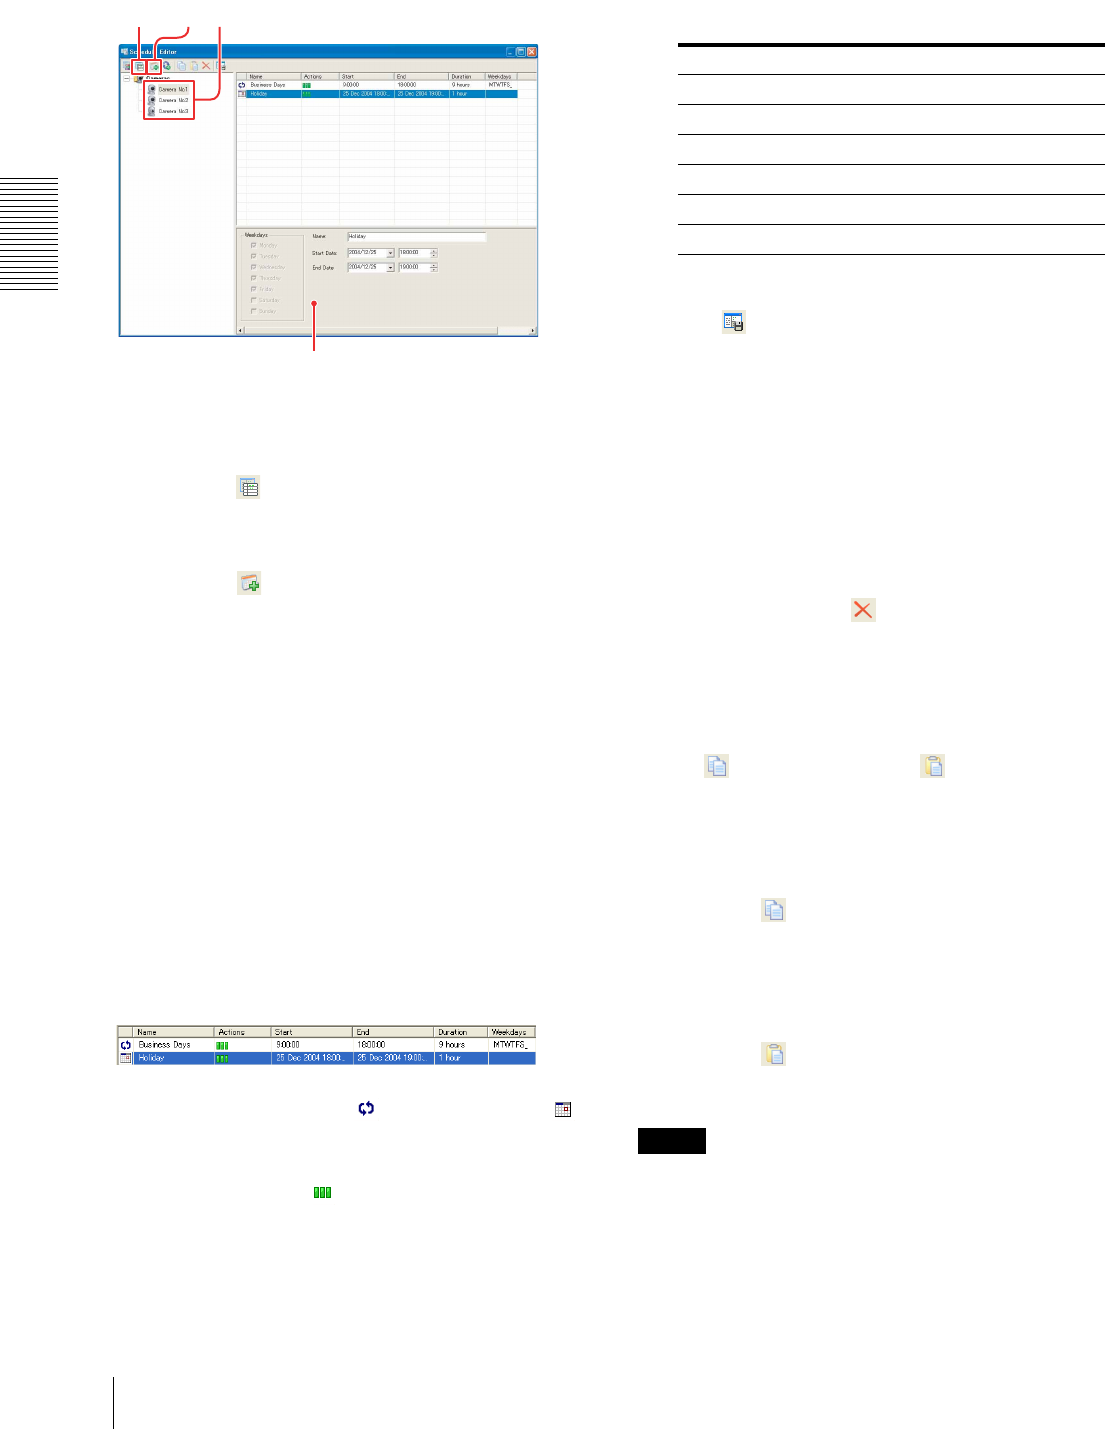
1
Select the camera for which you want to create a
schedule from the camera tree.
2
Click the (View as List) button in the Schedule
Editor toolbar.
The list view appears in the right window.
3
Click the (Insert Date/Time Item) on the
Schedule Editor toolbar.
A dummy event is displayed in the list and the
Schedule Properties dialog is enabled.
To create a recurrent event, use the week view.
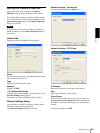
4
Set the parameters of the schedule in the Schedule
Properties dialog.
For details of the setting, see “To set the schedule
parameters” on page 31.
The set event is displayed in the list and recording is
activated according to the schedule.
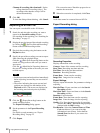
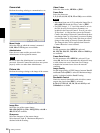
Items in the list view
The items that configure a schedule are displayed in the
list view.
Type of event: Displays the (recurrent event) or
(date/time event) icon.
Name: Displays the name of the schedule.
Actions: Displays the (recording) icon.
Start: Displays the start date and time (day, month,
year, hour:minutes:seconds) for the event.
End: Displays the end date and time (day, month, year,
hour:minutes:seconds) for the event.
Duration: Displays the recording duration (day, hours,
minutes or seconds)
Weekdays: Displays the abbreviations of the days of
the week for a recurrent event.
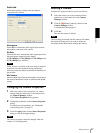
To save the schedule
Click the (Apply Schedule) button on the Schedule
Editor toolbar.
Then click OK in the confirmation dialog.
To change the schedule
Select the event you want to change in the list view or
week view, and change the parameters in the Schedule
Properties dialog.
To delete the schedule
Select the event you want to delete in the list view or
week view, and click the (Remove Item) button on
the Schedule Editor toolbar. The selected schedule is
deleted. You can delete schedules one by one.
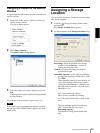
To copy the schedule
To copy the schedule for one camera to another camera,
use the (Copy Schedule) and (Paste Schedule)
buttons on the Schedule Editor toolbar.
1
Select the camera with the original event from the
camera tree in the Schedule Editor window.
2
Click the (Copy Schedule) button on the
Schedule Editor toolbar.
3
Select the destination camera from the camera tree
in the Schedule Editor window.
4
Click the (Paste Schedule) button on the
Schedule Editor toolbar.
The event is now copied to the destination camera.
Note
This function copies all the schedule events created for
one camera to another camera. You cannot select one of
the schedule events and copy/paste it.
3
21
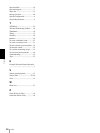
4
M Monday
TTuesday
W Wednesday
T Thursday
FFriday
SSaturday
S Sunday