


Preparation
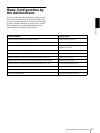
Basic Configuration by the Administrator
17
Basic Configuration by
the Administrator
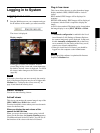
You can monitor the camera image by logging in with
the initial conditions set for this network camera. You
can also set various functions according to the installing
position, network conditions or purpose of the camera.
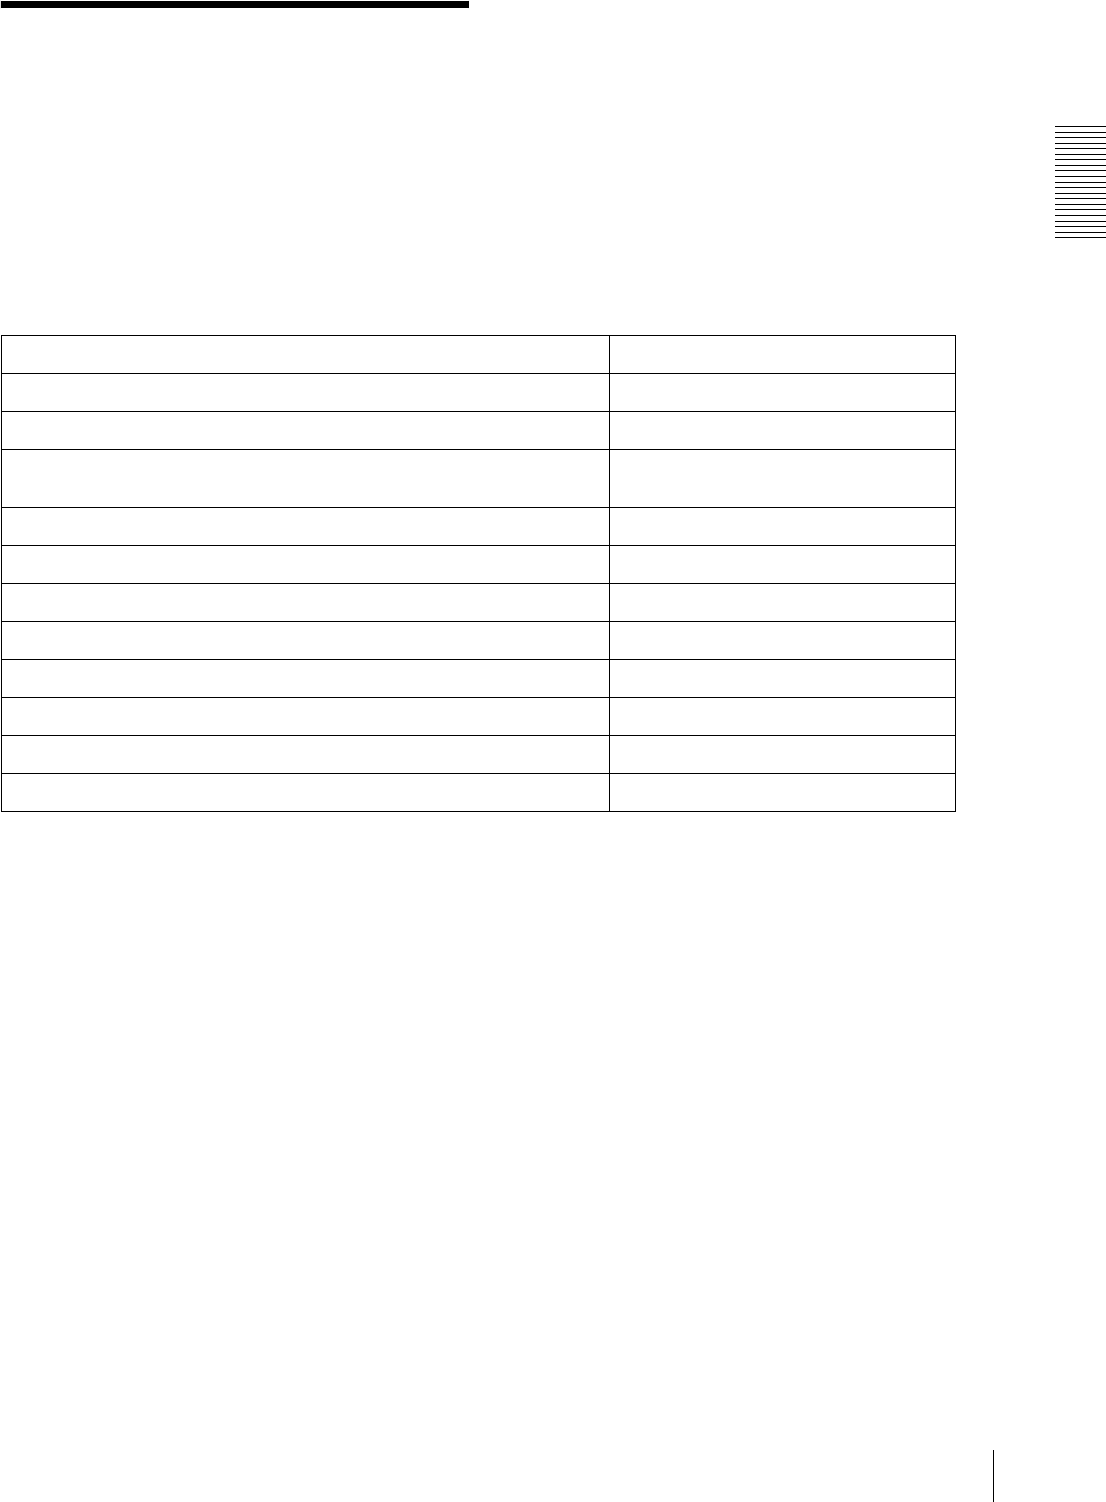
We recommend you configure the following items
before monitoring images from the camera.
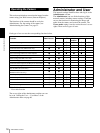
Setting contents Setting menu
Set the format of the image sent from the camera. Video codec Tab (page 45)
Select the White Balance mode according to the installation position. White balance (page 43)
Select the brightness of the image sent from the camera. Exposure (page 42)
Brightness (page 43)
Select the quality of the image sent from the camera. Video codec Tab (page 45)
Select the view size of the image. View size (page 20)
Select whether the audio from the external microphone is sent or not. Audio codec (page 40)
Synchronize the date and time of the camera with those of the computer. Date & time Tab (page 35)
Make the setting for sending the monitor image attached to an e-mail. e-Mail (SMTP) Menu (page 73)
Set the user access right for the camera. User Menu (page 68)
Set a place to be watched beforehand. Preset position Menu (page 70)
Prepare a panorama image. To create a full image (page 25)