Administrating the Camera
Sending Images to FTP Server — FTP client Menu
77
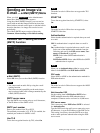
Passive mode
Set whether you use the passive mode of FTP server or
not when connecting to the FTP server. Select On to
connect to the FTP server using the passive mode.
OK/Cancel
See “Buttons common to every menu” on page 32.
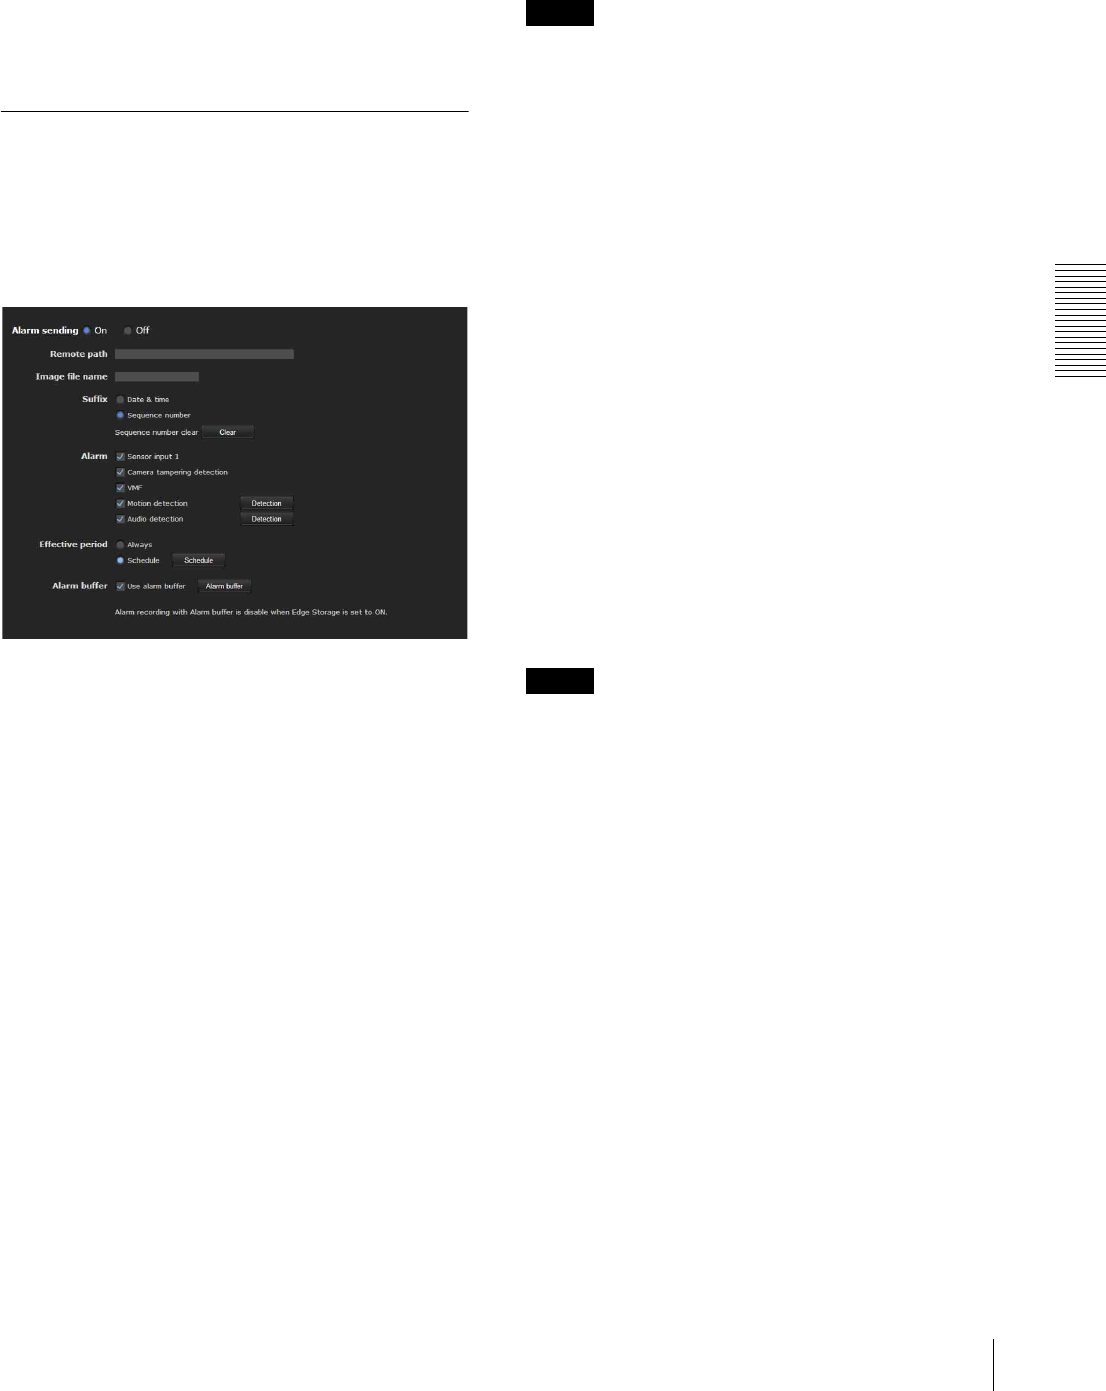
Alarm sending Tab — Setting the
FTP client action when detecting
the alarm
Set to forward an image and audio file to a specified FTP
server linked with alarm detection by the external sensor
input or by the built-in detection functions.
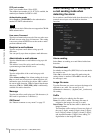
Alarm sending
Select On to send the image and audio file to the FTP
server linked with alarm detection.
Remote path
Type the path to the destination using up to 64
characters.
Image file name
Type the file name you want to assign to the images
when sending to the FTP server. You can use up to 10
alphanumeric characters, – (hyphen) and _ (underscore)
for naming.
Suffix
Select a suffix to be added to the file name.
Date & time: The date & time suffix is added to the
image file name.
The date/time suffix consists of the year (2 digits),
month (2 digits), date (2 digits), hour (2 digits),
minute (2 digits) and second (2 digits), and
sequential number (2 digits), thus adding a 14-digit
number to the image file name.
Sequence number: A sequential number of 10 digits
between 0000000001 and 4294967295 and a
sequential 2-digit number are added to the image file
name.
Tip
A sequential number added to Date & time and
Sequence number is used to identify individual files
created with consecutive alarm events.
Sequence number clear
Click Clear to reset the Sequence number suffix to 1.
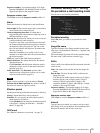
Alarm
Select the alarm to be linked with the file to be
forwarded to the FTP server.
Sensor input 1: The external sensor that is connected to
sensor input of the camera I/O port.
Camera tampering detection: An alarm that is
triggered if the camera detects tampering, such as
direction shifting or spray.
VMF: An alarm of the VMF detection function.
Motion detection: The alarm detected by the motion
detection function.
Click Detection, and the Motion detection menu is
displayed to allow you to set the motion detection
function (page 91).
Audio detection: Click Detection, and the audio
detection menu is displayed to allow you to set the
audio detection function (page 91)
Note
When a preset position is set in the menu of Preset
Position-Alarm linked position, the alarm is invalid if
the camera is moved to a preset position.
Effective period
Set the period during which alarm detection is effective.
Always: Alarm detection is always effective.
Schedule: You can specify the period during which
alarm detection is effective.
Click Schedule and the menu for the effective period
is displayed. (“Setting the Schedule — Schedule
Menu” on page 90)
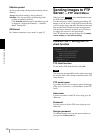
Alarm buffer
Select Use alarm buffer to forward the image/audio at
a specified time before or after alarm detection (pre-
alarm, post-alarm).
If you do not select the alarm buffer, only the image at
the moment of alarm detection is forwarded.
Click Alarm buffer to display the Alarm buffer menu.
For details, see “Setting the Alarm Buffer — Alarm
buffer Menu” on page 90.


