


28
Adjustments and Settings for Shooting
5
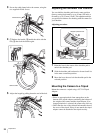
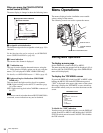
Push the AUTO W/B BAL switch to WHT and release
the switch.
The switch will return to the center position, and
adjustment will be performed.
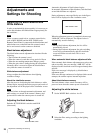
During adjustment, the message “AWB: EXECUTING”
will be displayed on the viewfinder screen.
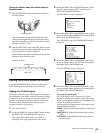
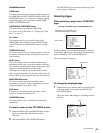
After about one second, a message like the one in the
figure below will be displayed, and the adjustment process
will complete. The adjusted value will be automatically
stored in the memory (A or B) selected in step 1.
When using a zoom lens with automatic iris control
capability, hunting
1)
may occur. Adjust the lens’ iris gain
control (labeled IG, IS, S, etc.).
1) Hunting: The automatic iris responds over and over, and the image
repeatedly darkens and lightens.
For more information, refer to the lens’ operation manual.
When automatic white balance adjustment fails
If the white balance adjustment process does not end
successfully, the error message “AWB: NG” will be
displayed on the viewfinder screen for approximately three
seconds.
If this error message is displayed, try white balance
adjustment again.
If the error message continues to be displayed after several
attempts, the camera requires internal inspection.
When there is no time to adjust the white balance
Set the WHITE BAL switch to PRST. The white balance
will be set automatically according to the filter settings.
About white balance memory
The white balance values stored in memory will be
preserved even when the camera power is turned off.
There are two white balance memories, A and B. When the
AUTO W/B BAL switch is pushed to the WHT side, the
white balance will be adjusted automatically according to
the filter settings. The adjusted value will be stored in the
selected memory. Each memory can store up to five
adjusted values, for a total of 10.
Setting the Electronic Shutter
This section explains the different modes which can be
used for the electronic shutter and gives the procedures for
setting the shutter mode and shutter speed.
When a camera control unit or a remote control device,
such as MSU-900/950 Master Setup Unit and RCP-700/
900-series Remote Control Panel, is connected, the
electronic shutter is controlled from the external control
device and control on the camera are disabled.
About the shutter modes
The shutter modes that can be used with the electronic
shutter of the camera and the shutter speeds that may be
selected are as follows:
1) The values in the table are those with 59.94i. With other formats, the
available values may be different.
With artificial lighting, particularly fluorescent lights and
mercury vapor lamps, the brightness appears to be
constant, but in fact the strength of the red, green, and blue
components varies with the power supply frequency. This
phenomenon is known as “flicker.” When using the
electronic shutter under these lighting conditions, there are
certain cases in which the flicker is more noticeable. In
particular, color flicker is evident when the power
frequency is 60 Hz. In areas where the power frequency is
50 Hz, setting the shutter speed to 1/100 second will
reduce the flicker.
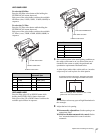
Selecting the shutter mode and speed
The shutter mode, and the shutter speed in standard mode,
are set using the SHUTTER switch.
Note
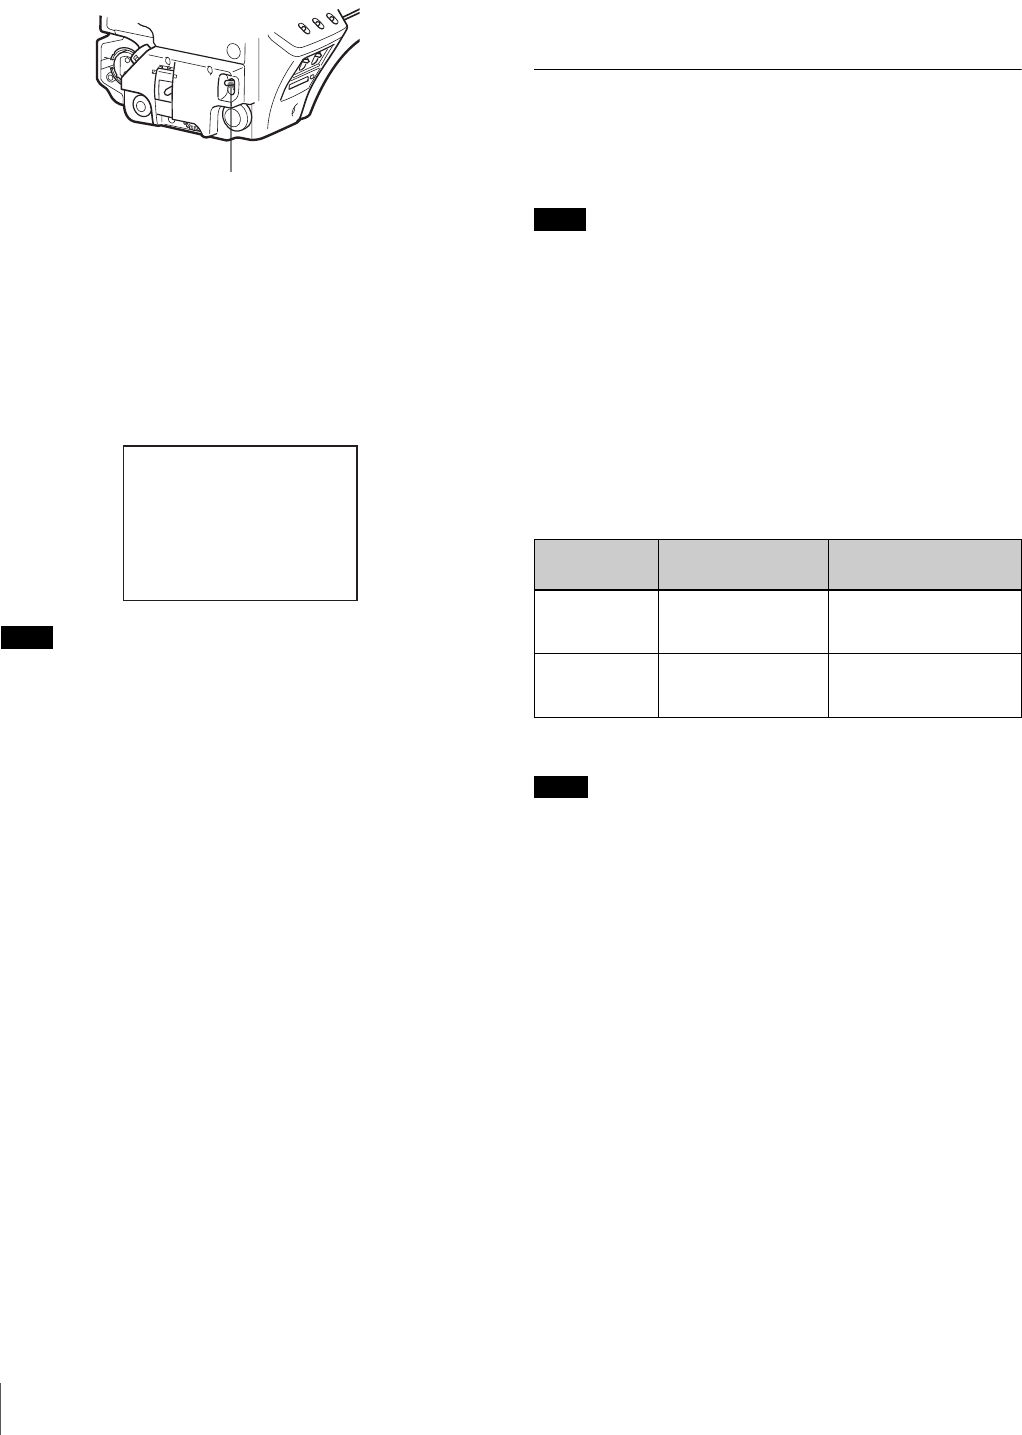
AUTO W/B BAL switch
AWB:OK
Note
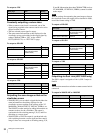
Shutter modes and speeds
Shutter
mode
Shutter speeds
1)
Usage
Standard 1/100, 1/125, 1/250,
1/500, 1/1000, 1/2000
seconds
Use to obtain clear
images of quickly moving
subjects
ECS (Extended
Clear Scan)
Continuously variable
in the range of 60.00
Hz to 4300 Hz
Use to obtain images on
video monitors without
horizontal striping
Note