


Chapter 4 Adjustments and Settings for Recording
4-18(E) Chapter 4 Adjustments and Settings for Recording
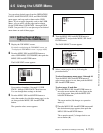
4-6 Setup Using the OPERATION Menu
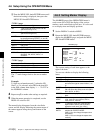
4 Turn the MENU SEL knob/ENTER button until
the desired setting is displayed, then press the
MENU SEL knob/ENTER button.
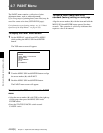
‘!’ IND 1 page:
Item Condition to unlight
ND Type of ND filter (one or more can be
specified among 1 to 5)
CC Type of CC filter (one or more can be
specified among A to E)
WHITE White balance memory (one or more can
be specified among P(PRST), A, and B)
D5600K ON or OFF
GAIN GAIN switch position L, M, or H
SHUTT ON or OFF
FAN AUTO 1, AUTO 2, MIN or MAX
EXT ON or OFF
FORMAT Video format 59.94I, 60I, 30PsF,
29.97PsF, 50I, 25PsF, 24PsF, or
23.98PsF
‘!’ IND 2 page:
Item Condition to unlight
CHU OUT 4:4:4 or 4:2:2
CHU OPE FORCE CCU or NORMAL
META DATA
ON or OFF
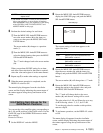
The “?” mark changes back to the arrow marker
(c) .
Example:
To light an exclamation mark (!) when the ND
filter 1 or 2 is selected, select ON for the item ND
in the IND column, then display “- - 3 4 5” in
the NORMAL column.
4 Repeat step 3, to make other settings as required.
5 When the menu operation is completed, set the
DISPLAY switch to ON.
The menu display disappears from the viewfinder
screen, and the display indicating the current status of
the camera appears along the top and bottom of the
screen.
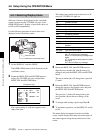
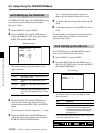
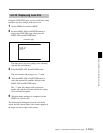
4-6-3 Setting Marker Display
The MARKER page of the OPERATION menu is
used to turn ON or OFF the display of the various
markers, mask, and effective pixel area. It is also used
to set display areas and display positions.
1 Set the DISPLAY switch to MENU.
2 Rotate the MENU SEL knob/ENTER button to
display the MARKER page, and push the MENU
SEL knob/ENTER button.
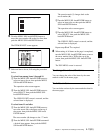
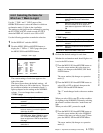
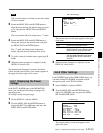
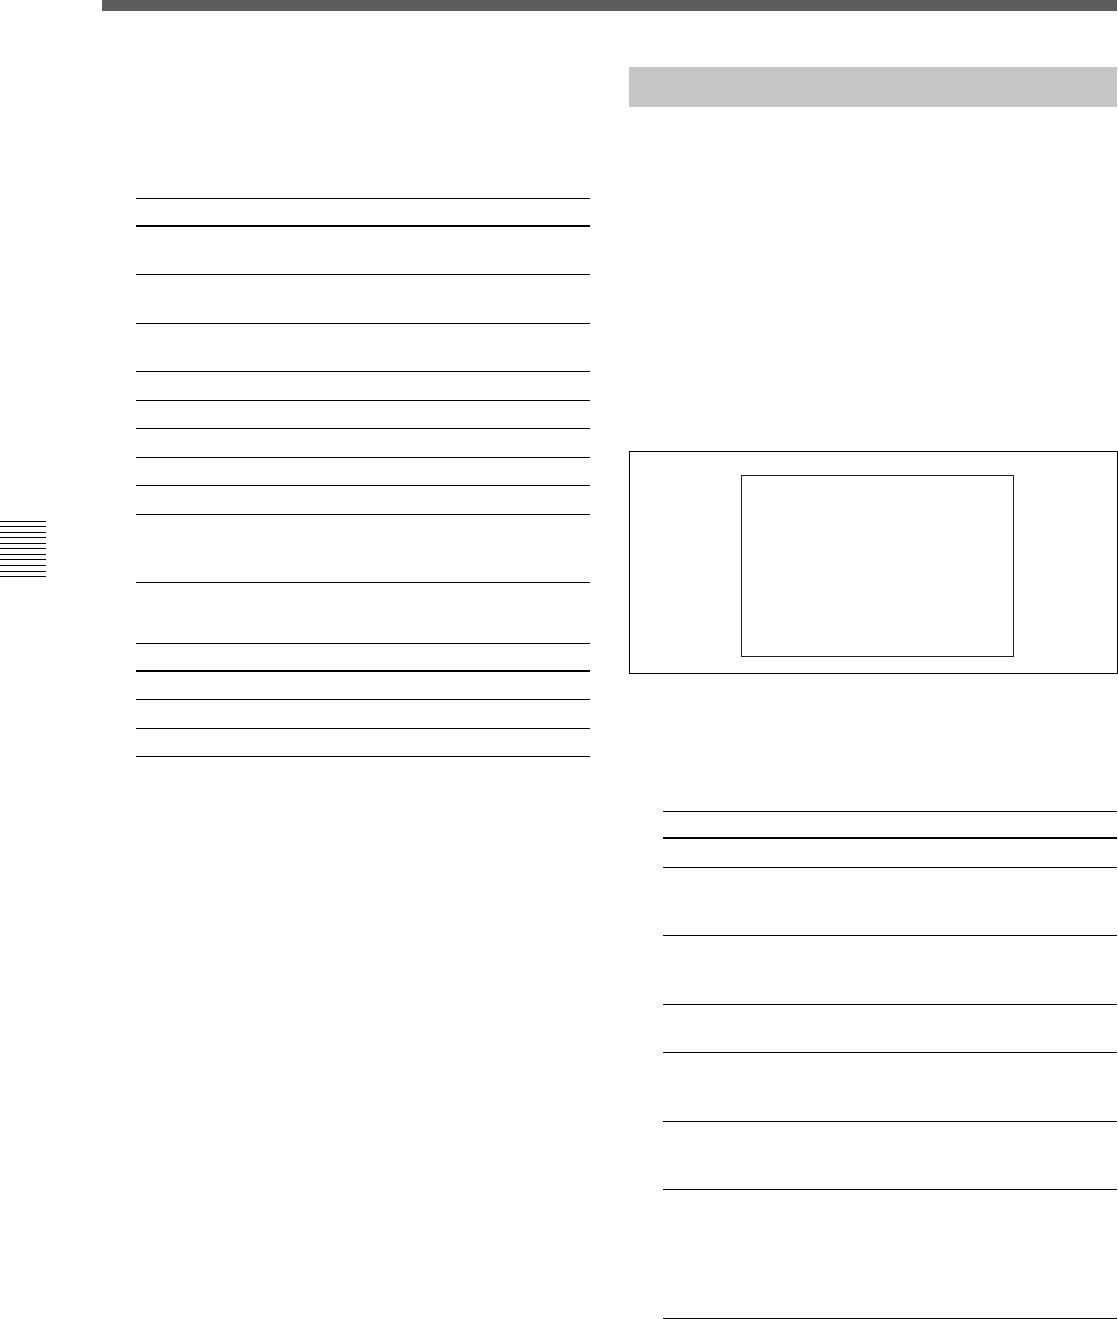
MARKER page
The current setting of each item appears to the
right of the item.
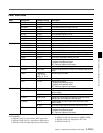
You can set whether to display the following
items:
Item Contents
MARKER
a)
Toggles all markers on or off.
CENTER To display the center marker, set to ON
and select the type of center marker (1 to
4).
SAFETY To display the safety zone marker, set to
ZONE ON and select the safety zone area (80%,
90%, 92.5%, or 95%).
EFFECT Set to ON to display the effective pixel
area.
ASPECT Select the aspect mode among from 16:9,
MODE 15:9, 14:9, 13:9, 4:3, VAR H, VAR V,
1035, VISTA1, VISTA2.
MASK To make the areas out of the selected
aspect maker dimmer, set to ON and
adjust the mask level (0 to 100%).
VAR Effective only when VAR H or VAR V is
WIDTH selected for ASPECT MODE.
VAR H: You can change the aspect size
horizontally.
VAR V: You can change the aspect size
vertically.
<MARKER> 4
MARKER :
c
ON
CENTER : ON 3
SAFETY ZONE: ON 90.0%
EFFECT : OFF
ASPECT MODE: 4:3
MASK : OFF 50
VAR WIDTH : --
SAFETY : OFF 90.0%