


Dubbing/Editing
Dubbing/Editing
91
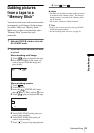
Dubbing selected
scenes from a tape
– Digital program editing
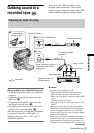
You can select up to 20 scenes (programs)
and record them in the desired order to other
recording device such as VCRs or to a
“Memory Stick” inserted in your camcorder.
When you are recording on a “Memory
Stick,” skip steps 1 and 2 and start from
“Recording the selected scenes as programs”
(p. 95).
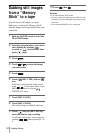
Step 1 : Preparing your
camcorder and VCR for operation
Follow the steps below when you are
performing a digital program edit for the first
time to a tape in a VCR. You can skip this
setting if you have set up the VCR by the
following procedure before.
b Notes
• You cannot perform the Digital program editing on
a VCR that does not support [IR SETUP] codes.
• The operating signal for the Digital program editing
cannot be transferred via the LANC jack.
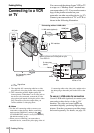
1 Connect your VCR to the camcorder
as a recording device (p. 86).
You can use either the A/V connecting
cable or the i.LINK cable to make the
connection. The dubbing procedure is
easier with the i.LINK connection.
2 Prepare your VCR.
• Insert a cassette for recording.
• Set the input selector to input mode if your
VCR has one.
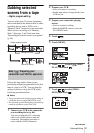
3 Prepare your camcorder (playing
device).
• Insert a cassette for editing.
• Slide the POWER switch to select the
PLAY/EDIT mode.
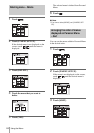
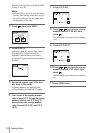
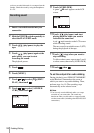
4 Touch .
5 Touch [MENU].
6 Touch / to select (EDIT/
PLAY), then touch .
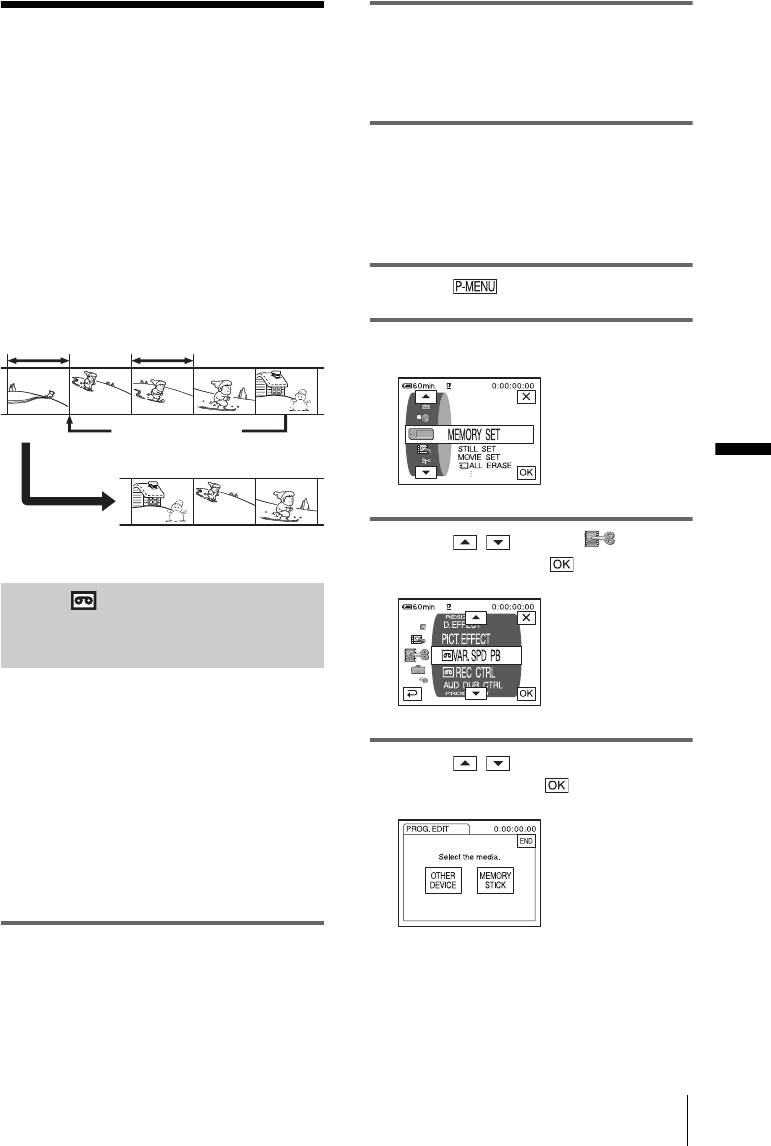
7 Touch / to select [PROG.
EDIT], then touch .
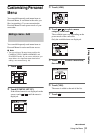
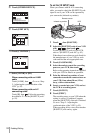
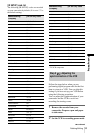
Change the order
Results of editing
Delete unwanted scene
,continued