


Dubbing/Editing
92
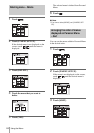
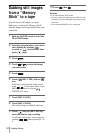
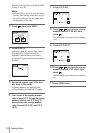
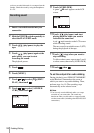
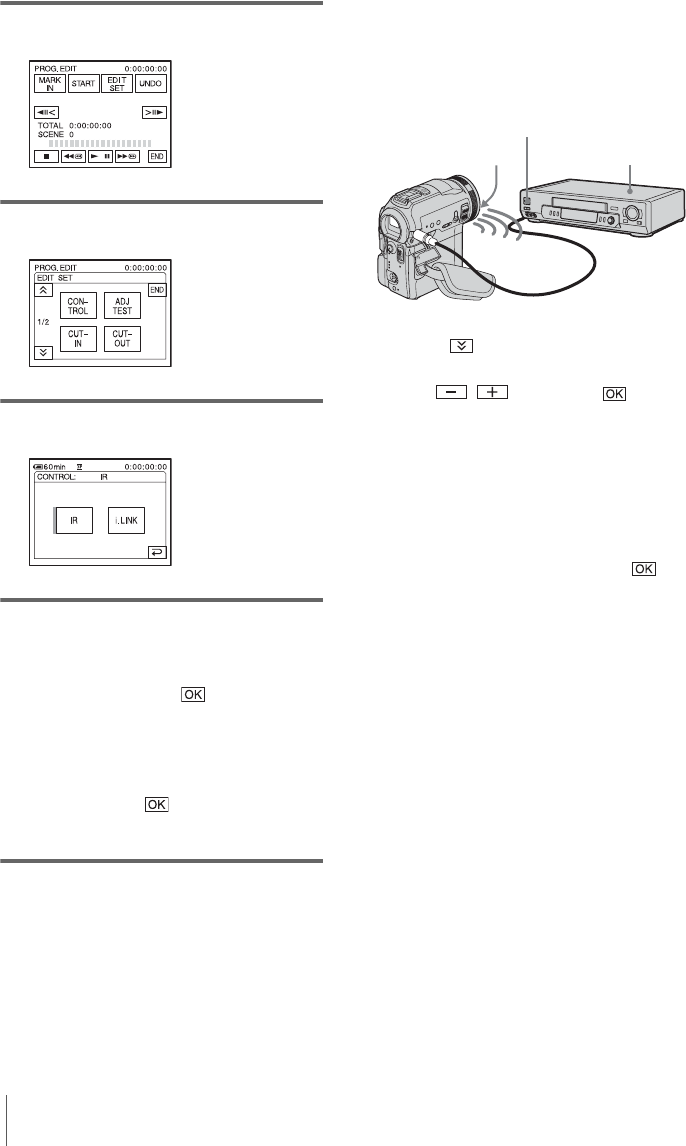
8 Touch [OTHER DEVICE].
9 Touch [EDIT SET].
10Touch [CONTROL].
11Select [i.LINK] or [IR].
When connecting with an i.LINK
cable
Touch [i.LINK], then . Go on to “Step
2 : Adjusting the synchronization of the
VCR” (p. 93).
When connecting with an A/V
connecting cable
Touch [IR], then . Follow the procedure
described in “To set the [IR SETUP] code”
(p. 92).
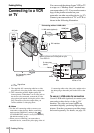
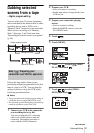
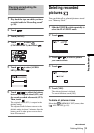
To set the [IR SETUP] code
When you connect with an A/V connecting
cable, you need to check the [IR SETUP] code
signal to see if your VCR can be operated by
your camcorder (infrared ray emitter).
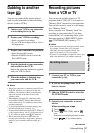
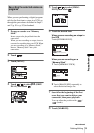
1 Touch , then [IR SETUP].
2 Select the [IR SETUP] code of your VCR
with
/, then touch .
For the [IR SETUP] code of your VCR,
refer to “[IR SETUP] code list” (p. 93).
When there is more than one code listed for
the manufacturer of your VCR, try each
code and find the most appropriate one.
3 Touch [PAUSEMODE].
4 Select the mode to cancel the recording
pause on your VCR, then touch .
Refer to the operating instructions supplied
with your VCR for details on operation.
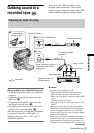
5 Point the infrared ray emitter of your
camcorder towards the remote sensor on
your VCR, from about 30 cm (12 in.)
away, with no obstructions.
6 Insert a cassette into your VCR, and set
the VCR to recording pause.
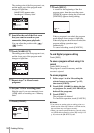
7 Touch [IR TEST].
8 Touch [EXEC].
The recording starts on your VCR when the
setting is correct. [Completed.] appears
when the [IR SETUP] code test is finished.
Go on to “Step 2 : Adjusting the
synchronization of the VCR” (p. 93).
When recording fails to start, select another
[IR SETUP] code and try again.
Infrared ray emitter
VCR
Remote sensor