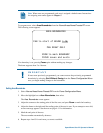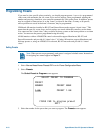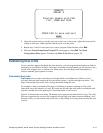
From this screen you can program up to eight Privacy Zones, delete all or specific Privacy Zones, or
temporarily hide all Privacy Zones. For more information see:
Topic Page Number
How Privacy Zones are Programmed
4–12
Programming Privacy Zones
4–13
Removing or Hiding Privacy Zones
4–14
Deleting Specific Privacy Zones
4–15
Deleting All Privacy Zones
4–15
Hiding Privacy Zones
4–15
How Privacy Zones are Programmed
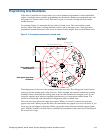
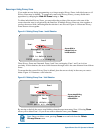
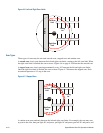
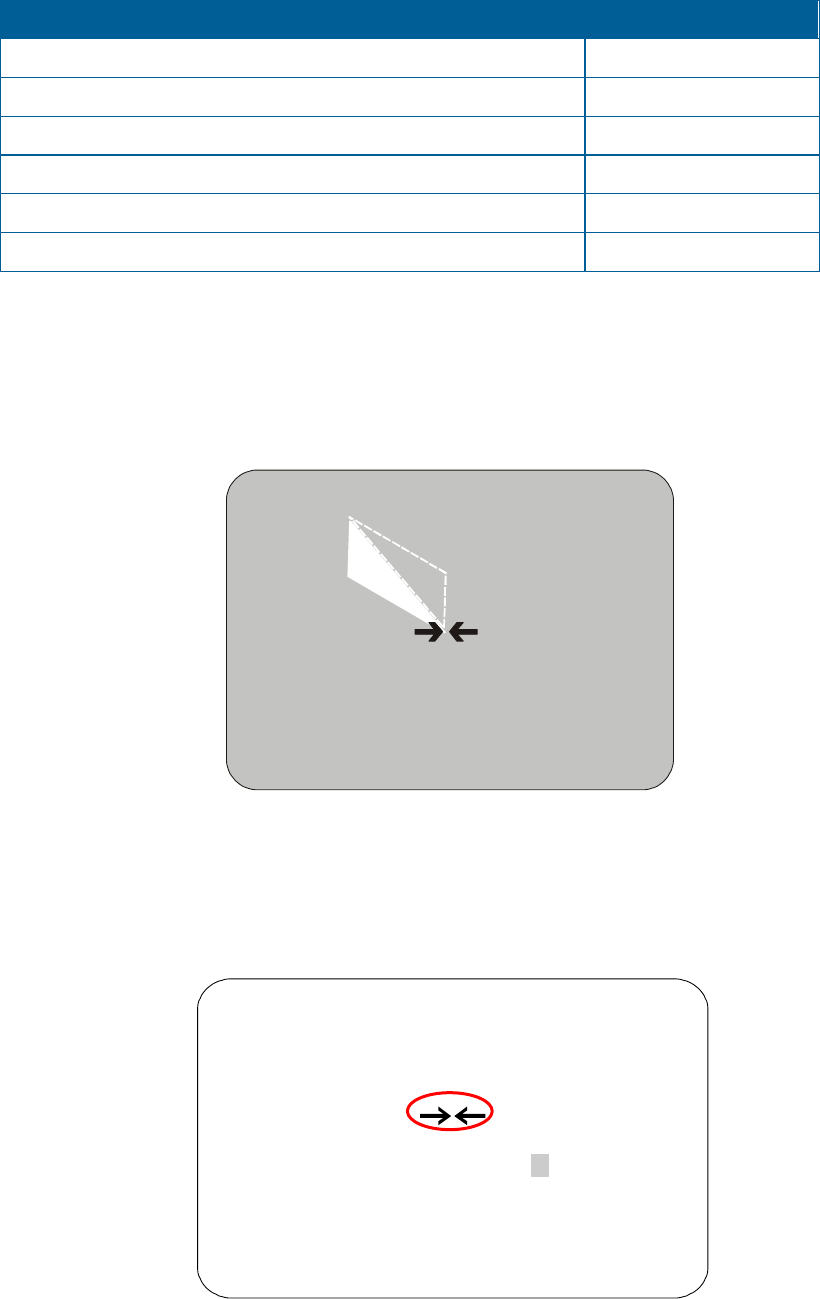
Privacy Zones are established by selecting three points on the display image to create a mask. The
fourth point on the Privacy Zone is automatically generated by mirroring the longest axis between the
three selected points. Figure 4–2 illustrates how Privacy Zones are programmed.
Figure 4–2: Privacy Zone programming example
+
+
Point 1
+
+
The dome’s firmware prevents you from establishing a zone that is too small or too large (greater than
90-degrees pan or tilt from the starting point).
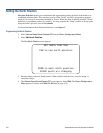
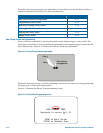
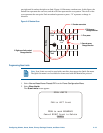
Figure 4–3 illustrates the Privacy Zone programming screen:
Figure 4–3: Privacy Zone Programming screen
NEW PRIVACY ZONE
Navigate to corner 1(2, 3)
ZOOM to Mark Corner
FOCUS to Abandon Zone
Point 3
Point 4 mirrors
the longest axis.
Point 2
4–12 SpeedDome Ultra VII Operator's Manual


