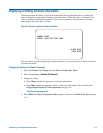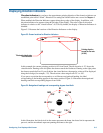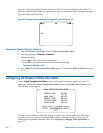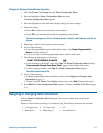
Changing the Display of Selected Name Information
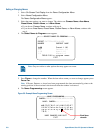
1. Select On-Screen Text Display from the Dome Configuration Menu.
2. Move the highlight to Name Configuration Menu and select.
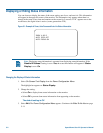
The Name Configuration Menu appears.
3. Move the highlight bar to the item whose display setting you want to change.
4. Change the setting.
• Choose On to display name information on the monitor.
• Choose Off to prevent name information from appearing on the monitor.
The default settings are Off for Camera, Areas, Presets, and Patterns, and On for
Alarms.
5. Repeat steps 3 and 4 for each item you want to change.
6. Do one of the following:
• To reset all programmable names to their default values, select Reset Programmable
Names. Continue with step 7.
• If you do not want to reset the programmable names, continue with step 8.
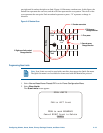
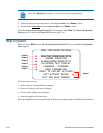
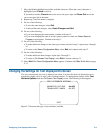
7. The following prompt appears on the screen:
RESET PROGRAMMABLE NAMES NO
• To reset all names to the default value, select Yes. The Name Configuration Menu displays.
“Programmable Names Have Been Reset” appears at the bottom of the screen.
• To cancel resetting of names, select No. The Name Configuration Menu displays.
The default selection is No.
8. Do one of the following:
• To change programmable name information continue with Assigning or Changing Name
Information on page 5–7.
• To return to the On-Screen Text Display settings screen select Exit. Continue with step 9.
9. Select Exit. The Dome Configuration Menu appears. Continue with What To Do Next on page
5–11.
Assigning or Changing Name Information
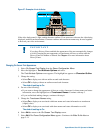
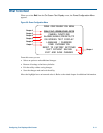
With the Name Configuration Menu displayed, you can select a menu item to begin name
programming.
Names for each selection can be up to 19 characters long. The following characters are available:
• A-Z (upper case) • a-z (lower case) • 0-9
• Blank Space • Minus Sign (-) • Forward Slash (/)
Configuring Text Displayed On-Screen 5–7


