


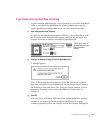

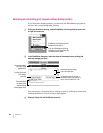
Adjusting quality options
To adj ust the way colors are printed, follow these steps:
1Choose Print from the File menu.
2Make sure the expanded dialog box appears.
If necessary, click More Choices.
3 In the expanded dialog box, click the Quality icon and set any options you like.
4When you are satisfied with the settings, click Print.
If necessary, the printer turns itself on and, after a few moments, begins
printing your document. Don’t open the printer cover while the document is
printing. (This can waste ink and cause a paper jam.)
If you are still not happy with the quality, try using the regular (non-GX)
QuickDraw printing software and see which results you prefer. See “If You
Choose Not to Use QuickDraw GX Printing” at the end of this appendix.
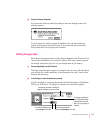
Note: If you have a color PowerBook computer, open the ColorSync control
panel and make sure the system profile is correct for your PowerBook.
If it’s not, choose Set System Profile from the pop-up menu and select the
correct profile.
121
Printing With QuickDraw GX
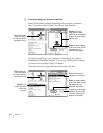
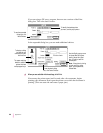
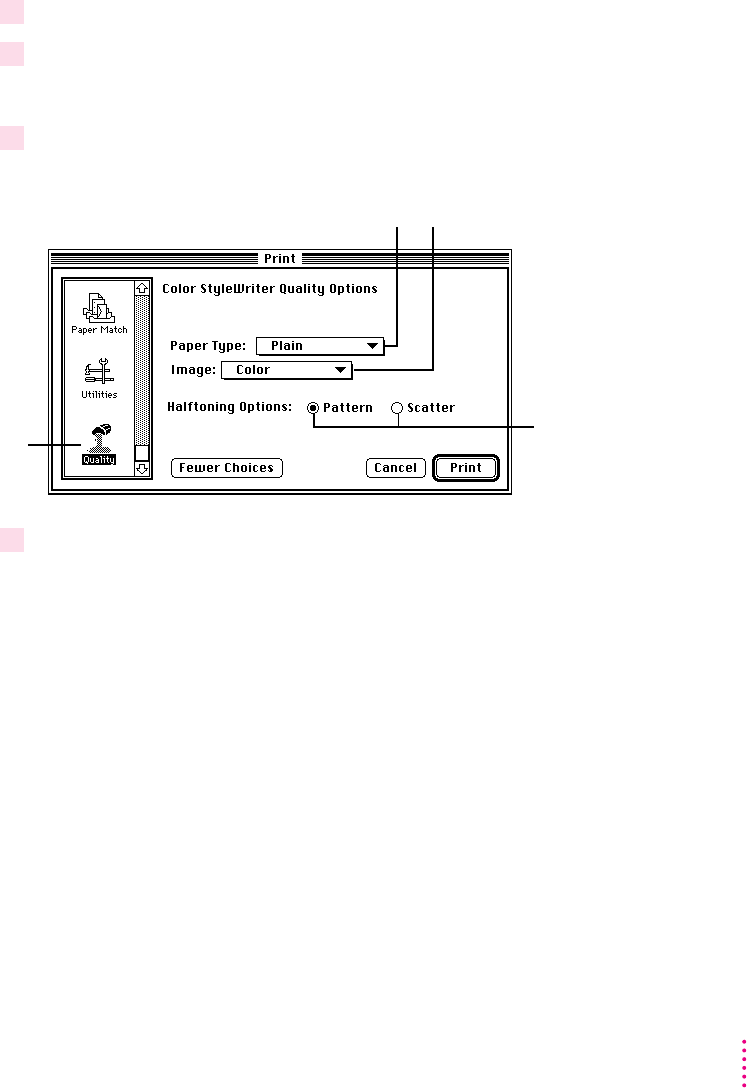
To see the quality
options, click this icon.
(If you don’t see the
icon, use the scroll bar
and arrows to find it.)
Use this pop-up menu to identify the type
of material you’ve loaded into the printer.
(For labels and envelopes, choose Plain.)
The printer blends the
four ink colors in either
a random scattering of
dots or a repeating pattern
of dots. Choose the method
you prefer.
Choose Color, Grayscale, or
Black & White from this pop-up menu.