


9
AXIS 231D+/232D+ - Using the Network Dome Camera
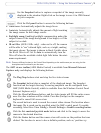
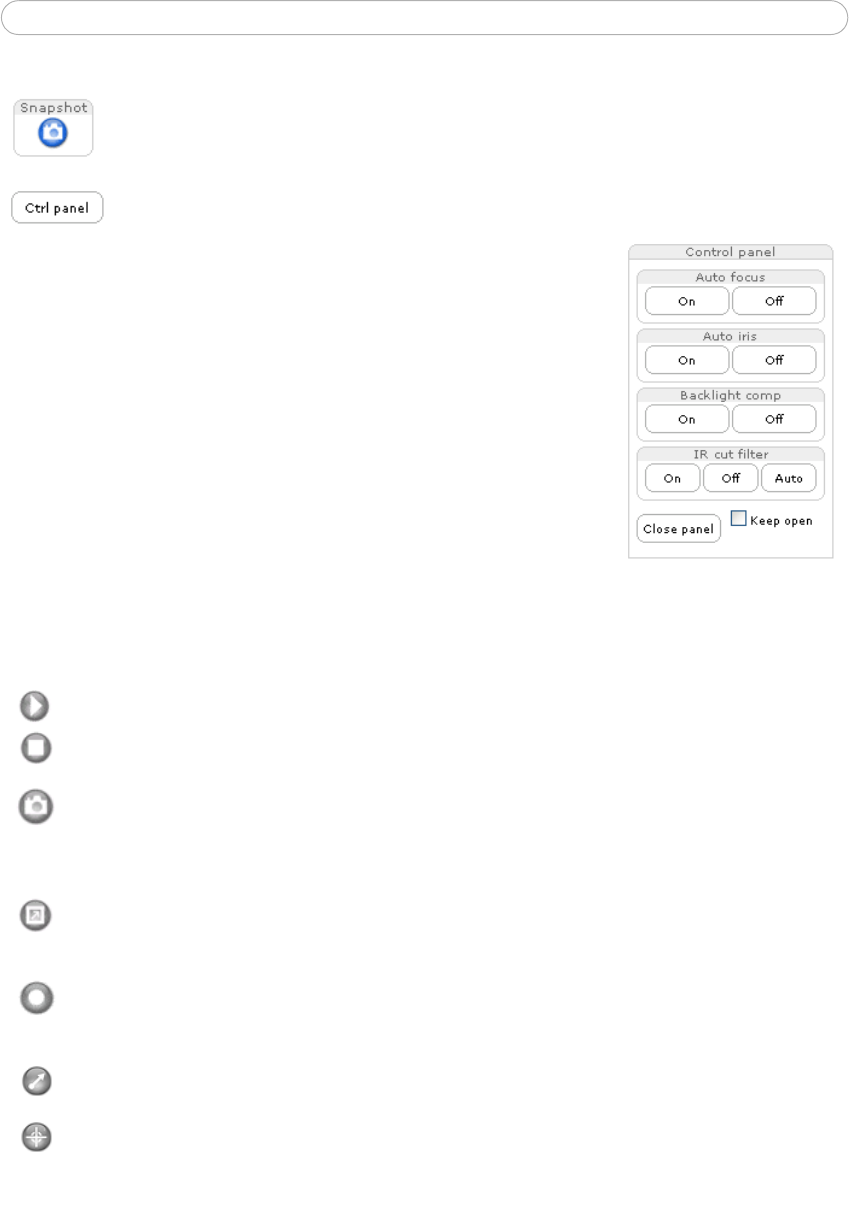
Use the Snapshot button to capture a snapshot of the image currently
displayed in the window. Right-click on the image to save it in JPEG format
on your computer.
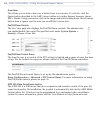
Click the Ctr
l panel button to access the following buttons:
• Auto focus: Automatically adjusts the image focus.
• Auto iris:
Automatically adjusts the amount of light reaching
the image sensor for best image results.
• Backlight comp: Enabling backlight compensation
makes the
subject clearer if the image background is too bright, or if the
subject is too dark.
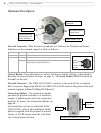
• IR
cut filter (AXIS 232D+ only) - when set to off, the camera
will be able to “see” infrared light, such as, at night, making
the image clearer. The image is shown in black & white when
the IR cut filter is off. Set to Auto to automatically turn the
filter off when the available visible light falls below the mini-
mum requirement.
Note:
There are different buttons in the Control Panel depending on the web browser you are using, but the
descriptions and functionality are the same.
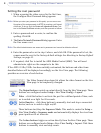
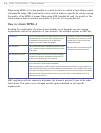
The AMC viewer toolbar (AXIS Media Control) is available from Microsoft Internet
Explorer only and displays the following buttons:
The Play/S
top buttons start and stop the live video stream.
The Snapshot button takes a snapshot of
the displayed image. The Snapshot
function and the target directory for saving
snapshots can be configured from
AMC (AXIS Media Control), which is available from the Windows Control Panel
(Internet Explorer only).
Click the View Full
Screen button, and the video image will fill the entire screen
area. No other windows will be visible. Press Esc (E
scape) on the computer
keyboard to cancel full screen view.
The record button is used to record the
current video stream. The location where
the image file is saved can be specified using the AMC contro
l panel. To enable
recording, Select Live View Config > Viewer Settings > Enable recording button.
Click the Set e
mulated joystick mode button and click in the image to move the
camera in the desired direction
Click the Ce
nter button and the camera view will center on the position that was
clicked. The location to move to has a definite position, such as, 'position x,y.