


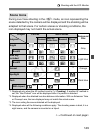
146
1
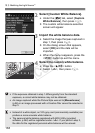
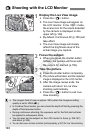
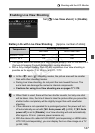
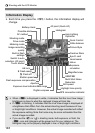
Display the Live View image.
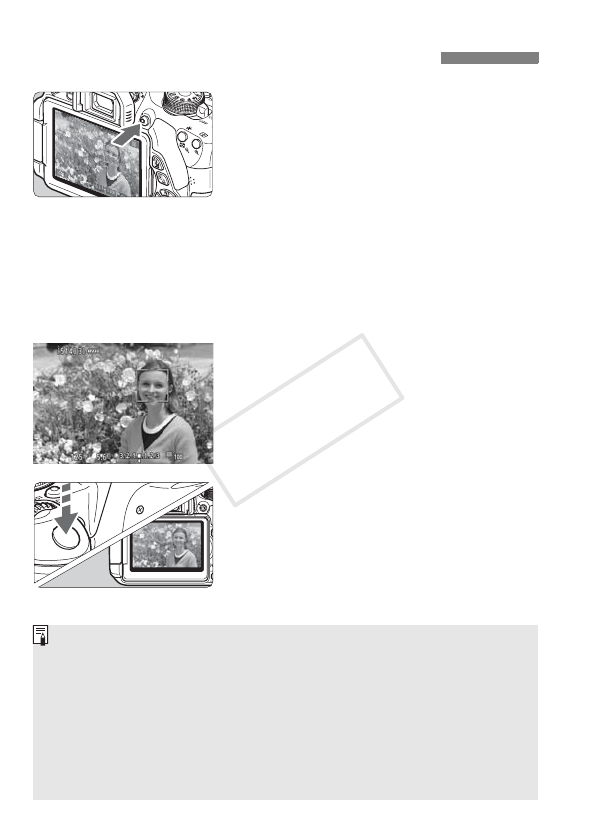
Press the <A> button.
X The Live View image will appear on
the LCD monitor. In the <A> mode,
the scene icon for the scene detected
by the camera is displayed on the
upper left (p.149).
By default, Continuous AF (p.156) will
take effect.
The Live View image will closely
reflect the brightness level of the
actual image you capture.
2
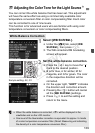
Focus the subject.
When you press the shutter button
halfway, the camera will focus with
the current AF method (p.159).
3
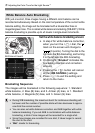
Take the picture.
Press the shutter button completely.
X
The picture will be taken and the captured
image is displayed on the LCD monitor.
X After the image review ends, the
camera will return to Live View
shooting automatically.
Press the <A> button to exit Live
View shooting.
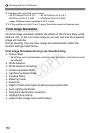
A Shooting with the LCD Monitor
The image’s field of view is approx. 99% (when the image-recording
quality is set to JPEG 73).
In Creative Zone modes, you can check the depth of field by pressing the
depth-of-field preview button.
During continuous shooting, the exposure set for the first shot will also
be applied to subsequent shots.
You can also tap the subject on the LCD monitor to focus (p.159-167)
and shoot (p.168).
You can also use a remote controller (sold separately, p.307) for Live View shooting.
COPY