


113
1
2
3
4
5
6
7
8
9
Cover
Preliminary Notes and
Legal Information
Contents: Basic
Operations
Advanced Guide
Camera Basics
Smart Auto
Mode
Other Shooting
Modes
Playback Mode
Wi-Fi Functions
Setting Menu
Accessories
Appendix
Index
Basic Guide
P Mode
Still Images Movies
Printing Images
Your shots can easily be printed by connecting the camera to a printer. On the
camera, you can specify images to set up batch printing, prepare orders for
photo development services, and prepare orders or print images for photobooks.
A Canon SELPHY CP series compact photo printer is used here for the sake of
illustration. Screens displayed and available functions vary by printer. Also refer
to the printer manual for additional information.
Still Images
Easy Print
Easily print your shots by connecting the camera to a PictBridge-compatible
printer (sold separately) with the included interface cable.
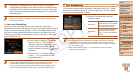
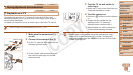
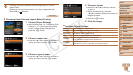
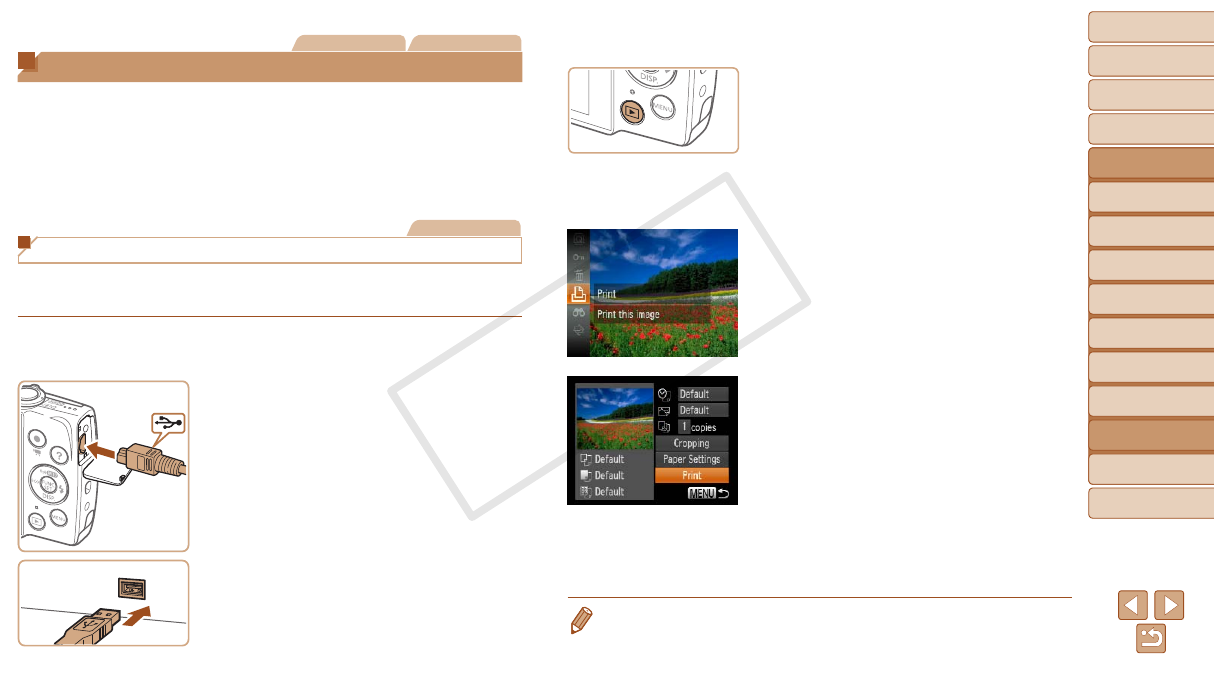
1 Make sure the camera and
printer are off.
2 Connect the camera to the
printer.
Open the cover. Holding the smaller
cable plug in the orientation shown, insert
the plug fully into the camera terminal.
Connect the larger cable plug to the
printer. For other connection details, refer
to the printer manual.
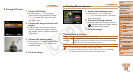
3 Turn the printer on.
4 Turn the camera on.
Press the <1> button to turn the camera
on.
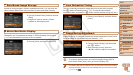
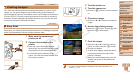
5 Choose an image.
Press the <q><r> buttons to choose an
image.
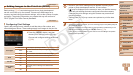
6 Access the printing screen.
Press the <m> button, choose [c], and
press the <m> button again.
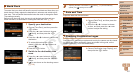
7 Print the image.
Press the <o><p> buttons to choose
[Print], and then press the <m> button.
Printing now begins.
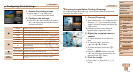
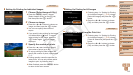
To print other images, repeat the above
procedures starting from step 5 after
printingisnished.
Whenyouarenishedprinting,turnthe
camera and printer off and disconnect
the cable.
• For Canon-brand PictBridge-compatible printers (sold separately), see
“Printers” (=
110).
C OPY