


90
1
2
3
4
5
6
7
8
9
Cover
Preliminary Notes and
Legal Information
Contents: Basic
Operations
Advanced Guide
Camera Basics
Smart Auto
Mode
Other Shooting
Modes
Playback Mode
Wi-Fi Functions
Setting Menu
Accessories
Appendix
Index
Basic Guide
P Mode
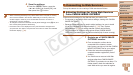
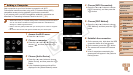
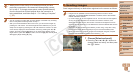
Adding a Computer
Add a computer to your list of devices to connect to via Wi-Fi.
Follow these instructions when using a Wi-Fi Protected Setup (WPS)
compatible access point to establish a push-button connection.
If your access point is not WPS-compatible, establish a connection as
described in “Connecting to Access Points in the List” (=
92).
• WPS makes it easy to complete settings when connecting devices over Wi-Fi.
YoucanuseeitherPushButtonCongurationMethodorPINMethodfor
settings on a WPS supported device.
• Refer to the user guide provided with your access point to check if it supports
WPS.
• Be sure to also read the user guide included with your access point.
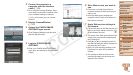
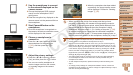
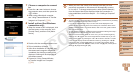
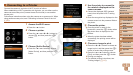
1 Access the Wi-Fi menu.
Press the <o> button.
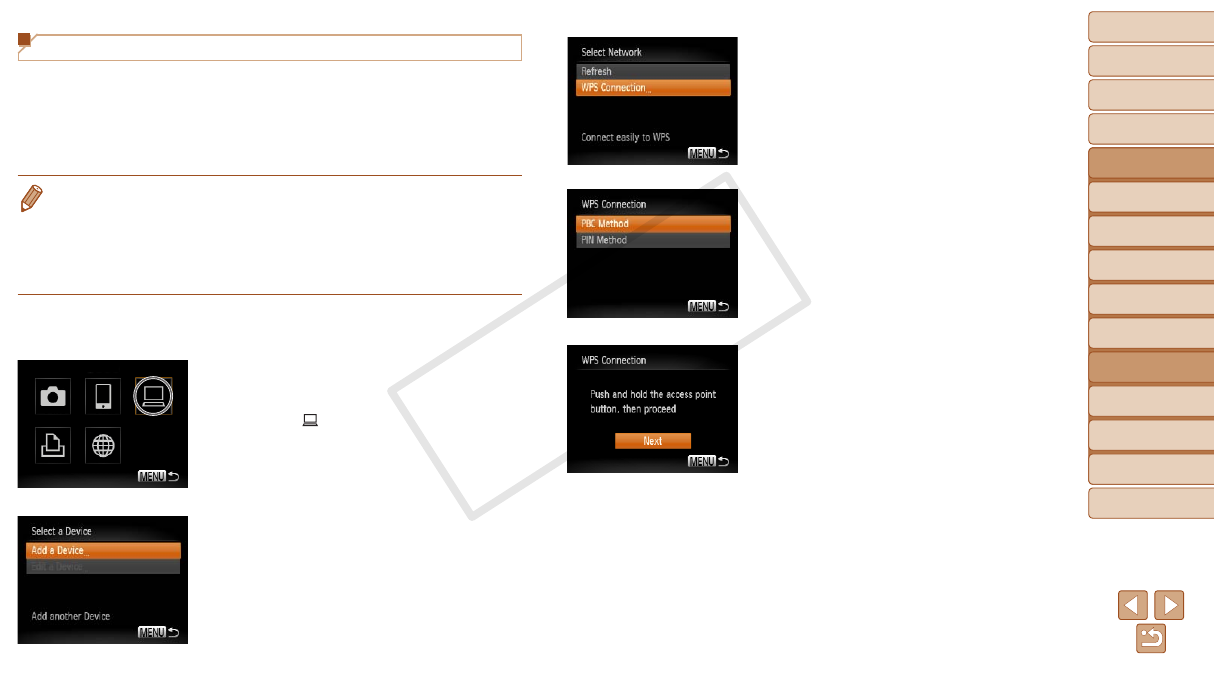
2 Choose a computer.
Press the <o><p><q><r> buttons to
choose [
], and then press the <m>
button.
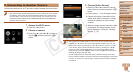
3 Choose [Add a Device].
Press the <o><p> buttons to choose
[Add a Device], and then press the <m>
button.
A list of detected access points will be
displayed in the [Select Network] screen.
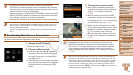
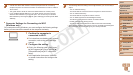
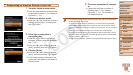
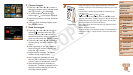
4 Choose [WPS Connection].
Press the <o><p> buttons to choose
[WPS Connection], and then press the
<m> button.
5 Choose [PBC Method].
Press the <o><p> buttons to choose
[PBC Method], and then press the <m>
button.
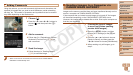
6 Establish the connection.
On the access point, hold down the WPS
connection button for a few seconds.
On the camera, press the <m> button.
The camera will connect to the access
point.
A list of computers connected to the
access point will appear in the [Select a
Device] screen.
C OPY