


92
1
2
3
4
5
6
7
8
9
Cover
Preliminary Notes and
Legal Information
Contents: Basic
Operations
Advanced Guide
Camera Basics
Smart Auto
Mode
Other Shooting
Modes
Playback Mode
Wi-Fi Functions
Setting Menu
Accessories
Appendix
Index
Basic Guide
P Mode
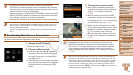
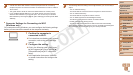
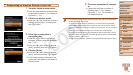
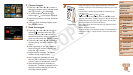
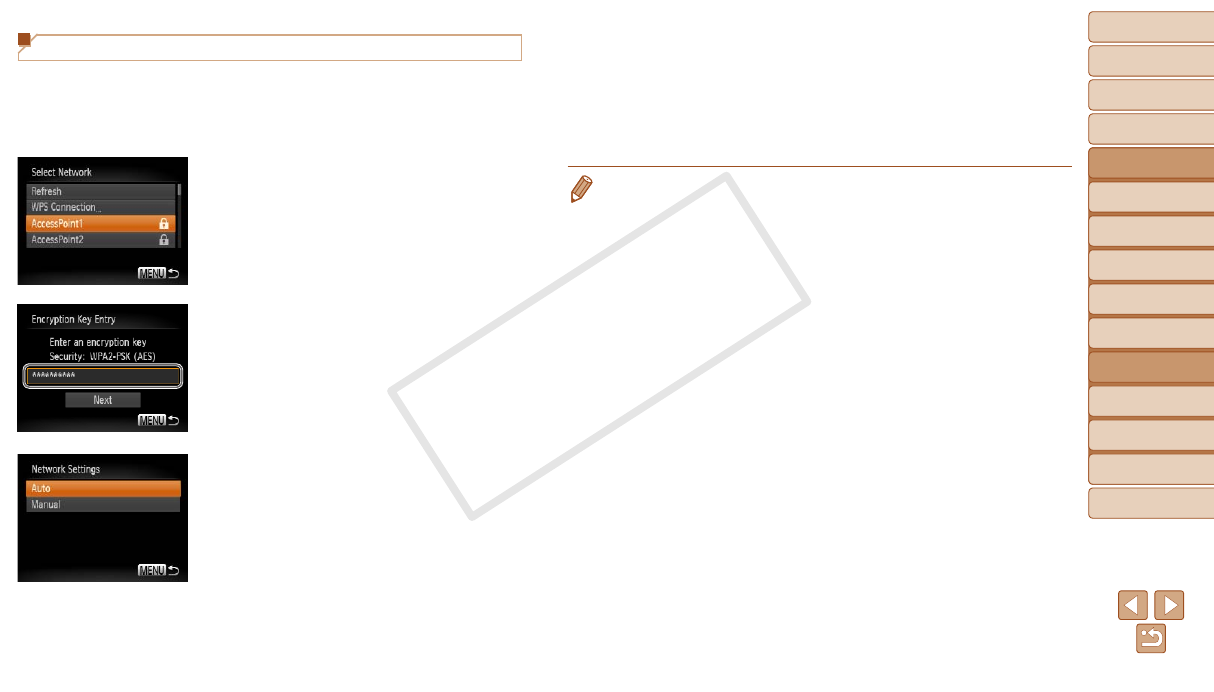
Connecting to Access Points in the List
1 View the listed access points.
View the listed networks (access points)
as described in steps 1 – 3 of “Adding a
Computer” (=
90).
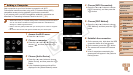
2 Choose an access point.
Press the <o><p> buttons to choose a
network (access point), and then press
the <m> button.
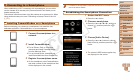
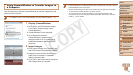
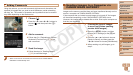
3 Entertheaccesspoint’s
encryption key.
Press the <m> button to access the
keyboard, and then enter the encryption
key (=
88).
Press the <o><p> buttons to choose
[Next], and then press the <m> button.
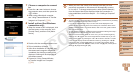
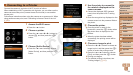
4 Choose [Auto].
Press the <o><p> buttons to choose
[Auto], and then press the <m> button.
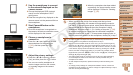
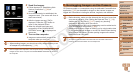
A list of other devices connected to the
access point will appear in the [Select a
Device] screen.
5 Choose a computer to connect
to.
Choose the computer to connect to,
following steps 7 – 8 in “Adding a
Computer” (=
91). The computer is
now added to the list.
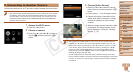
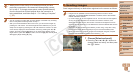
• For information on the access point’s encryption key, refer to the body of the
access point or its user manual.
• Up to 16 access points will be displayed. If no access points are detected,
choose [Manual Settings] in step 2 to manually set an access point. Follow
on-screen instructions and enter an SSID, security settings, and an encryption
key.
• When you use an access point that you have already connected to for
connecting to another device, [*] is displayed for the encryption key in step 3.
To use the same encryption key, press the <q><r> buttons to choose [Next],
and then press the <m> button.
• To add multiple computers, repeat the above procedures starting from step 1.
C OPY