


68
1
2
3
4
5
6
7
8
9
Cover
Preliminary Notes and
Legal Information
Contents: Basic
Operations
Advanced Guide
Camera Basics
Smart Auto
Mode
Other Shooting
Modes
Playback Mode
Wi-Fi Functions
Setting Menu
Accessories
Appendix
Index
Basic Guide
P Mode
•When the camera has found no corresponding images for some
conditions, those conditions will not be available.
• Options for viewing the images found (in step 3) include “Navigating Through
Images in an Index” (=
67), “Magnifying Images” (=
68), and “Viewing
Slideshows” (=
69). You can protect, erase, or print all images found or add
them to a photobook by choosing [Select All Images in Search] in “Protecting
Images” (=
70), “Erasing All Images” (=
72), “Adding Images to the Print
List (DPOF)” (=
117), or “Adding Images to a Photobook” (=
119).
• If you edit images and save them as new images (=
74 – 76), a message
is displayed, and the images that were found are no longer shown.
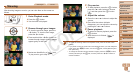
Image Viewing Options
Still Images
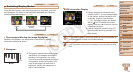
Magnifying Images
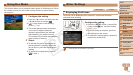
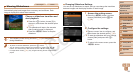
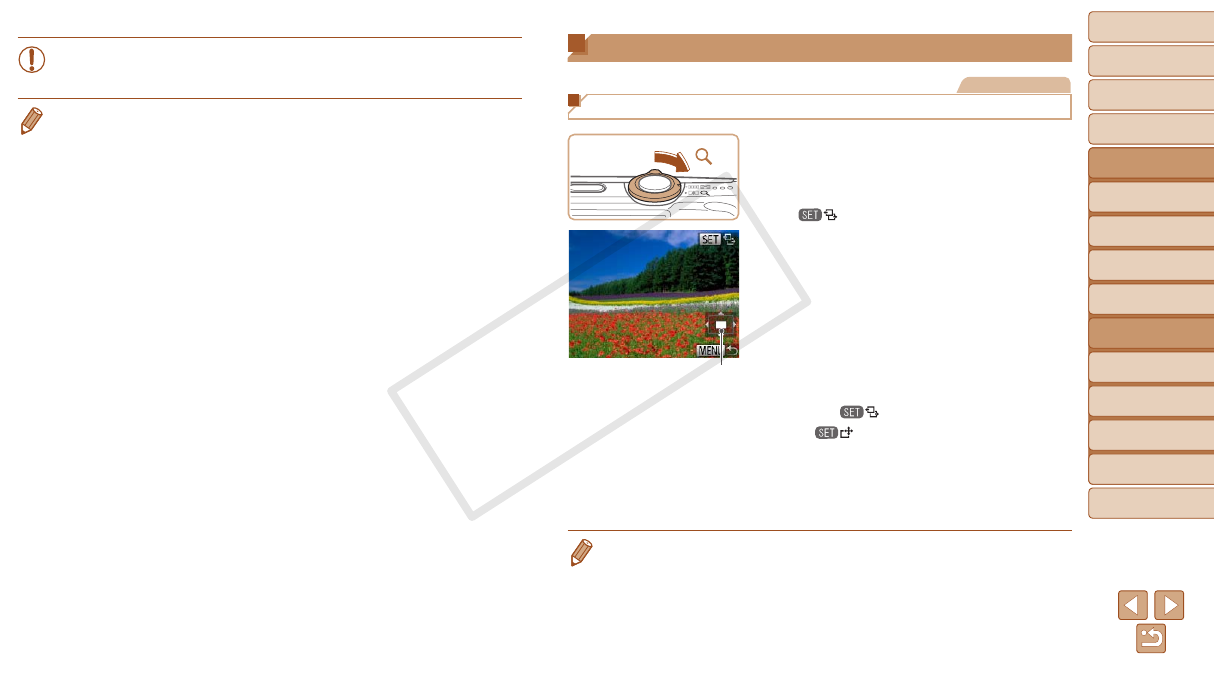
1 Magnify an image.
Moving the zoom lever toward <k> will
zoom in and magnify the image, and
[
] is displayed. You can magnify
images up to about 10x by continuing to
hold the zoom lever.
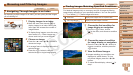
To zoom out, move the zoom lever
toward <g>. You can return to single-
image display by continuing to hold it.
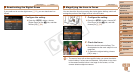
2 Move the display position and
switch images as needed.
To move the display position, press the
<o><p><q><r> buttons.
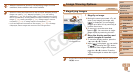
While [ ] is displayed, you can switch
to [
] by pressing the <m> button.
To switch to other images while zoomed,
press the <q><r> buttons. Press the
<m> button again to restore the original
setting.
• Youcanreturntosingle-imagedisplayfrommagnieddisplaybypressingthe
<n> button.
Approximate Position
of Displayed Area
C OPY