


48 Shooting - Letting the Camera Select Settings
2
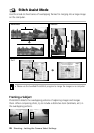
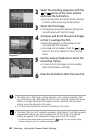
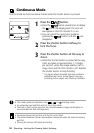
Select the shooting sequence with the
or arrow of the omni selector
and press the Set button.
• You can also press the shutter button directly
to shoot without pressing the Set button.
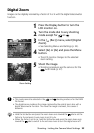
3
Shoot the first image.
• The exposure and white balance settings are
set and locked with the first image.
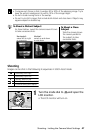
4
Compose and shoot the second image
so that it overlaps the first.
• Minor discrepancies in the overlap can be
corrected with the software.
• An image can be retaken. Press the
or
arrow of the omni selector to return to that
frame.
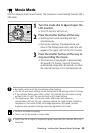
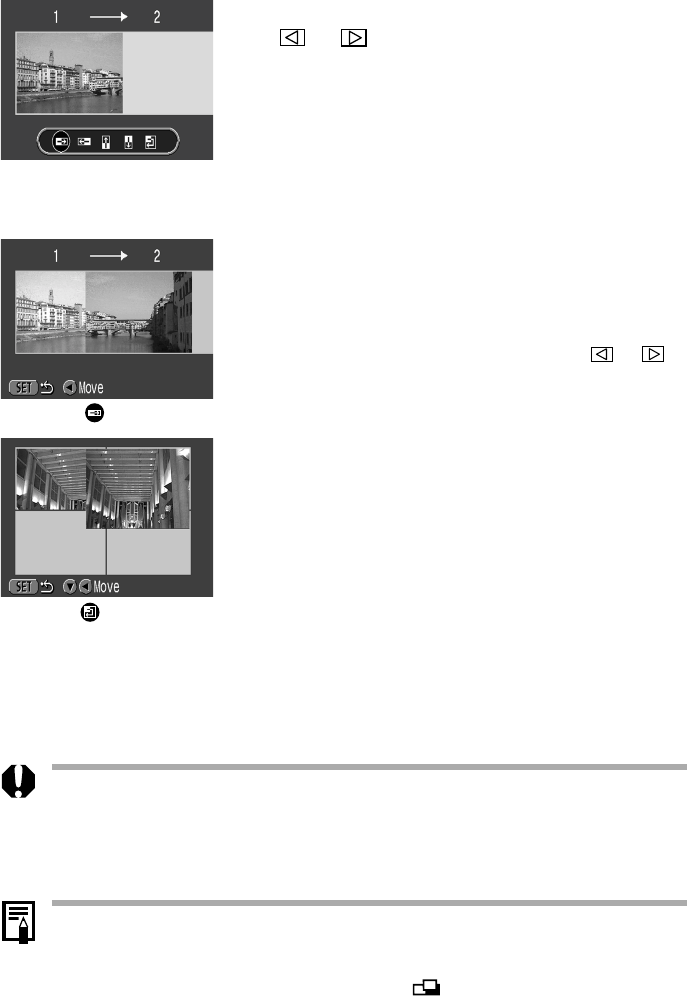
5
Use the same procedures to shoot the
remaining frames.
• A maximum of 26 images can be recorded
either horizontally or vertically.
6
Press the Set button after the last shot.
Sequence
Sequence
• The digital zoom, flash (auto, red-eye reduction, auto / red-eye reduction, flash
on), continuous mode, AEB mode, AE lock, FE Lock, metering method, file format
(RAW), and image adjustment (ISO speed, contrast, sharpness and saturation)
settings cannot be adjusted in this mode.
• A TV cannot be used as the monitor for shooting in this mode.
• The zoom, flash (on / off), resolution, exposure, white balance* and flash exposure
compensation settings can only be adjusted for the first image. The selected
settings are applied to the subsequent images and cannot be changed.
* A custom white balance setting cannot be set in mode. To use a custom white
balance setting, first set it in another shooting mode.