


64 Shooting - Selecting Particular Effects
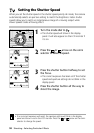
Setting the White Balance
When the white balance mode is set to match the light source, the camera can
reproduce colors more accurately. Set the white balance mode to a natural or
artificial light setting according to the circumstances.
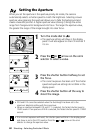
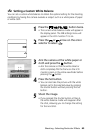
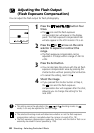
1
Press the button twice.
• The current white balance mode will appear in
the display panel. The white balance settings
menu will appear in the LCD monitor if it is on.
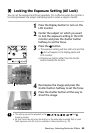
2
Press the or arrow on the omni
selector to select a setting.
• Please see the next page regarding the
custom setting.
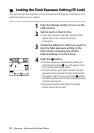
3
Press the Set button.
• You can also take the picture in the set white
balance mode by pressing the shutter button
without pressing the Set button.
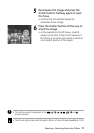
4
Shoot the image.
• If you pressed the shutter button at Step 3,
the current white balance mode will reappear
after the shot, allowing you to change the
setting for the next shot.
• This setting cannot be adjusted in the and shooting modes. In mode, it
can only be adjusted for the first image.
• The selected shooting mode will determine whether or not the white balance
setting is cancelled when the camera is turned off (p. 79).
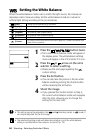
Settings are automatically set by the camera
For recording outdoors on a bright day
For recording under overcast, shady or twilight skies
For recording under tungsten lighting
For recording under fluorescent lighting
For flash photography
For setting a custom value with a white sheet of paper, etc., to obtain the optimal white
balance for the conditions
(Auto)
(Daylight)
(Cloudy)
(Tungsten)
(Fluorescent)
(Flash)
(Custom)