


33
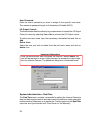
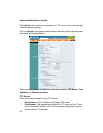
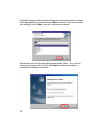
Factory Reset:
A factory reset restarts the Internet Camera and returns all of its settings to
their default values. The Factory Reset panel contains the message “Do you
really want to factory reset this device?” and a YES button. If you do not want to
carry out a factory reset command, exit the panel without clicking YES, otherwise
click on the “YES” icon and factory reset will be initiated.
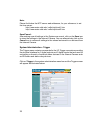
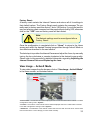
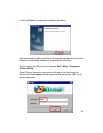
Once the configuration is completed click on “Home” to return to the Home
screen and select the desired Viewing Image either through ActiveX Mode or
Java Mode as described in the next section.
The last step is to position the Internet Camera and adjust the focus, by manually
turning the lens clockwise or counter-clockwise to the desired image quality.
Please refer to the appendix for detailed information regarding Adjusting the
Internet Camera Focus and Replacing the Lens.
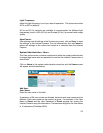
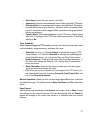
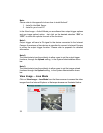
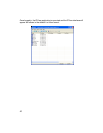
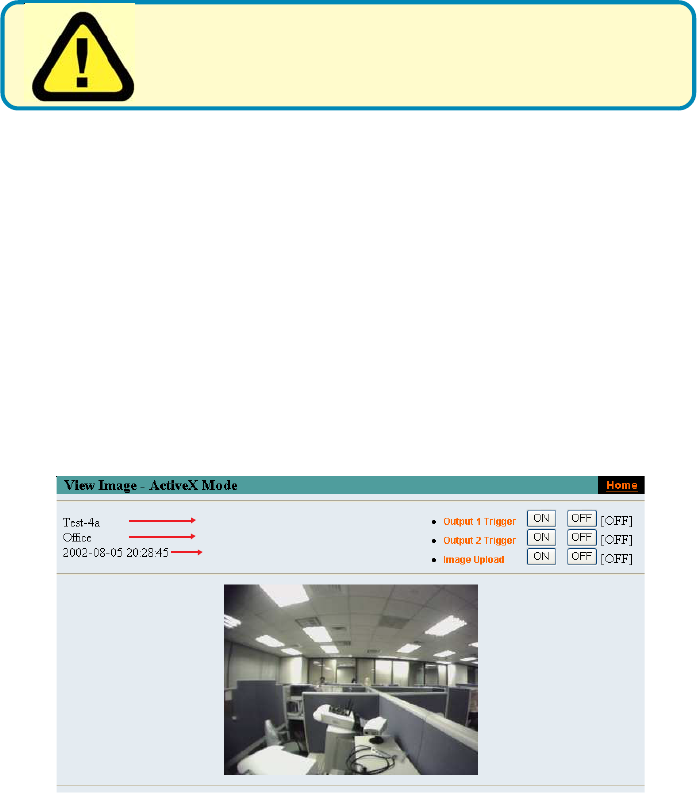
View Image – ActiveX Mode
To view video images from the browser, click on “View Image – ActiveX Mode”
in the Home screen, as illustrated below:
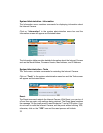
**Location- The location of the Internet Camera will be displayed when the Location field is entered
in the Web Configuration settings under “System.”
*Camera Name - The Camera name will be displayed when the Camera Name field is entered in the Web
Configuration setting under “System.”
Note:
The Network settings must be reconfigured after a
Factory Reset!
***Date/Time - The date/time of the Internet Camera will show the date and time which comes either
from the time server or from settings you have made manually.
Camera Name*
Location**
Date/Time***