2-16
Using EPSON Photo!3
L
Proof Sign-off:
BLE H.Kato E.Omori
F.Fujimori
SEI M.Kauppi
R4C4410
Rev. C
A5 size PHT3.FM
2/14/00 Pass 3
Note:
❏
Image files that were not originally downloaded from
the camera using the
Save To Folder
button, or files
not converted to EPSON Photo file forma
t
cannot be
uploaded or copied using this button. For instructions
on converting files to EPSON Photo file format, see
“Using EPSON Photo File Uploader3” on page 3-1.
❏
Image files and audio recording files are saved with
unique filenames to distinguish them.
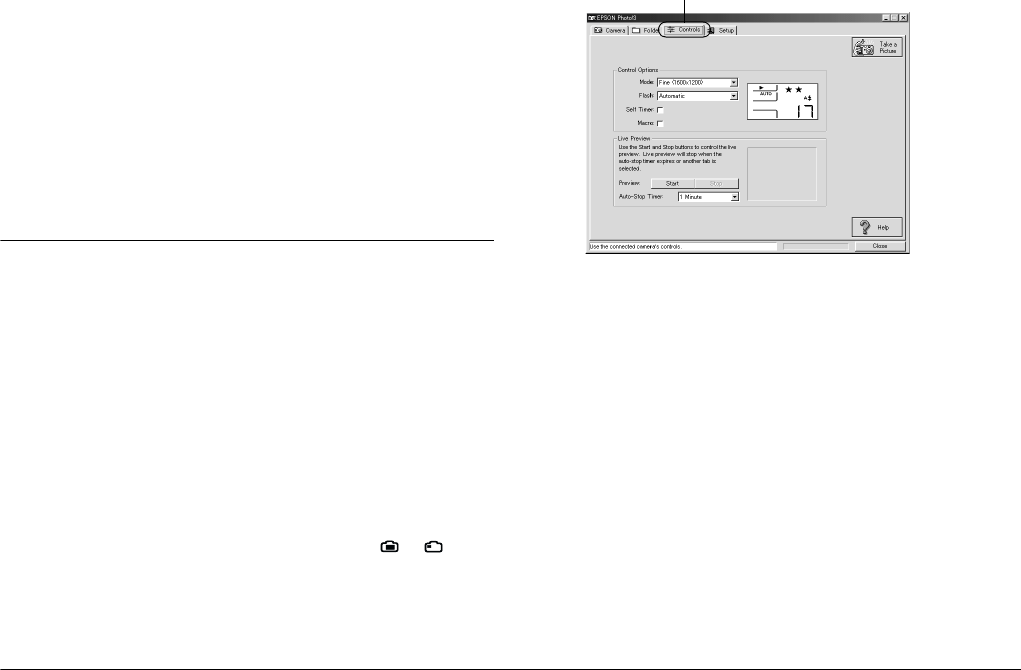
Using the Controls Menu
Click the
Controls
tab to open the Controls menu. This
menu allows you to see a live preview on your
computer screen, take photos from your computer,
and change camera settings.
When the camera is not connected to your computer,
this menu is not accessible. See “Connecting the
Camera to Your Computer” on page 1-1 to connect
your camera correctly.
Note:
Make sure to turn the camera’s dial switch to or before
starting EPSON Photo!3. If your camera is the PhotoPC
800, open the lens cover.
Note:
The display panel image varies depending on the camera
model.
Controlling the camera from your computer
You can change camera settings by using the Control
Options box in the Controls menu, just as you would
use the control buttons on the top of the camera. When
the camera is connected to the computer, you cannot
use any buttons on the camera itself other than the dial
switch.
Controls tab


