3-12
Using the Uploader Utilities
L
Proof Sign-off:
BLE H.Kato E.Omori
F.Fujimori
SEI M.Kauppi
R4C4410
Rev. C
A5 size UPLOADER.FM
2/14/00 Pass 3
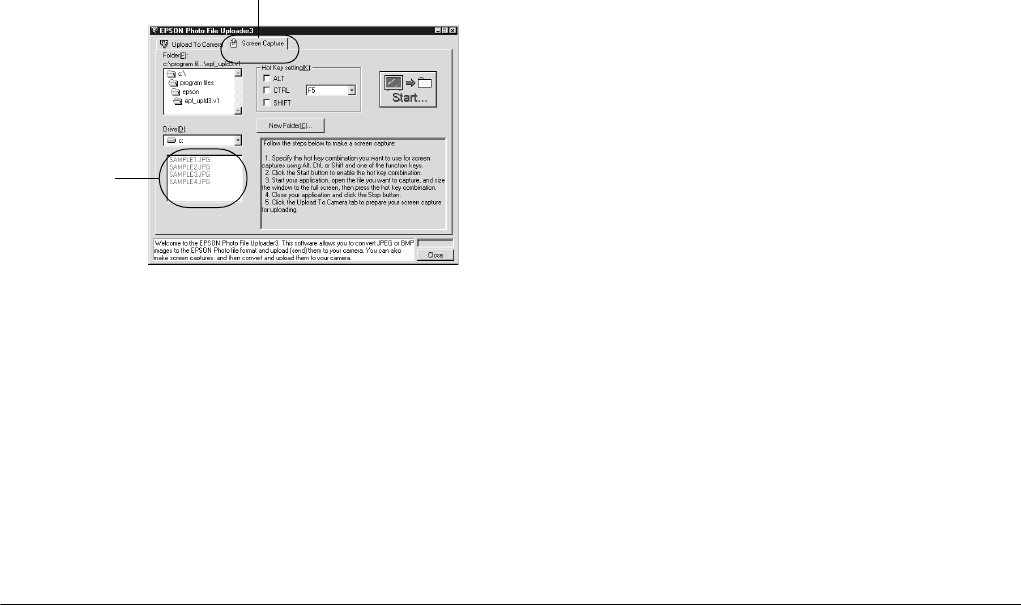
3. Click the
Screen Capture
tab. The Screen
Capture menu appears.
4. Select the folder containing the images you want
to upload using the Drive list and Folder list. Then
double-click the folder where you want to save
the screen capture. File names appear in the file
name box.
If you need to create a new folder for the images,
click
New Folder
and name a folder.
Note:
To select a folder located on a network drive, you may
need to map the drive before opening EPSON Photo
File Uploader3.
5. Specify the key combination you want to use for
screen captures using the Hot Key settings box.
Select the
ALT
,
CTRL
, or
SHIFT
check box, then
select a key from the hot key list. The default hot
key is the F5 key.
6. Click
Start
to register the key combination. When
the key combination is registered, the
Start
button
changes to a
Stop
button. The key combination
remains registered only for the current session.
Pressing the
Stop
button erases the hot key
combination.
7. Start your application and open the file you want
to capture, then press the hot key combination
you selected.
You can make as many screen captures as you
like; simply open each file you want to capture
and press your screen capture key combination
again.
Note:
File names are created automatically.
8. When you are finished making screen captures,
close your application. Then click the
Stop
button
in the Screen Capture menu. The key combination
you selected is erased.
file name box
Screen Capture menu


