3-8
Using the Uploader Utilities
L
Proof Sign-off:
BLE H.Kato E.Omori
F.Fujimori
SEI M.Kauppi
R4C4410
Rev. C
A5 size UPLOADER.FM
2/14/00 Pass 3
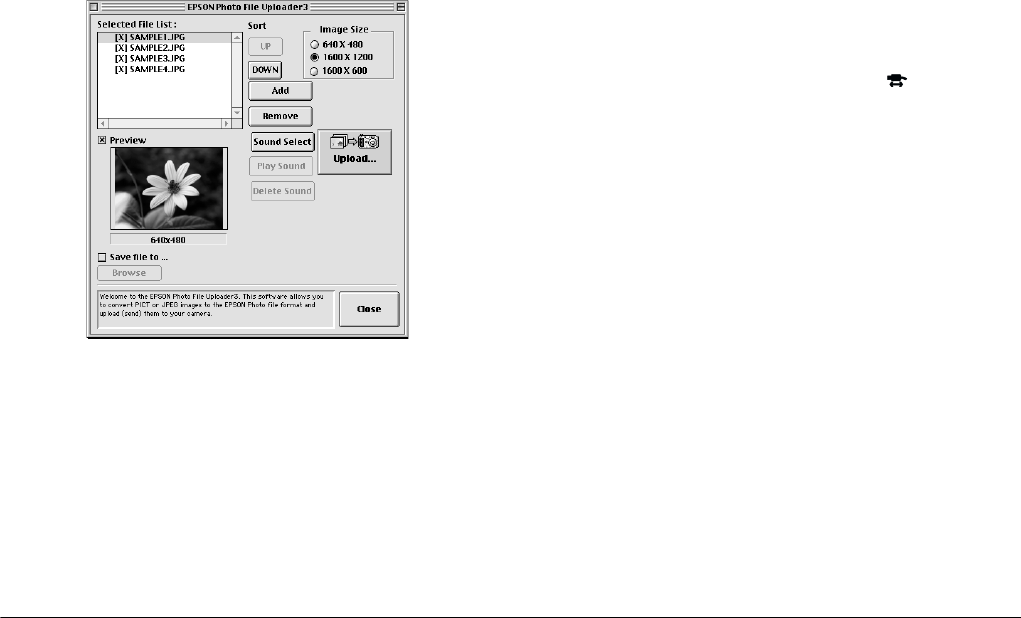
4. For each file in the Selected File List box, select an
image size in the Image Size box.
During the uploading process, EPSON Photo File
Uploader3 converts your files to EPSON Photo
file format in the image sizes you specified.
5. If you want to save copies of the converted files
on your computer, select the
Save file to
check
box before uploading the photos. Then click
Browse
and select the folder where you want to
save the files. Click
OK
. The folder you selected is
displayed to the right of the Browse button.
6. Turn the camera’s dial switch to .
7. Click
Upload
to start uploading the photos.
EPSON Photo!3 starts and shows thumbnails of
uploading images.
Pressing the command and period keys together
stops uploading. Press
OK
to stop the operation.
If you selected the
Save file
to check box in the
EPSON Photo File Uploader3 window, the
converted images are also saved to the folder you
specified.
8. Click
Select
All
and then
Upload
/
Copy
.
9. Make sure to select
Upload
into the Camera
and click
OK
. To cancel your job, click
Cancel
.
To stop uploading, click
Cancel
.


