


DIRECT PRINTING
45
English
PRINT HEAD ALIGNMENT
You can adjust the displacement of the printer head. If the printed picture
image has problems, try "Print Head Alignment".
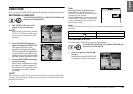
5. Use the ud buttons and select "Print Head Alignment".
Press the MENU button or the MACRO button to return to step
2
.
6. Press the FLASH button.
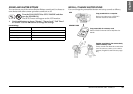
The message "An alignment sheet will be printed. Make sure that A4 or
Letter size plain paper is loaded in the sheet feeder." will appear on the
monitor. Place the paper in the printer and then press the FLASH
button to print the Print Head Alignment Check pattern.
To check the printed Print Head Alignment Check pattern, or to fix any gaps,
refer to the instructions provided with your printer.
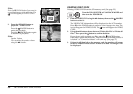
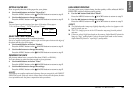
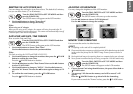
7. After printing, the Print Head Alignment screen is displayed.
Use the ud buttons and select the number lined up closest with the
printed pattern. Press the r button to return to step
6
.
Press the FLASH button to return to step
2
to confirm the new result
of Print Head Alignment.
Also, press the MACRO button to return to step
2
without changing
to a new Print Head Alignment.
ALERT
If the printer you are using does not support the Gap adjustment feature, the message
"This function cannot be performed from the camera with the printer you are using."
will appear on the monitor.
Print Head Alignment is only available on the stylus photo 830.
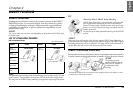
INK LEVEL CHECK
you can check the remaining amount of ink.
5. Use the ud buttons and select "Ink Level Check".
Press the MACRO button to return to step
2
.
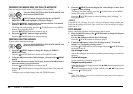
6. Press the FLASH button.
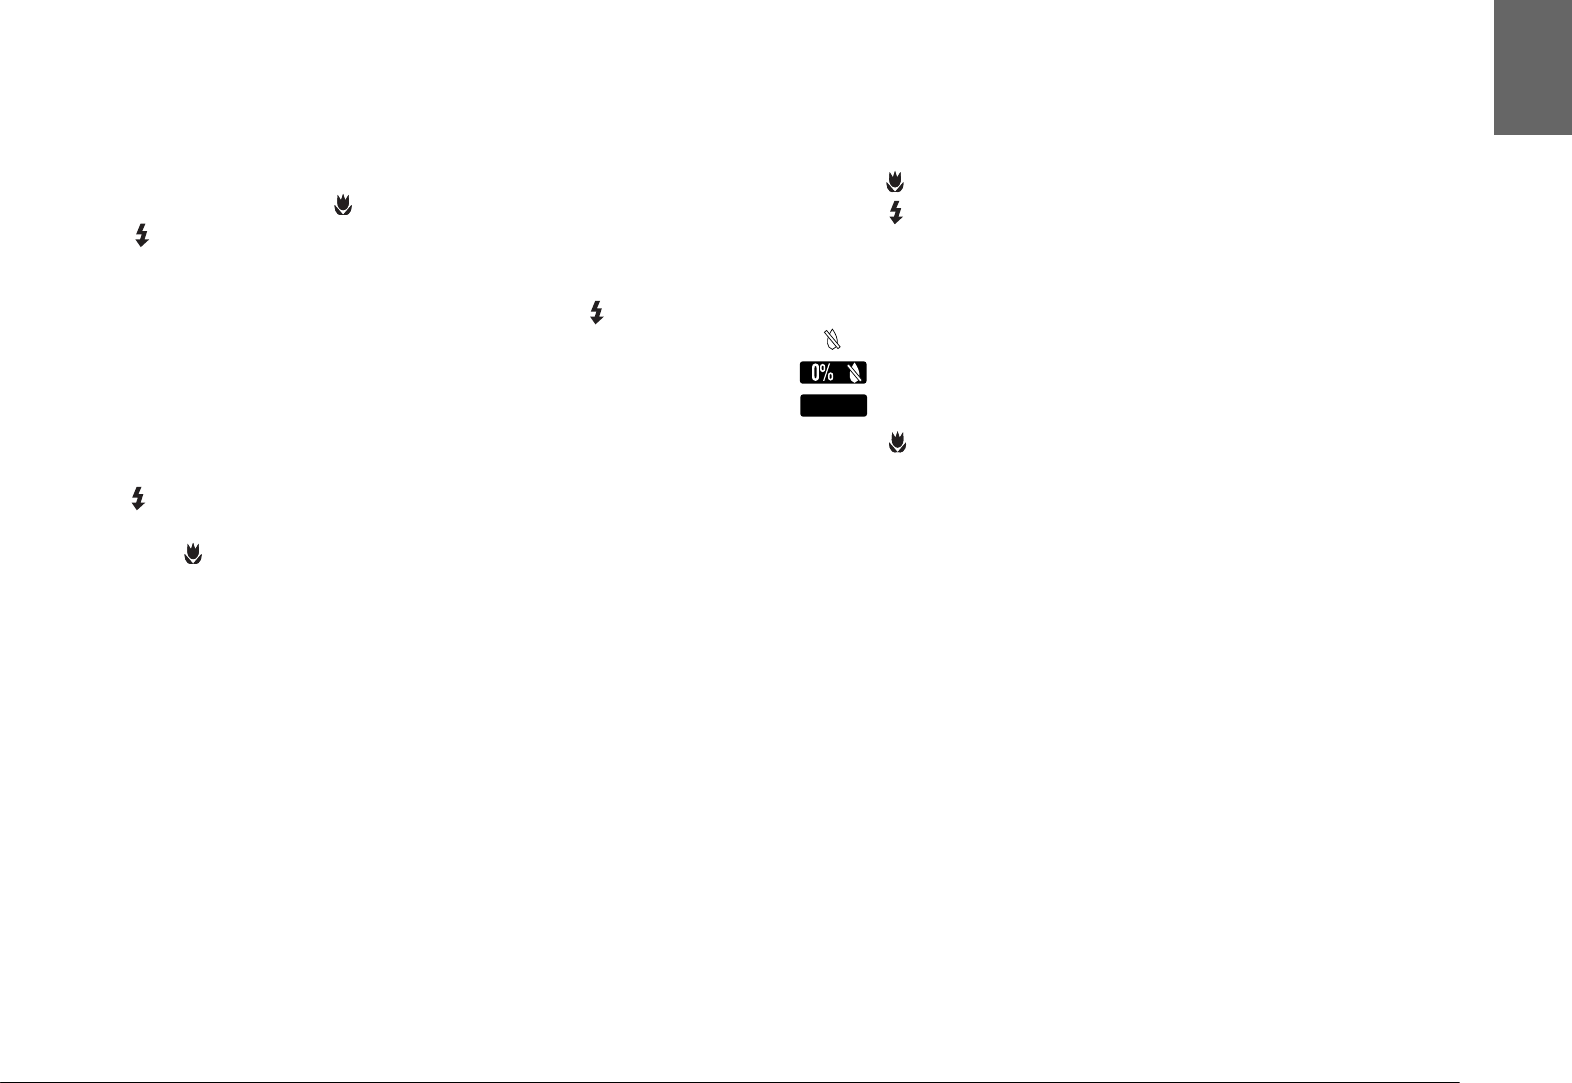
The remaining amount of ink will appear on the LCD monitor.
Note:
The following icons may appear on the LCD monitor.
7. Press the MACRO button to return to step
5
.
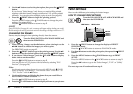
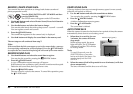
: Ink level is low.
: Printer is out of ink.
: ERROR
ERROR