17
Choosing a Layout
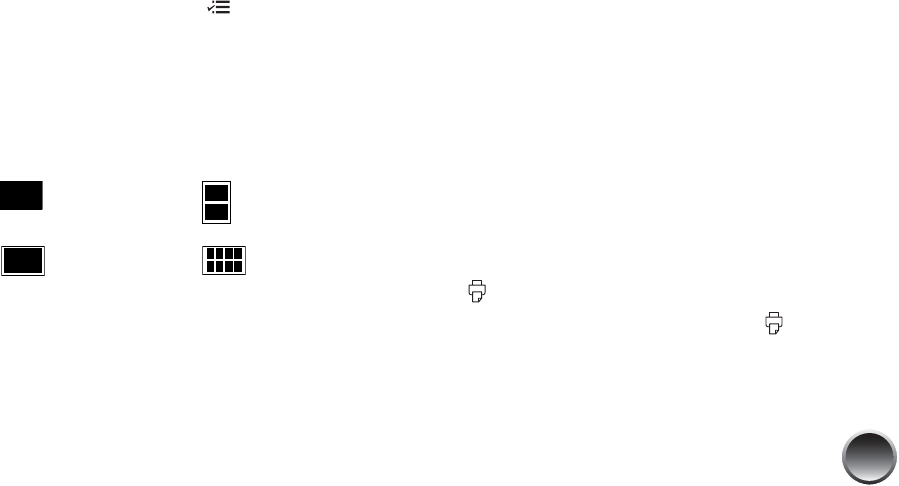
By default, your photos are printed at the full 4 × 6
size, without borders. If you want to print pictures with
white borders or place several small photos on one
sheet of paper, you can use the Layout menu to
change the layout.
1 After inserting a card, press Menu.
2 Press l or r to highlight Basic Print Settings, then
press OK.
3 Press OK to select Layout.
4 Press l or r to highlight the layout setting you
want, then press OK. You have these choices:
Note: For the fastest printing, select Border.
When you print without borders, your images are
automatically expanded and cropped around the edges.
This may cause part of your image to be cut off. You can
control the amount of expansion and cropping; see
page 20 for instructions.
5 At the photo selection screen, press OK to select
the current photo for printing. (See page 11.)
To print two or more photos per sheet, select
multiple copies or multiple photos.
For example, if you want 4 mini-wallet photos of
one image and 4 of another, select 4 copies of
photo A and 4 copies of photo B. Then choose
Mini-wallet as the layout setting.
6 Press l or r to select additional photos if you
want.
7 Adjust any other settings you want, then press
Print to preview your photos.
8 If the layout preview is correct, press Print to
start printing.
Borderless Wallet
Border Mini-wallet


