19
Note: These settings affect only your printed pictures. They do
not change your original image files.
1 After inserting a card, press Menu.
2 Press l or r to highlight Basic Print Settings,
then press OK.
3 Press l or r to highlight Enhance, then press OK.
4 Press l or r to select one of the following
options:
● Fix Photo: This setting improves your photos’
colors and increases contrast and sharpness.
It may correct images that are too dark, too
bright, or backlit. (This is the default setting.)
● P.I.M.: This information helps ensure an
accurate image reproduction for files that
include P.I.M. (PRINT Image Matching) or Exif
Print data.
● None: Prints photos as is or bypasses P.I.M. or
Exif Print data. Select this setting for the
fastest printing.
5 Press OK to apply the selected setting.
Note: The setting you select applies to all photos in the
current print job.
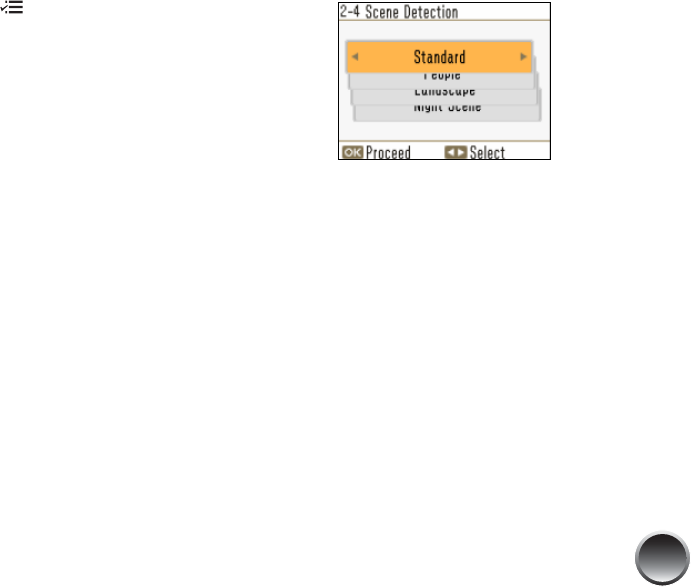
If you select Fix Photo, you see a list of 4 enhance
modes:
6 Press l or r to highlight the appropriate setting,
then press OK. If you are printing a variety of
photos, select Standard.
