Printing on CDs and DVDs 67
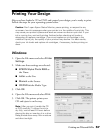
Printing Your Design
After you have loaded a CD or DVD and created your design, you’re ready to print.
Follow the steps for your operating system below.
Caution: Don’t open Epson Status Monitor, pause printing, or respond to any
on-screen, low ink messages when your printer is in the middle of a print job. This
may cause your printer to pause and leave an uneven surface on your disc. If your
ink is running low, wait until printing finishes before checking ink levels or
attempting to replace a cartridge. If you must replace an ink cartridge in the
middle of a print job, the quality of your printout may decline. For best results,
check your ink levels and replace ink cartridges, if necessary, before printing on
discs.
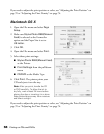
Windows
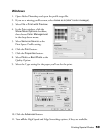
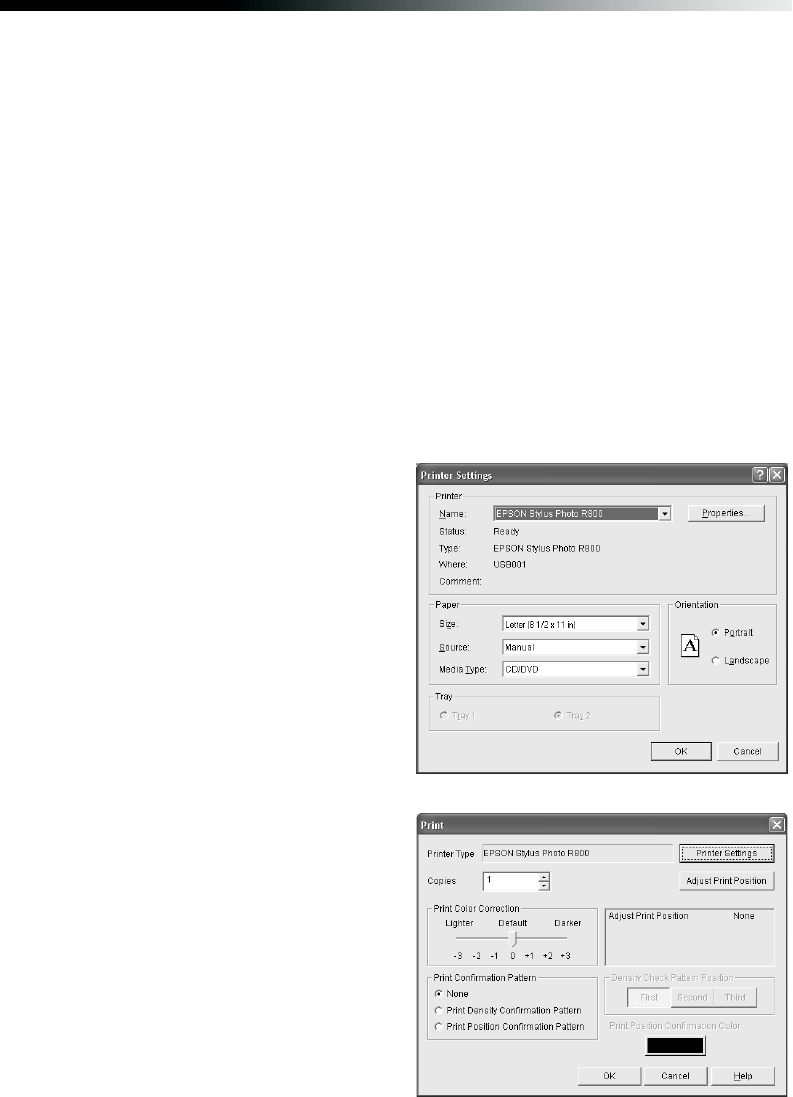
1. Open the File menu and select Printer
Settings.
2. Make sure these settings are selected:
■ EPSON Stylus Photo R800 as
the Name
■ Letter as the Size
■ Manual as the Source
■ CD/DVD as the Media Type
3. Click OK.
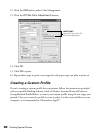
4. Open the File menu and select Print.
5. Click OK. The printer prints your
CD and ejects it on the tray.
Note: After you print, handle the CD
or DVD carefully. To allow the ink to
dry fully, wait at least 24 hours before
playing the disc or inserting it in a drive.
Keep printed discs away from moisture
and direct sunlight.


