


70 71
Advanced Features
3
70
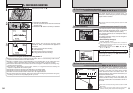
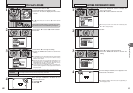
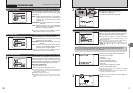
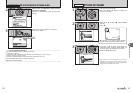
Use this setting to adjust the quality of the image,
including making the colors more vivid or toning the
colors down.
HIGH: Obtains deep and vivid color. This setting is
effective for taking more vivid shots of
subjects such as scenery (blue sky and
greenery etc.).
STANDARD: The camera determines the correct
saturation.
LOW: Obtains soft color. This setting produces
beautiful images that retain the natural
ambience in low-light conditions.
●
!
This setting is disabled when selecting “ù” p-CHROME or
“
ñ” p-B&W in the “ü” FinePix COLOR setting.
‘
SATURATION
Available Photography modes: N, M, <, >
SATURATIONSATURATION
1
2
EVEV
OFFOFF
OFFOFF
HIGHHIGH
STDSTD
LOWLOW
STDSTD
STDSTD
STDSTD
1
3
:
:
:
:
:
:
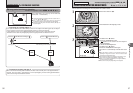
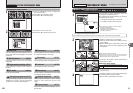
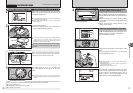
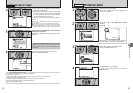
Use this setting to raise or lower the contrast.
HARD: Emphasizes the contrast. This setting
provides crisp, clear images.
STANDARD: The camera determines the correct
contrast.
SOFT: Lowers the contrast. Bright areas are less
likely to be washed out and dark areas are
less likely to turn completely black.
●
!
This setting is disabled when selecting “ù” p-CHROME or
“
ñ” p-B&W in the “ü” FinePix COLOR setting.
“
CONTRAST
Available Photography modes: N, M, <, >
CONTRASTCONTRAST
1
2
EVEV
OFFOFF
OFFOFF
HARDHARD
STDSTD
SOFTSOFT
STDSTD
STDSTD
STDSTD
1
3
:
:
:
:
:
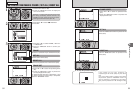
Á
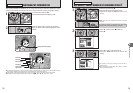
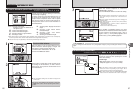
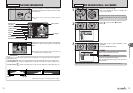
BRACKETING
Available Photography modes: N, M, <, >
PHOTOGRAPHY MENU
PHOTOGRAPHY MENU
✽ Displaying the menus (➡P.63)
Use this setting to photograph the same image with
different exposure settings. Bracketing shoots 3
continuous frames, one of which is correctly
exposed while the remaining two are underexposed
and overexposed respectively by a set amount.
hBracketing settings (3)
±1/3 EV, ±2/3 EV, ±1 EV
See P.151 for more information on EVs.
●
!
If the underexposed or overexposed frame is outside the
camera’s control range, the picture is not taken with the
specified setting increments.
●
!
Flash photography cannot be used.
●
!
This feature always takes 3 shots. However, if there is
insufficient space on the media for 3 shots, no picture will be
taken.
1
BRACKETINGBRACKETING
1
2
: :
OFFOFF
OFFOFF
STDSTD
STDSTD
STDSTD
1
3
EVEVEVEV
1
3
EVEV
EVEV
2
3
1 1
:
:
:
:
:
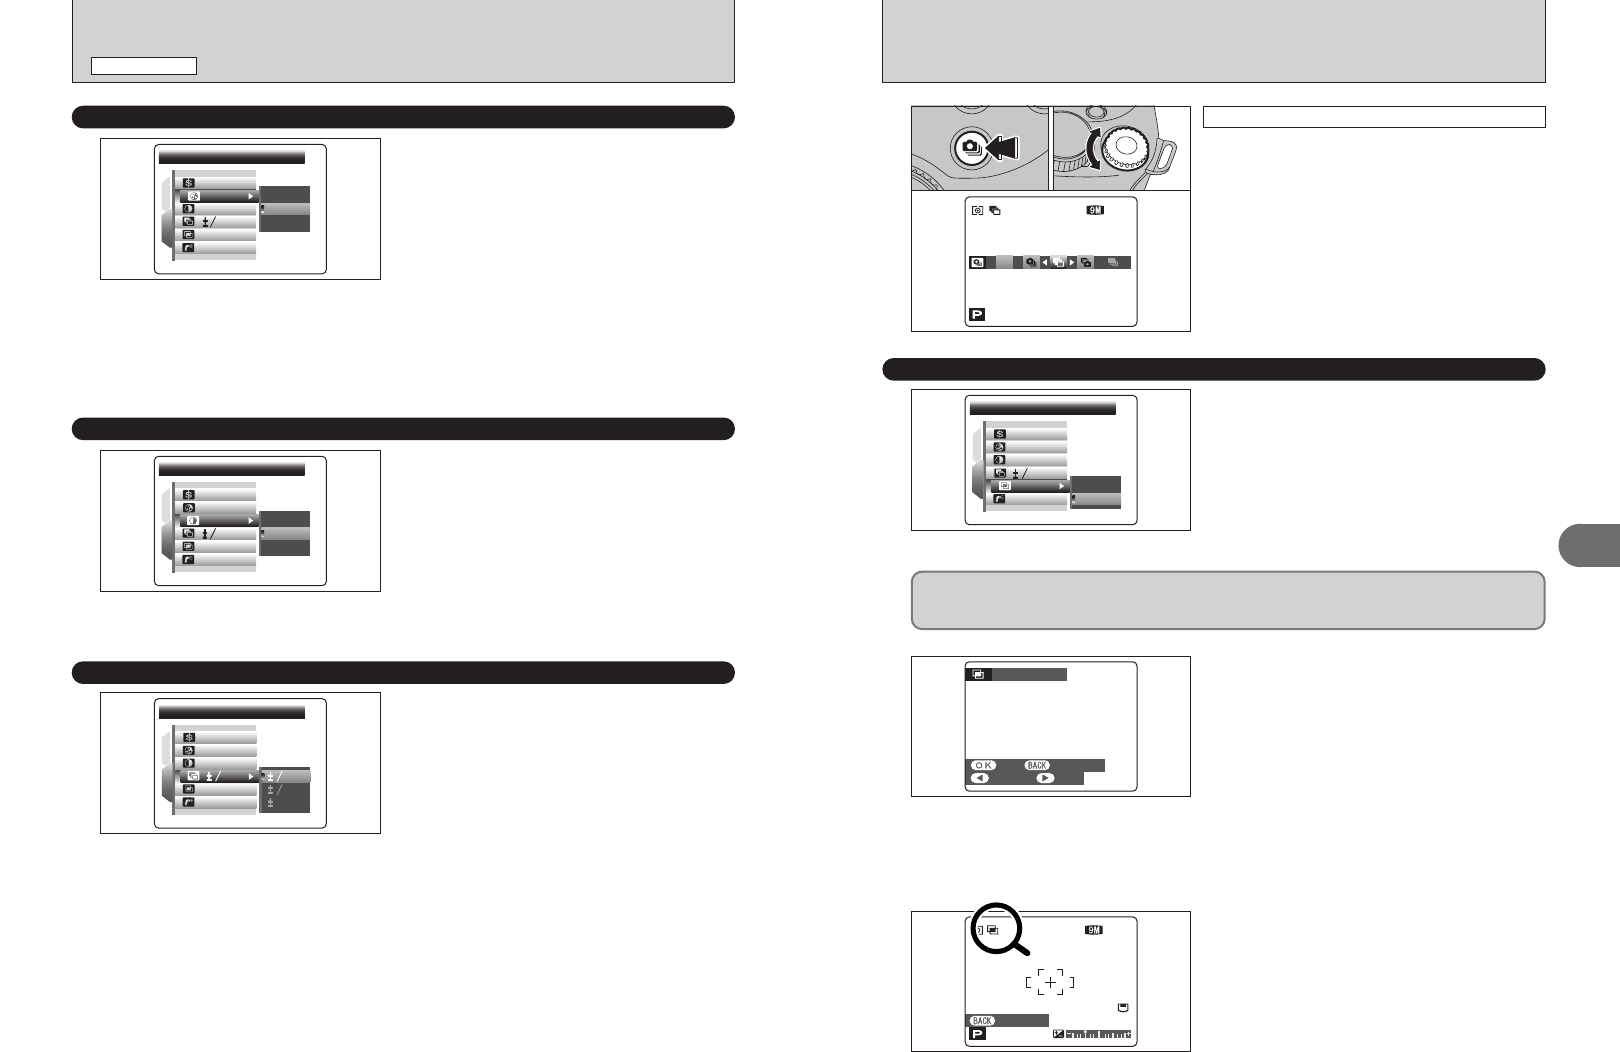
After setting the exposure for bracketing:
1 Hold down the “f” button.
2 Turn the Command dial to select “j”.
2
OFFO F F
320320320320 F5.6F5.6F5.6F5.6
ISO
200
ISO
200
ISO
200
66
NNN
01 02
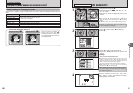
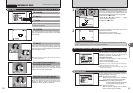
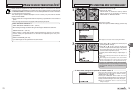
Multiple exposure provides a way of overlaying
images on top of each other to give a final image
that cannot be got through normal photography.
●
!
When the image is overexposed, use negative compensation
in the brightness (exposure compensation) setting to correct
the exposure (➡P.45).
●
!
Only the optical zoom can be used for multiple exposure
shots. The digital zoom (➡P.29) does not function.
●
!
This mode is canceled when changing the Mode dial to
“
B”, “√”, “À”, “U”, “,”, “/” or “r”, and turning the
camera off.
È
MULTIPLE EXPOSURE
Available Photography modes: N, M, <, >
MULTI-EXPOSUREMULTI-EXPOSURE
1
2
EVEV
OFFOFF
OFFOFF
OFFOFF
ONON
STDSTD
STDSTD
STDSTD
1
3
:
:
:
:
:
:
h Continuous shooting and auto bracketing are disabled when MULTI-EXPOSURE is selected.
h You cannot change the photography menu settings and the quality setting during shooting.
h There is no limit on the number of multiple exposures.
1
A preview screen appears when taking a picture.
hTo overlay more images
Press “c”.
hTo record the image
Press the “MENU/OK” button.
hTo return to the previous image
Press “d”.
hTo stop without recording any images
Press the “DISP/BACK” button.
●
!
A preview image is always shown, regardless of the IMAGE
DISPLAY setting (➡P.101).
●
!
Changing the Photography mode exits multiple exposure
mode without recording the images.
CANCELCANCEL NEXTNEXT
RECREC CANCEL ALLCANCEL ALL
MULTI-EXPOSUREMULTI-EXPOSURE
2
From the 2nd shot onwards, the yellow “·” icon
appears on the screen.
320 F5.6
ISO
200
ISO
200
ISO
200
66
NNN
CANCEL ALLCANCEL ALL
Auto bracketing