Normal playback
No text displayed
Multi-frame playback
2
33
VIEWING YOUR IMAGES
(
PLAYBACK
)
32
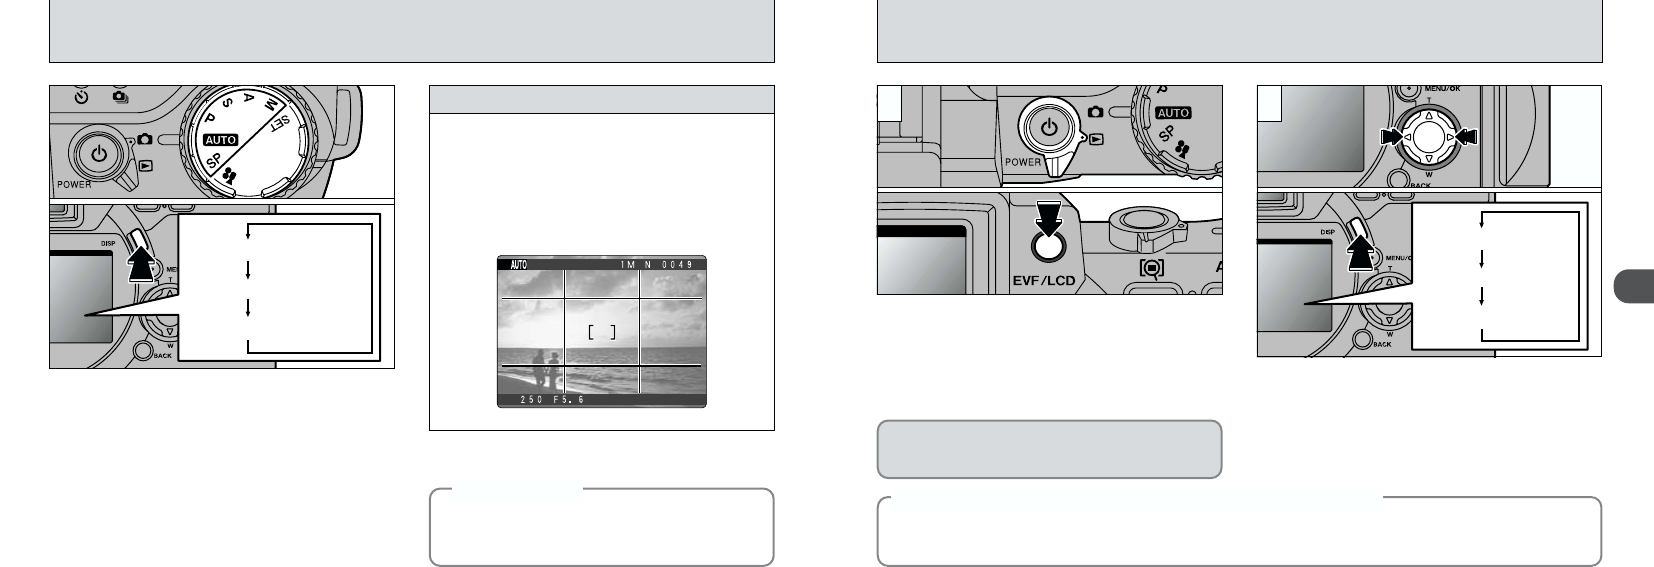
FRAMING GUIDELINE FUNCTION
21
This function can be selected in the “5 • 4 •
9 • 0 • - and 3” photography modes. The
screen display changes each time you press the
“DISP” button. Press the “DISP” button to display
the framing guideline.
●
!
The framing guideline is not recorded on the image.
●
!
The lines in the scene frame roughly divide the
recorded pixels into three equal parts horizontally and
vertically. When the image is printed, the resulting
print may be shifted slightly from the scene frame.
Text displayed
Framing Guideline displayed
No text displayed
Scene
Use this frame when you want to position your
main subject in the center of the frame or when
you want to align your shot with the horizon.
This feature allows you to compose a shot that
captures the moment while focusing on the
subject size and the overall balance of the shot.
Always use the AF/AE lock to compose your
picture. Failing to use the AF/AE lock may
result in the image being out of focus.
◆
Important
◆
You can use “c” and “d” button to move forward
and backward respectively through your images.
The monitor display changes each time you
press the “DISP” button.
●
!
If image on the monitor is difficult to see, adjust the
monitor brightness (➡P.102).
◆
Images That Can be Viewed on the FinePix6900 ZOOM
◆
You can use this camera to view (excluding some uncompressed data) images recorded on an
FinePix6900 ZOOM or images recorded onto a 3.3V SmartMedia using a FUJIFILM FinePix series,
MX series and DX series digital camera.
➀
Set the Mode switch to “2”.
➁
The setting toggles between the viewfinder
(EVF) and the monitor (LCD) each time you
press the “EVF/LCD” button.
●
!
When you set the Mode switch to “2”, the last
image shot is displayed.
The EVF/LCD selection setting is retained
when the mode is switched or the camera
is switched off.
●
➀
●
➁


