3
5352
FLASH PHOTOGRAPHY
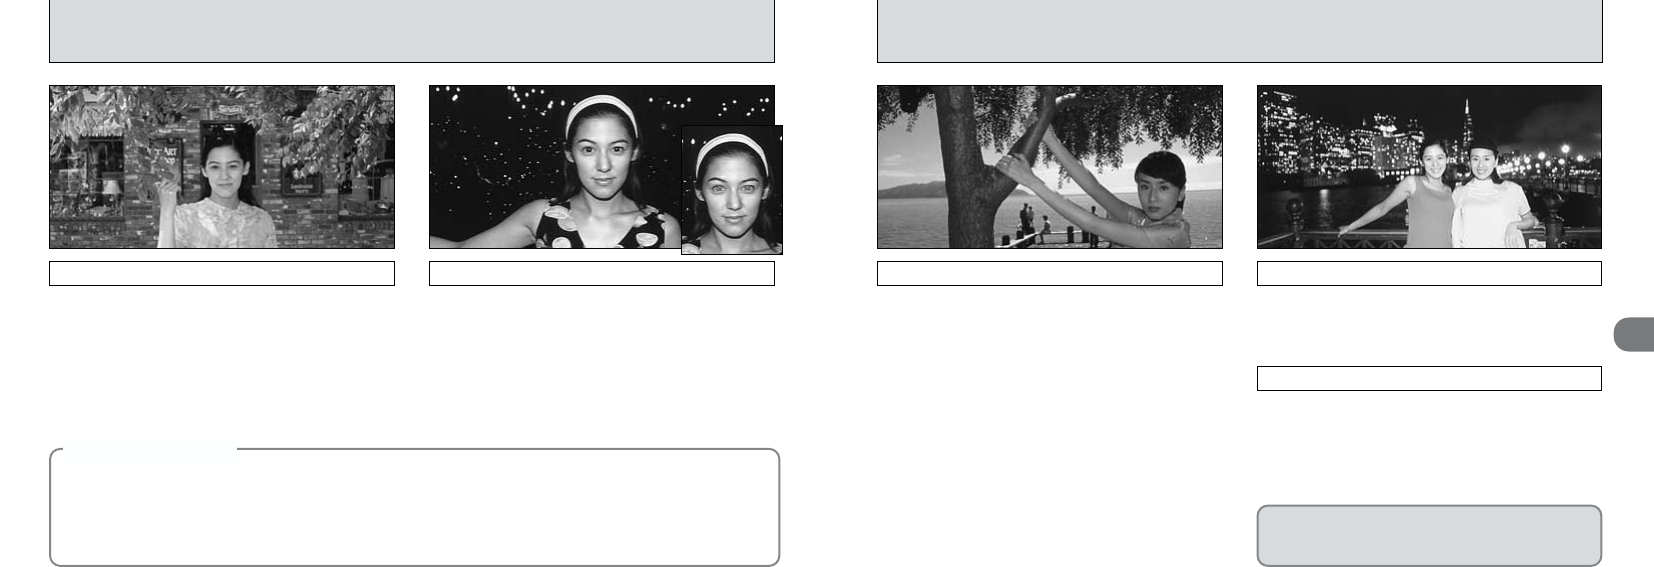
Use this mode for ordinary photography. The
flash fires automatically as required by the
shooting conditions.
i
Auto Flash Mode
\
Red-Eye Reduction
Use this mode to ensure that the subject’s eyes
appear natural when photographing people in
low-light conditions.
The flash fires a pre-flash just before the picture is
taken and then fires again to take the actual picture.
●
!
The
\
red-eye reduction flash in “
5
” or “
4
” mode
fires automatically when required by the conditions.
◆
Red-Eye Effect
◆
When you use the flash to photograph people in low-light conditions, their eyes sometimes appear
red in the picture. This is caused by the light of the flash reflecting off the inside of the eye. Use
Red-Eye Reduction flash to effectively minimize the likelihood of the red-eye effect.
Take the following measures to make Red-Eye Reduction more effective :
●
Get the subjects to look at the camera.
●
Get as close as possible to the subjects.
7
Forced Flash
Use this flash mode to photograph backlit
scenes, such as a subject against a window or
in the shade of a tree, or to obtain the correct
colors when you are shooting under lighting
such as fluorescent tubes. In this mode, the
flash fires in bright as well as dark conditions.
This is a flash mode that uses a slow shutter
speed. This allows you to take pictures of people
at night that clearly show both your subjects and
the nighttime backdrop.
Slow Synchro
●
!
The image may be overexposed when you shoot
bright scenes.
●
!
Because a slow shutter speed is used, a tripod
should be used to prevent camera shake.
Use this mode for slow synchro shots with red-
eye reduction.
Red-Eye Reduction + Slow Synchro
To take a picture of a main subject at night with
the background brightly lit, please use the “4”
mode “y” (Night Scene) settings (➡P.43).
L
:


