


29
Using the Camera
2
28
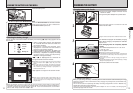
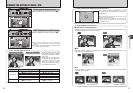
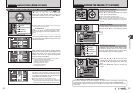
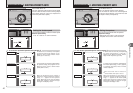
Single-frame playback
1Set the Power switch to “w”.
2Press “c” to scan forward through your images.
Press “d” to scan backwards.
●
!
Turn the Command dial to select the image.
●
!
Set the Power switch to “w” to play back the last shot.
●
!
When the lens is extended during playback, the lens retracts
as a protective measure if the camera is not used for 6
seconds.
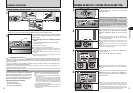
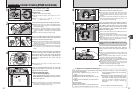
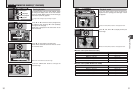
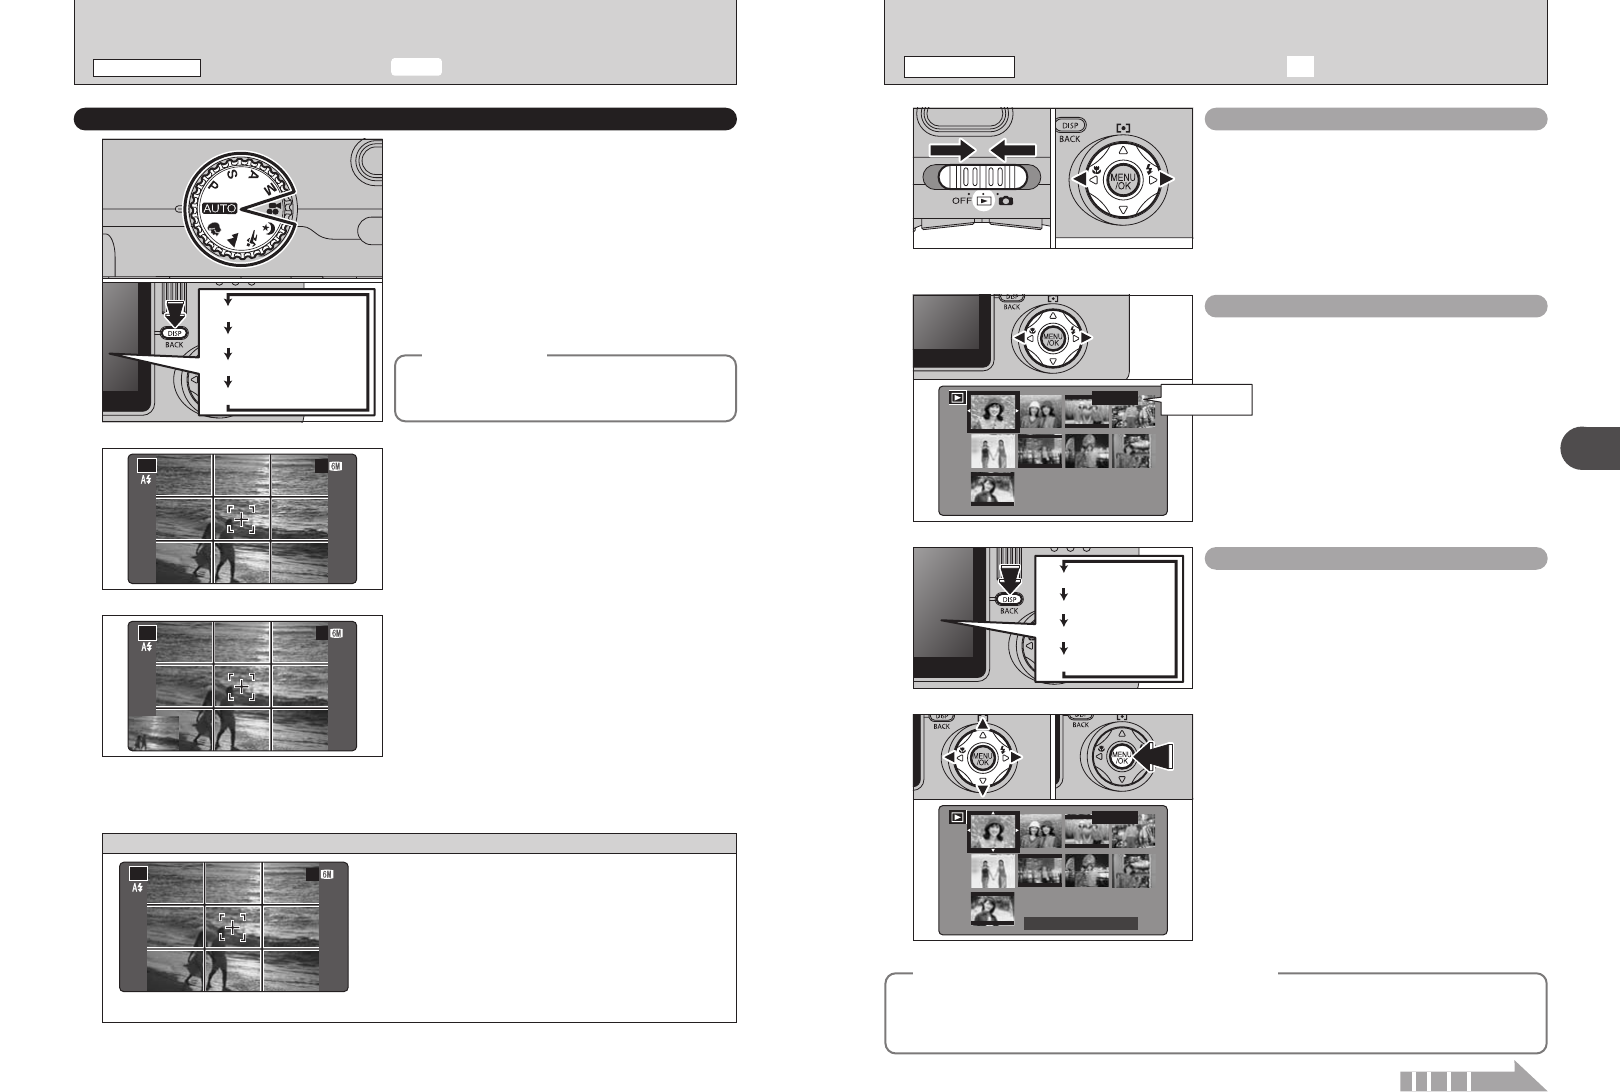
Multi-frame playback
In Playback mode, press the “DISP (BACK)” button
to change the display shown on the LCD monitor.
Press the “DISP (BACK)” button until the multi-
frame playback screen (12 frames) appears.
1Press “a”, “b”, “d” or “c” to move the cursor
(orange frame) to the frame you want to select.
Press “a” or “b” repeatedly to jump to the next
page.
2Press the “MENU/OK” button to enlarge the
image.
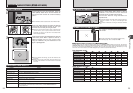
Text displayed
Multi-frame playback
Sorting by date
No text displayed
◆
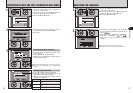
Still images viewable on the FinePix F810
◆
01 02
This camera will display still images recorded on the FinePix F810 or still images (excluding some
uncompressed images) recorded on any FUJIFILM digital camera that supports xD-Picture Cards.
Clear playback or digital zooming may not be possible for still images shot on cameras other than the
FinePix F810.
01 02
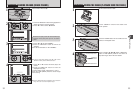
Selecting images
To select images on the thumbnail lists screen,
hold down “d” or “c” for 1 second during playback.
Playback
frame number
VIEWING THE IMAGES
(
w PLAYBACK
)
PLAYBACK MODE
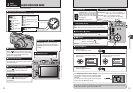
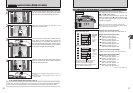
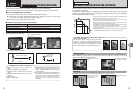
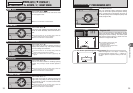
The framing guideline display consists of horizontal
and vertical lines that divide the image on the LCD
monitor into 9 frames.
When a picture is taken with the framing guideline
displayed, the photographed image appears in the
bottom left corner of the LCD monitor (assist
window). This serves as a guide for taking other
shots with similar compositions.
●
!
Any of the following clears the image in the assist window:
i Setting the camera to Playback mode
i Trying to change the FinePix COLOR setting
i Changing to continuous shooting
i Displaying the SET-UP screen
i Connecting the USB cable
i Turning the camera off
BEST FRAMING
(
SHOOTING ASSISTANT FUNCTION
)
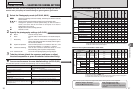
Select the framing guideline in the “B”, “m”,
“,”, “.”, “/”, “N ”, “M”, “< ” or “>” mode.
Pressing the “DISP (BACK)” button changes the
LCD monitor display. Press the “DISP (BACK)”
button until “Framing Guideline” appears.
●
!
In Macro mode, AF Area or Manual Focus is selected, the
LCD monitor cannot be set to OFF.
◆
Important
◆
Always use AF/AE lock when composing a shot.
The image may be out of focus if AF/AE lock is not
used.
Scene
Position the main subject at the intersection of
two lines in this frame or align one of the
horizontal lines with the horizon. Use this frame
as a guide to the subject’s size and the balance
of the shot while composing a shot.
●
!
The framing guideline is not recorded on the image.
●
!
The lines in the scene frame divide the image into 3
roughly equal parts horizontally and vertically. The resulting
printed image may be shifted slightly from the scene frame.
Continued
TAKING PICTURES
(
B AUTO MODE
)
PHOTOGRAPHY MODE
Text displayed
No text displayed
Framing guideline displayed
LCD monitor OFF