


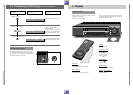
Allgemeiner Teil / General GV44…, GV45…, GV46…
1 - 50 GRUNDIG Service-Technik
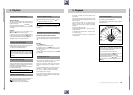
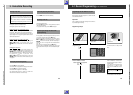
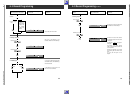
5. Immediate Recording
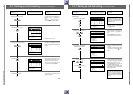
Entering a Stop Time
There are two methods of entering the stop time:
Entering the stop time to the exact minute;
Entering the stop time in 30-minute steps.
Entering the stop time to the exact minute
Enter the stop time as a four-digit number with the numbered
buttons
1
...
0
and confirm by pressing the
OK
button.
In the display will see the remaining playing time, then the
elapsed laying time, the programme position and the station
identification abbreviation.
Entering the stop time in 30-minute steps
Enter the desired stop time by repeaedly pressing the
M
RECORD
;
buttons on the remote control or the
M;
buttons on the recorder (max.10 times = 300 minu-
tes).
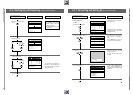
Changing the stop time
If you wish to change the stop time while recording, press
both of the
M
RECORD
;
buttons on remote control or the
M;
buttons on the recorder, enter the desired stop time
with the numbered buttons
1
...
0
and confirm this entry
by pressing the
OK
button, or press both of the
M
RECORD
;
buttons on the remote control or both of the
M;
buttons on the recorder until the desired stop time
is displayed.
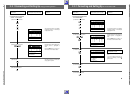
Interrupting the Recording (Pause)
Press the
K
button during playback.
The indication "
II
" also appears in the display of the recorder.
Press the
K
button to continue recording.
The indication "
II
" disappears from the display.
The recording-pause function is limited to a certain time.
After this time, the recorder will switch to stop.
If a stop time is not entered, after a short time the display
will switch to the hours/minutes indication and the recor-
der will continue to record until it reaches the end of the
tape.
When it reaches the end, the recorder will automatically
rewind the tape to the beginning and then switch to stop.
Terminating Recording Immediately
Press the
`
button to terminate recording.
Recording a Title Line
Title lines can be recorded.
Press the
*
button before or during recording to add the
title line to the recording.
To suppress the title line, press the
*
button again.
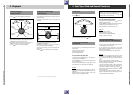
Assembling Recordings with Clean Joints
(Assembly Editing)
During playback, locate the tape position where you wish to
join the new recording, then press the
K
button.
Switch the recorder to recording-pause by pressing the two
M
RECORD
;
buttons on the remote control, or press the
M;
buttons on the recorder, and enter the desired pro-
gramme as one or two digits with the numbered buttons
1
...
0
.
Start the "new" recording by pressing the
K
button.
When you play the assembled recordings back, you will see
smooth joints without any flaws. This is called assembly edit-
ing.
ŁŁ
Check time and date.
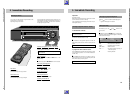
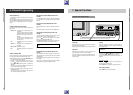
6.1 Record Programming for sets with ShowView
Programming with the VIDEO Plus+ System,
Enter the data as described in chapter 2.1 so that the recorder
can evalnate the ShowView.
Preparation
Insert a cassette with sufficient recording time and which is
not protected against recording.
Programming example
2. Enter the VIDEO Plus+ number
code for the desired TV programme
1
...
0
,
Enter the VIDEO Plus+ number code in
the same sequence as given in the pro-
gramme journal.
If you want to record programmes at
the same time on a daily or weekly
basis, press the
EW/ED
button once or
twice.
The tape speed (standard or longplay)
can be selected with the
LP
button.
The Function "daily" is not possible
for recording on Saturdays or Sun-
days.
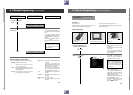
AV/CV
TRACKING
PROGRAM
2
3
1
5
4
8
9
7
0
SAT
6
EW/ED
SET
ɠ
OK
CL
CHECK
AUTO
ļ
Ļ
ON/OFF
TIMER
RECORD
TV
AV
Ǽ
Ļ
ļ
+
–
PROGRAM
ɚ
ɫ
Hi-Fi
COUNT
0000
LP
ɺ
Ǽ
V
S-VHS
ı
RP 33
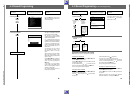
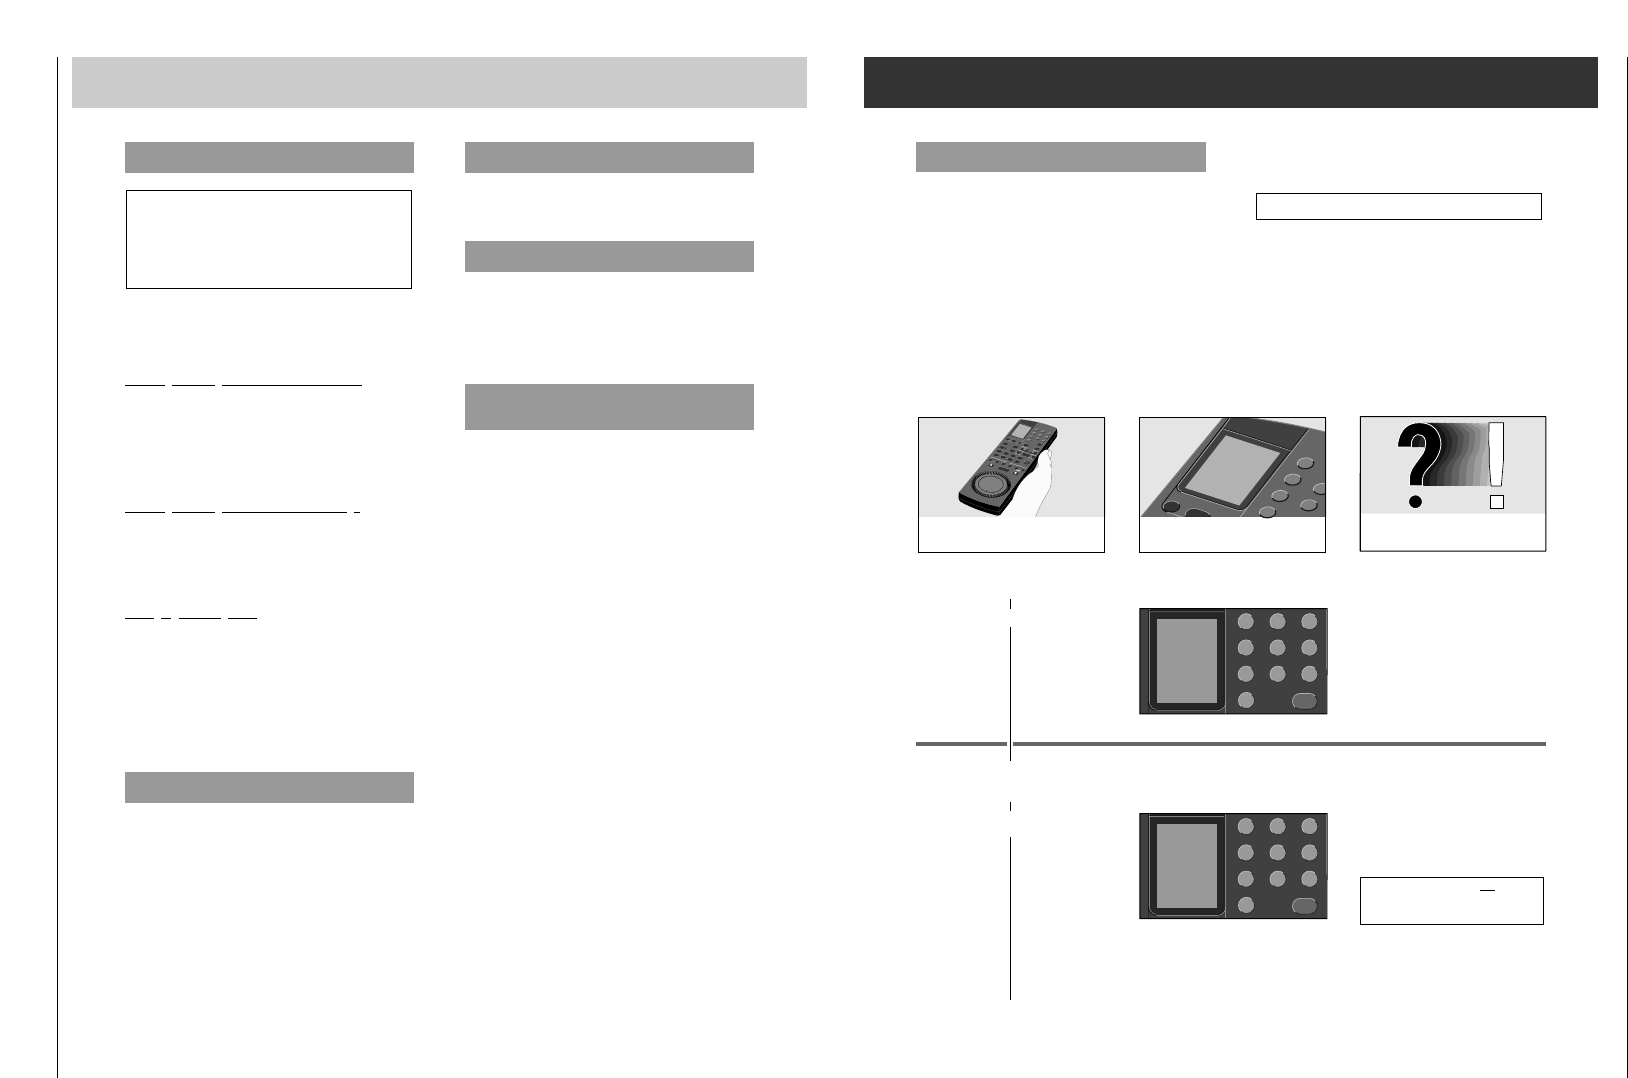
Press these buttons on the remote
control
1
5
4
8
7
0
EW/E
D
SET
You will see this in the display of the
remote control
VG400024
Explanations
1. Programming start
ʺ
,
The remote control is ready for data
entry.
ŁŁ
2 31
54
8 97
0
SAT
6
-----
–– ––
2 31
54
8 97
0
SAT
6
7654-
–– ––