


Allgemeiner Teil / General GV44…, GV45…, GV46…
1 - 56 GRUNDIG Service-Technik
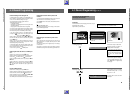
7. Special Functions
Switch the recorder to recording-pause by pressing both of
the
M;
buttons.
"
●
ll" will appear in the display of the recorder.
Turn the jog-knob (inner knob) to the left or right until "
CV
"
appears in the display of the recorder.
In the playback mode of the camcorder, locate the beginning
of the desired scene. The audio recording level is automatical-
ly controlled.
If you wish to manually adjust the audio recording level,
press the
Ü
button and use the
Q
RECORD LEVEL
W
but-
tons to adjust the recording level until the first red mark of
the sound level display (+ 1 dB) lights up during the loudest
passages.
Then press the pause button on the camcorder (playback
pause).
Simultaneously start playback on the camcorder and re-
cording on your recorder by pressing the
M;
buttons
again.
Copying is started and the TV screen can be used as a moni-
tor for checking.
Recording title lines
If you press the
*
button on the remote control before or
during recording, the title line is added to the recording.
In order to suppress the title line, press the
*
button on
the remote control again.
Press the
`
button to terminate recording.
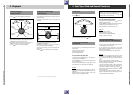
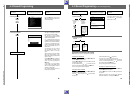
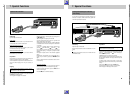
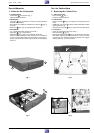
Operation with a Camcorder
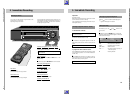
Ǽ
MIC L R
AUDIO IN VIDEO IN / CV
y
MAN DUBBING
INSERT
RECORD LEVEL
S
-
VHS
y
OK
CL
SET CHECK EW/EDON/OFF
TIMER
Connecting
Open both flaps on the recorder.
Video signal
Connect the VIDEO IN/CV socket of your recorder with the
corresponding video socket of the camcorder.
Camcorder with mono sound
Connect one of the L AUDIO IN R sockets of your recorder
with the audio socket of your camcorder.
Camcorder with stereo sound
Connect the L AUDIO IN R sockets of your recorder with the
audio sockets of your camcorder.
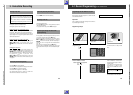
Preparation
Switch the TV set on (serves as a monitor for checking) and
select the programme position for video playback.
Insert the cassette to be copied into the camcorder and a cas-
sette with sufficient playing time into your recording re-
corder.
Copying
In the playback mode of the video recorder, locate the end of
the scene where the new recording is to be joined and press
the
K
button (playback pause).
"II" will appear in the display of the recorder.
Unless otherwise stated, execute the following functions
with the buttons on the video recorder.
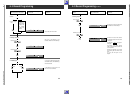
7. Special Functions
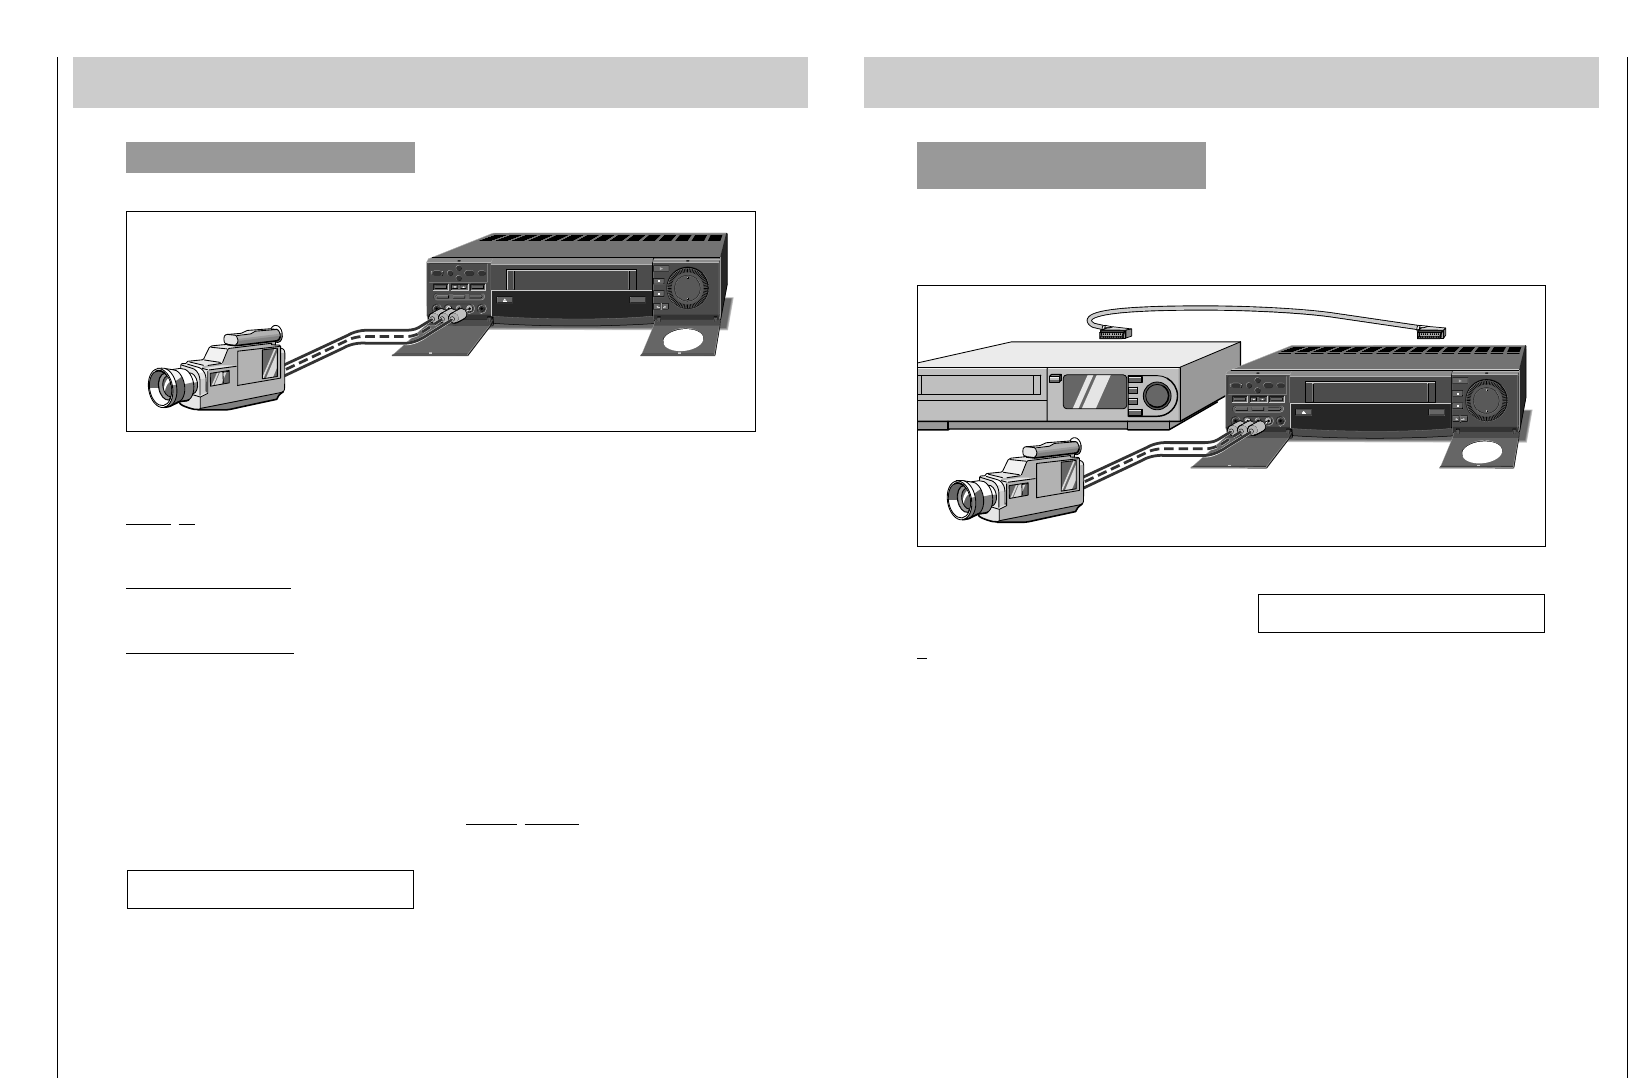
Inserting New Recordings at a Later Date
(Insert Editing)
You can insert new recordings into existing recordings at a
later date, for example, certain scenes that are played back
from external picture/sound sources.
Preparation
In the playback or the picture search mode, locate the tape
position where the recording to be inserted should end, then
press the
K
button and then the
'
button. The tape posi-
tion is electronically marked.
"
INSERT
" appears in the display of the recorder.
The hours/minutes display is automatically switched to the 5-
digit tape length indication. The display is automatically reset
to "
0:00:00
".
In playback mode (reverse picture search or reverse play),
locate the tape position where the recording to be inserted is
to begin.
Then press the
K
button and then the
'
button.
The recorder automatically switches to recording-pause.
"
●
ll" will appear in the display of the recorder.
Unless otherwise stated, execute the following functions
with the buttons on the video recorder.
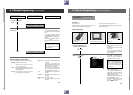
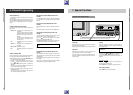
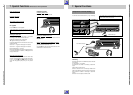
Ǽ
MIC L R
AUDIO IN VIDEO IN / CV
y
MAN DUBBING
INSERT
RECORD LEVEL
S
-
VHS
y
OK
CL
SET CHECK EW/EDON/OFF
TIMER
Connecting
Open both flaps on the recorder.
Connect the picture/sound source to the EURO-AV A1 or A2
socket;
or
connect the picture/sound source to the L AUDIO IN R and
VIDEO IN/CV sockets.
ŁŁ