


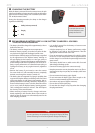
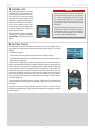

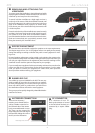
17
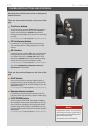
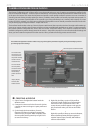
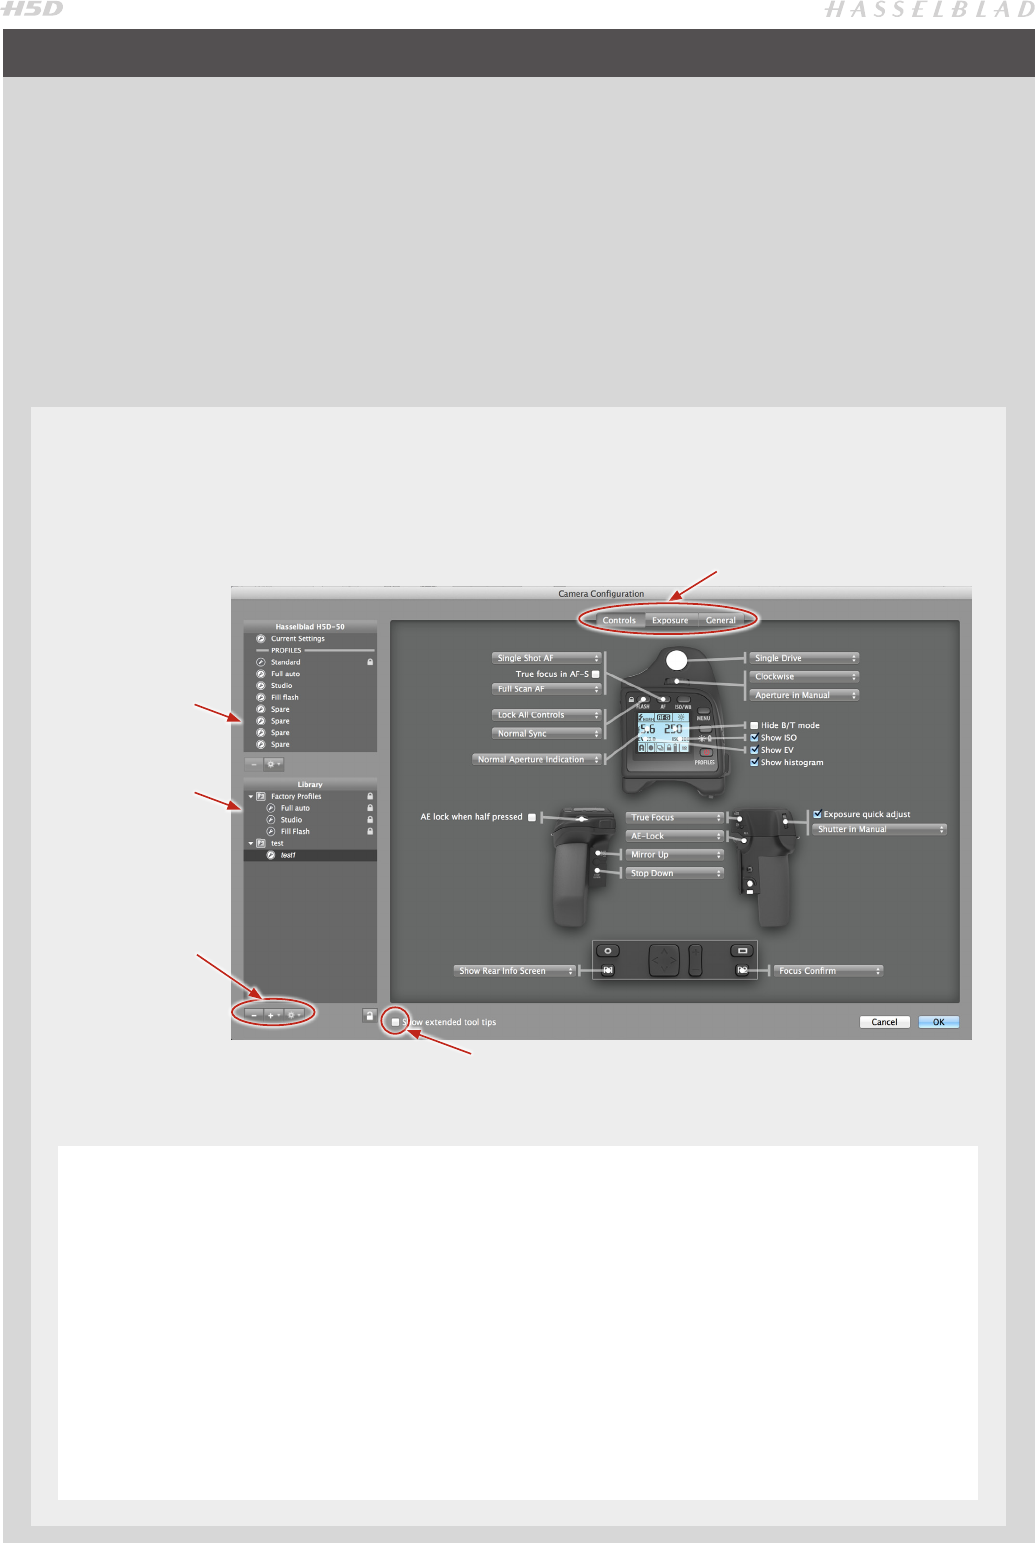
The Camera Configuration tool in Phocus offers a very thorough and secure way of creating comprehensive profiles for the
H5D. There are three windows – Controls, Exposure and General – that present virtually all parameters to enable total control
at the press of a button. This means that separate and specific custom profiles created in advance can cover a number of
shooting scenarios leaving virtually nothing to chance. In addition these profiles can be easily imported and exported. For
instance, you can create a special profile to suit a specific type of shoot and keep it on a memory stick or laptop. So, when
renting an H5D for example, you only have to upload the saved profile to ensure that all parameters have been reset with-
out you having to go through each detail – simple and secure.
The interface has three tabs at the top, Controls, Exposure and General, that access the windows. Descriptive information ap-
pears as you mouse over the various menus and extra tool tips are additionally available as an option. To take an example,
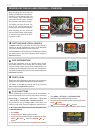
the Controls window is illustrated here. On the left are two lists: Camera and Library. The Camera list includes the various
available configuration profiles already stored in the camera – the profile currently in use as well as the default settings and
those you have created or imported from other sources. Library contains the factory presets stored on disk.
CAMERA CONFIGURATION IN PHOCUS
This list describes
the settings in cur-
rent use as well as
the profiles already
stored in the con-
nected camera.
This list includes
the new profiles
created in Camera
Configurator as
well as factory
profiles stored on
disk.
Import, Export,
Transfer, Add
Profile etc tools
Check box to display extended information.
Controls, Exposure and General tabs
The Camera Conguration interface makes it easy to go through the parameters logically and systematically to prevent
you missing important settings.
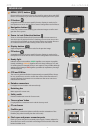
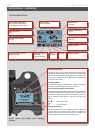
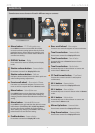
4) Right click the Library version of the profile to
access the Transfer Profile Set to Camera option
then click on OK to complete the action. This
causes the new profile to appear on the grip dis-
play for selection when you click on the Profiles
button.
Right click a profile in Library to access the Rename,
Reset to Standard, Delete and Export options if
required. Import, Export, Transfer, Add Profile etc
tools are also available.
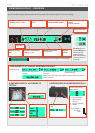
CREATING A PROFILE
1) Open Camera Configuation located under the
Windows menu.
2) Connect the camera and in the Camera list click on
a profile you want to change or a spare profile and
name it.
3) Cycle through the three windows, Controls,
Exposure and General, making the appropriate
selections that you require. When complete, select
the new profile and drag and drop or right click it
to store in the Library.