


E-39
ENGLISH
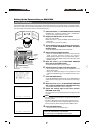
4.
Connect cables to the Ceiling Mount.
☞
P. 14, “Connection Cables”
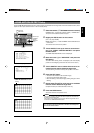
5.
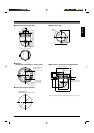
Attaching a safety wire to the ceiling mount.
Attach a safety wire to the ceiling mount and to the ceiling slab or
channel to prevent the unit from dropping. First attach the safety
wire to the ceiling mount by passing the wire through the safety wire
hole.
☞
P. 16, step
1.
“Attaching a safety wire”.
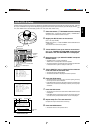
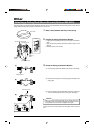
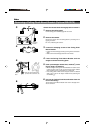
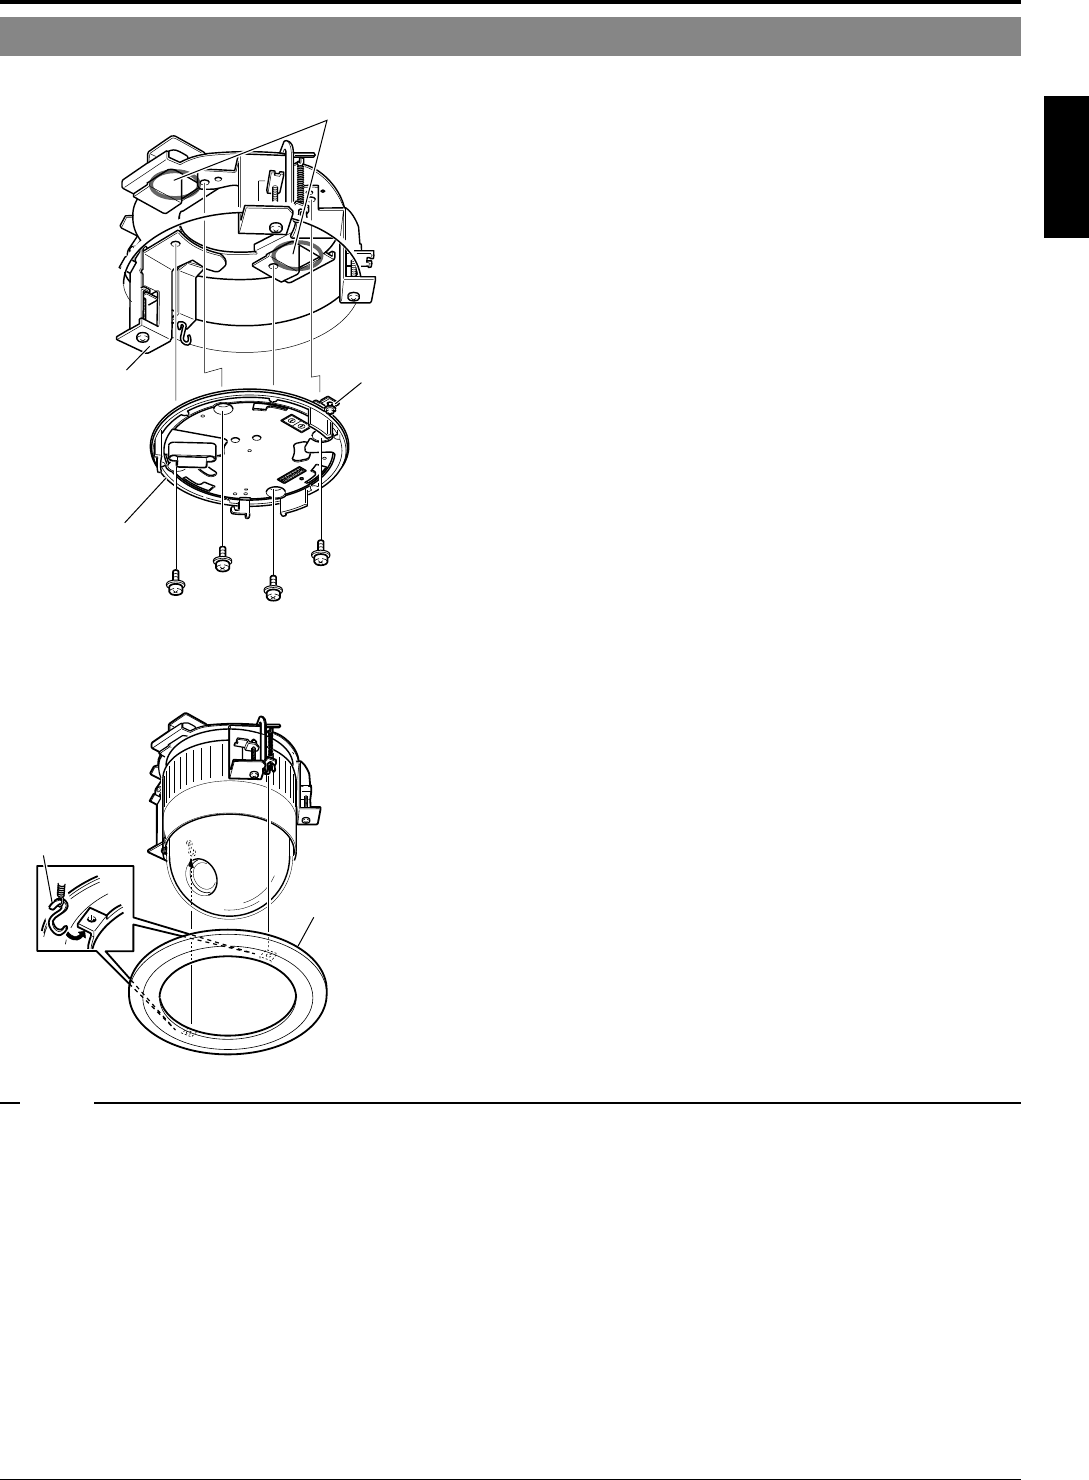
6.
Attach the Ceiling Mount to the Ceiling Flush Mount
Bracket.
• Attach the Ceiling Mount to the Ceiling Flush Mount Bracket, tak-
ing care not to catch the connection cables.
• Please use the four screws provided (M4 x 12 mm). If the screws
that have been removed in step
2.
above are used, the camera
may not be installed properly and may fall.
•
Attach so that the lock screw of the Ceiling Mount is positioned be-
low the anchor bolt mount hole of the Ceiling Flush Mount Bracket.
7.
Attach the camera to the Ceiling Mount.
☞
P. 16, “Attaching the Camera”
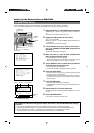
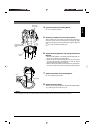
8.
Attach the ceiling panel.
Attach the ceiling panel, provided with the Ceiling Flush Mount Brack-
et, by attaching the two hooks one by one.
Ceiling
mount
Lock
screw
Anchor bolt
mount holes
Ceiling flush mount
bracket attached to the
ceiling
Ceiling panel
Hook
Both the ceiling flush mount bracket and the drop prevention attachment should be insulated from the ceiling structure.
If the ceiling structure is made of a metallic material, an improper insulation with the camera may produce noise in the video.
MEMO