


55
EN
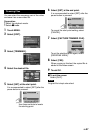
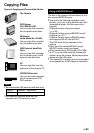
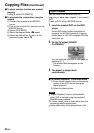
Selecting Files for Backup
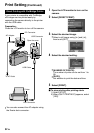
Preparation:
•
Select ! or # mode.
•
Connect the camera to the BD/DVD burner.
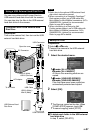
•
When using a BD burner, select [CHANGE
REC. MEDIA] and select the disc type.
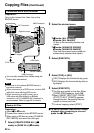
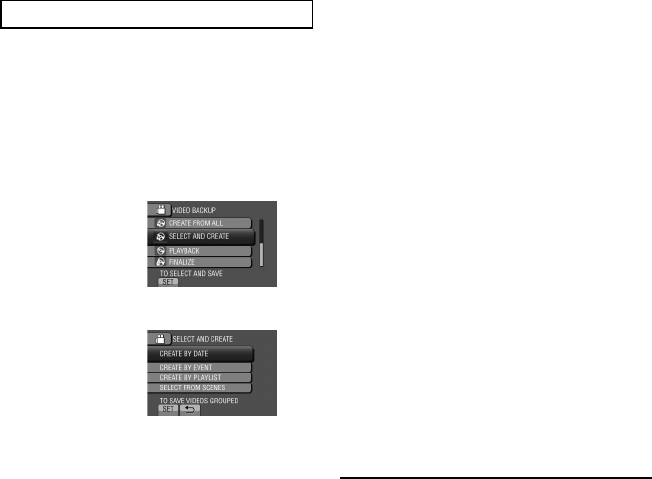
1 Select [SELECT AND CREATE] (!
mode) or [SELECT AND SAVE] (#
mode).
2 Select the desired menu.
! mode:
•
[CREATE BY DATE]:
Files are sorted according to the date
on which they were recorded. Relevant
files are displayed in a list. Select the
recording date.
•
[CREATE BY EVENT]:
Files are sorted according to event.
Relevant files are displayed in a list.
Select the event.
•
[CREATE BY PLAYLIST]:
Select the desired playlist from the list
of playlists. The selected playlists are
displayed in a list.
1) Select the desired list.
2) Select the insertion point. To select
other lists, repeat this process.
3) Select
[SAVE].
•
[SELECT FROM SCENES]:
Select files individually.
1) Select the desired file. To select other
files, repeat this process.
2) Select
[SAVE].
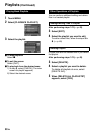
# mode:
•
[SAVE BY DATE]:
Files are sorted according to the date
on which they were recorded. Relevant
files are displayed in a list. Select the
recording date.
•
[SELECT FROM IMAGES]:
Select files individually.
1) Select the desired file. To select other
files, repeat this process.
2) Select
[SAVE].
3 Select [YES] or [NO]. (! mode only)
•
[YES]: Displays the thumbnails by group.
•
[NO]: Displays the thumbnails by date or
by playlist.
4 Select [EXECUTE].
•
The files are copied on the disc. When
[COMPLETED] appears, touch OK.
•
When [INSERT NEXT DISC PRESS
[STOP] TO EXIT CREATE] appears,
change the disc. Remaining files are
copied on the second disc.
•
To cancel copying, select [STOP].
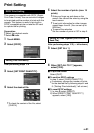
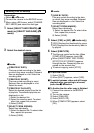
To quit the screen
1) Select
[QUIT].
2) When
[QUIT?] appears, select [YES].
To switch between video and still image
playback after connecting to a burner,
press the ! / # button.
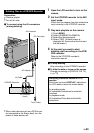
To finalize the disc after copy is finished
1) Connect the camera to the BD/DVD
burner.
2) Turn on the camera.
3) Select
[FINALIZE].
4) Select
[EXECUTE].
5) When
[COMPLETED] appears, select
[OK].