


21
2.
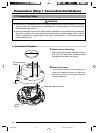
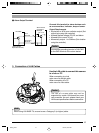
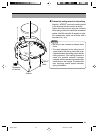
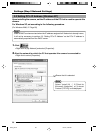
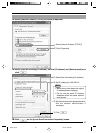
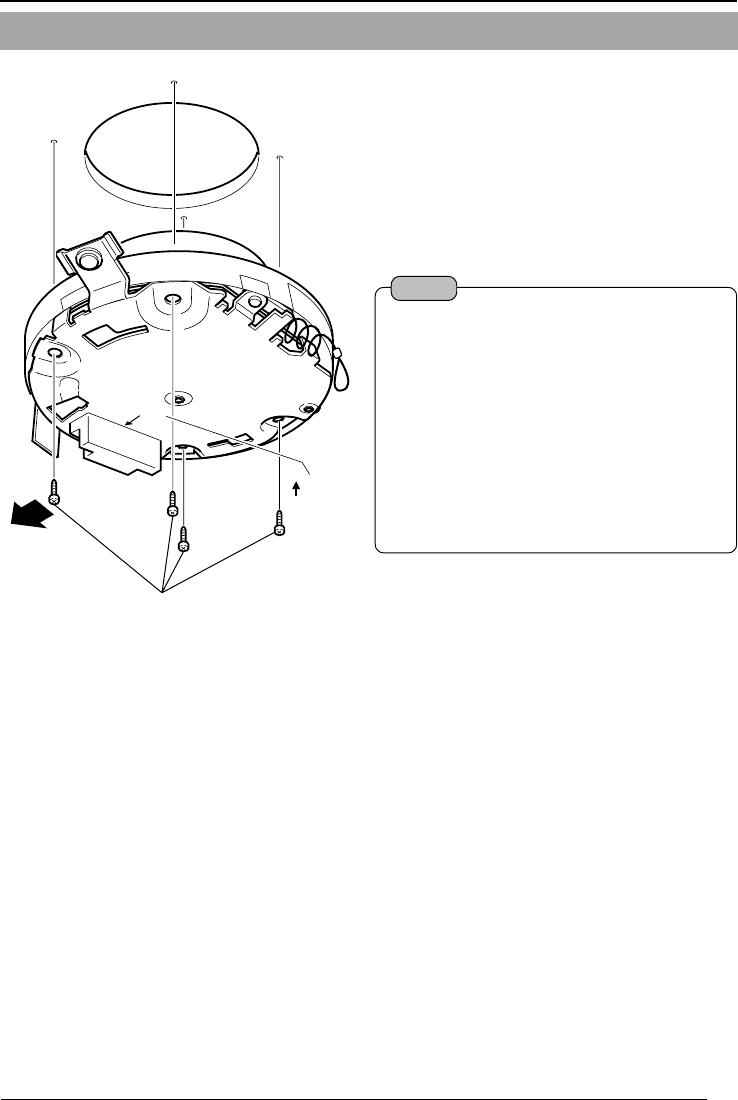
Fasten the ceiling mount to the ceiling
Align the “™FRONT” mark on the ceiling mount
in the direction that the camera is facing.
Fasten the ceiling mount using the 4 screws
while taking care not to catch the connection
cables. Use M4-sized (No 8) screws or bolts.
For woodscrews, make use of those with a
diameter of 4.1 mm.
FRONT
Orientation
of Camera
FRONT
Mark
Screws
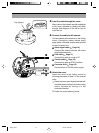
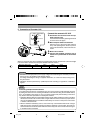
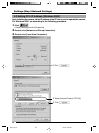
Notes
• Be sure to use 4 screws and attach them
firmly.
• The seals attached to the ceiling-mount
screw holes of the ceiling mount act as an
insulator between the ceiling mount and the
ceiling structure. If the ceiling structure is
made of a metallic material, improper
insulation with the camera may cause noise
interference in the images. To prevent this
from occurring, ensure proper insulation
during installation.
C625_p2-24 05.3.24, 1:27 PM21