


177
7
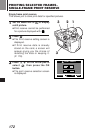
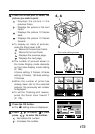
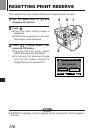
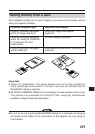
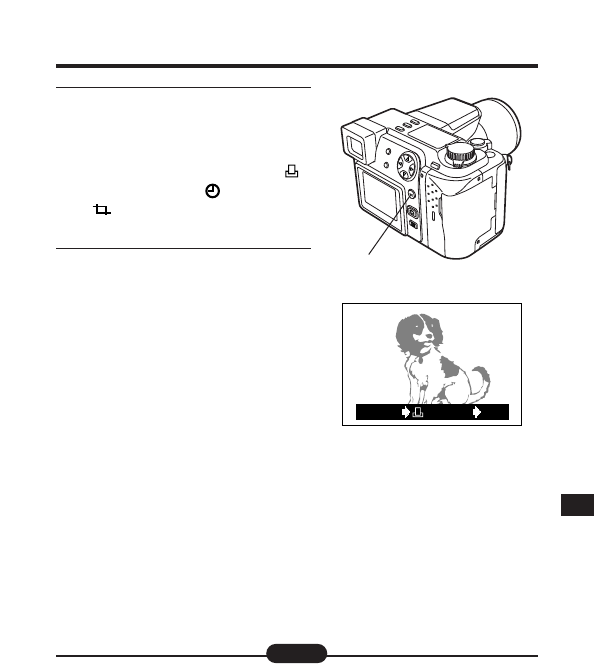
Press the OK button.
● The Single-frame print reserve
screen is displayed.
● Following the procedure of “Single-
frame print reserve”, set x
(number of prints), (DATE/TIME).
(trimming) has already been set
to YES. (P. 172–174)
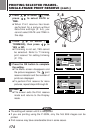
8
When Print reserve is finished,
press the OK button.
● The Print reserve is completed.
The screen display returns to the
one shown in step 1. To perform
trimming print reserve for more
pictures, select the desired pictures
using the Arrow pad.
[ Single-
frame print reserve (P. 172)
OK
CANCEL SET
OK
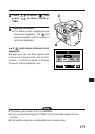
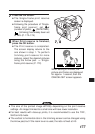
7, 8
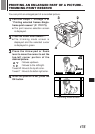
When setting is finished, the
picture and frame are displayed
for approx. 1 second, then the
CANCEL/SET screen appears.
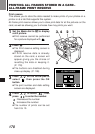
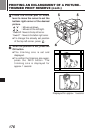
● The size of the printed image will vary depending on the print reserve
settings. An image trimmed to a small size will have lower resolution.
● For best results with close-up prints, it is recommended to use the TIFF,
SHQ or HQ mode.
● The vertical to horizontal ratio in the trimming screen can be changed using
the Arrow pad, but if the zoom lever is used, the ratio is fixed at 4:3.
Note: