Editing
85
Dubbing
Digital input/output
You can perform dubbing with a high image quality
by means of digital signals by using a 1394 cable
to connect this unit to a digital video unit equipped
with a 1394 connector.
1 Connect the digital video equipment to this
unit. (Page 77)
2 Press the unit’s mode button to switch to
the MCR mode.
MODE
CAM
MCR
PC
Cancel the thumbnail screen when in MCR
mode.
Set up the connected equipment for playback
or recording.
When performing digital dubbing with a
second camera-recorder or other device, a
recording cannot be made unless the signal
formats at the output side and input side are
identical.
When using with the 720P/25PN settings,
digital output in MCR mode only is
performed. Digital input is not possible.
3 Start playing back in the player.
4 Start recording in the recorder.
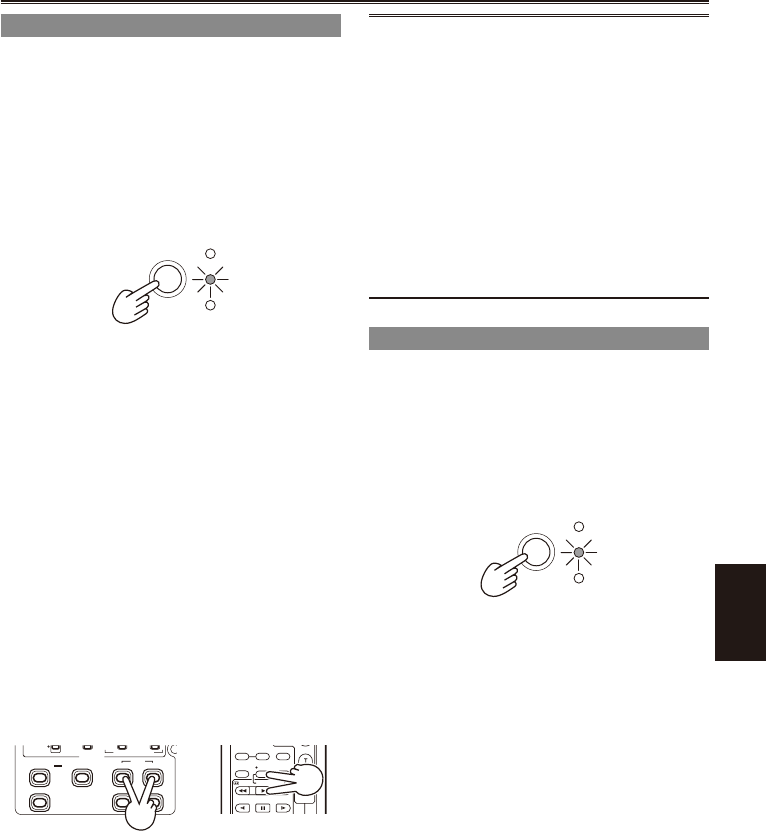
If you are using this unit as the recorder,
press the two REC buttons (ZEBRA and
OIS) at the same time. On the remote control
unit, press the PLAY button while holding
down the REC button.
Camera or Remote control
COUNTER
RESET TITLE
STILL ADV
PAUSE
STILL ADV
Ð VOL +
MULTI/
P-IN-P
REC A.DUB
PLAY/REW FF/
ZOOM
RESET/TC SET
REC
AUDIO
INPUT2
MIC POWER+48V
OFF OFF
LCD
ZEBRA
EVF DTL
OIS
WFM
COUNTER
5 Stop recording in the recorder.
If the unit is used as the recorder, push the
Operation lever to the
g
(stop) direction.
6 Stop playback on the other unit.
If the unit is used as the player, push the
Operation lever to the
g
(stop) direction.
•
•
•
•
•
•
•
The DV format is converted into 48K/2CH or
4CH. In the case of 1080i and 720P, channels
1 to 4 are recorded directly, and channels 5 to
8 are not recorded.
If you have set 1394 TC REGEN or 1394
UB REGEN to on in the recording unit’s
menus you can copy the time code and
user information from the playback source.
(Page 104)
Do not start recording until you can see
the images on the recording unit’s screen.
Time code and user information may not
be correctly recorded if you start recording
before the images are received.
Analog output
You can record images you have shot on this unit
to an S-VHS (VHS) tape in a video deck.
1 Connect the video recording device to the
unit. (Page 79)
2 Press the mode button to switch to the
MCR mode.
MODE
CAM
MCR
PC
3 Set the unit to playback.
4 Start the recording by operating the video
recording device.
When video recording is completed, stop the video
recording device.
To stop playback, push the Operation lever to the
g
(stop) direction.
•
•


