56
4
Taking Still Pictures
R b c a
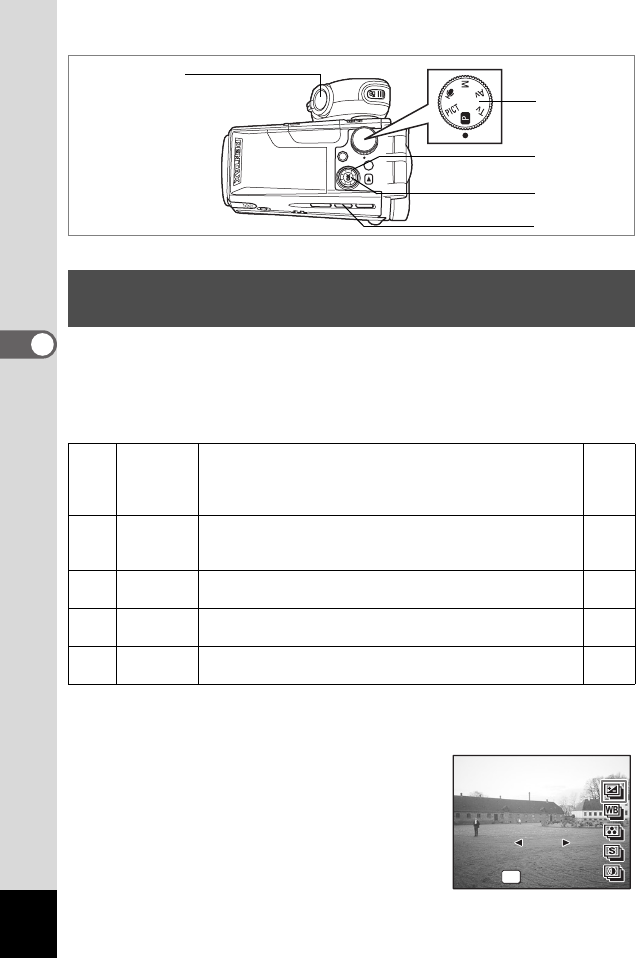
Auto bracketing can be used to automatically vary settings such as the
exposure and white balance over a series of three shots when the
shutter release button is pressed. This simple operation ensures that
you are able to get the best shots.
Auto Bracket Settings
1 Set the mode dial to other than d and O.
2 Press the m button to display a.
3 Press the four-way controller (3).
The auto bracketing options screen
appears.
4 Use the four-way controller (23)
to choose a function.
Varying the Settings Automatically
(Auto Bracketing)
a
Ex.
Bracketing
Pictures are taken in the following sequence: normal,
underexposed (dark), overexposed (bright). Choose the
bracketing steps from 0.25, 0.5, 0.75, 1.0, 1.25, 1.50,
1.75, 2.00.
p.81
b
White
Balance
Pictures are taken in the following sequence: normal, red
tinge (low color temperature), blue tinge (high color
temperature). Choose the bracketing steps from 1, 2, 3, 4, 5.
p.72
c Saturation
Pictures are taken in the following sequence: normal, low
(–), high (+).
p.79
d Sharpness
Pictures are taken in the following sequence: normal, soft
(–), hard (+).
p.78
e Contrast
Pictures are taken in the following sequence: normal, low
(–), high (+).
p.80
3, 4, 5
6
7, 8
1
2
Auto Bracket
Auto Bracket
Ex. Bracketing
Ex. Bracketing
OK
OK
OK
0.50
0.50
e_kb353.book Page 56 Monday, May 31, 2004 3:05 PM
