


50
TRANSFERRING PICTURES TO THE SERVER
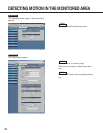
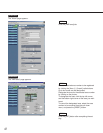
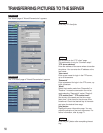
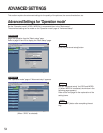
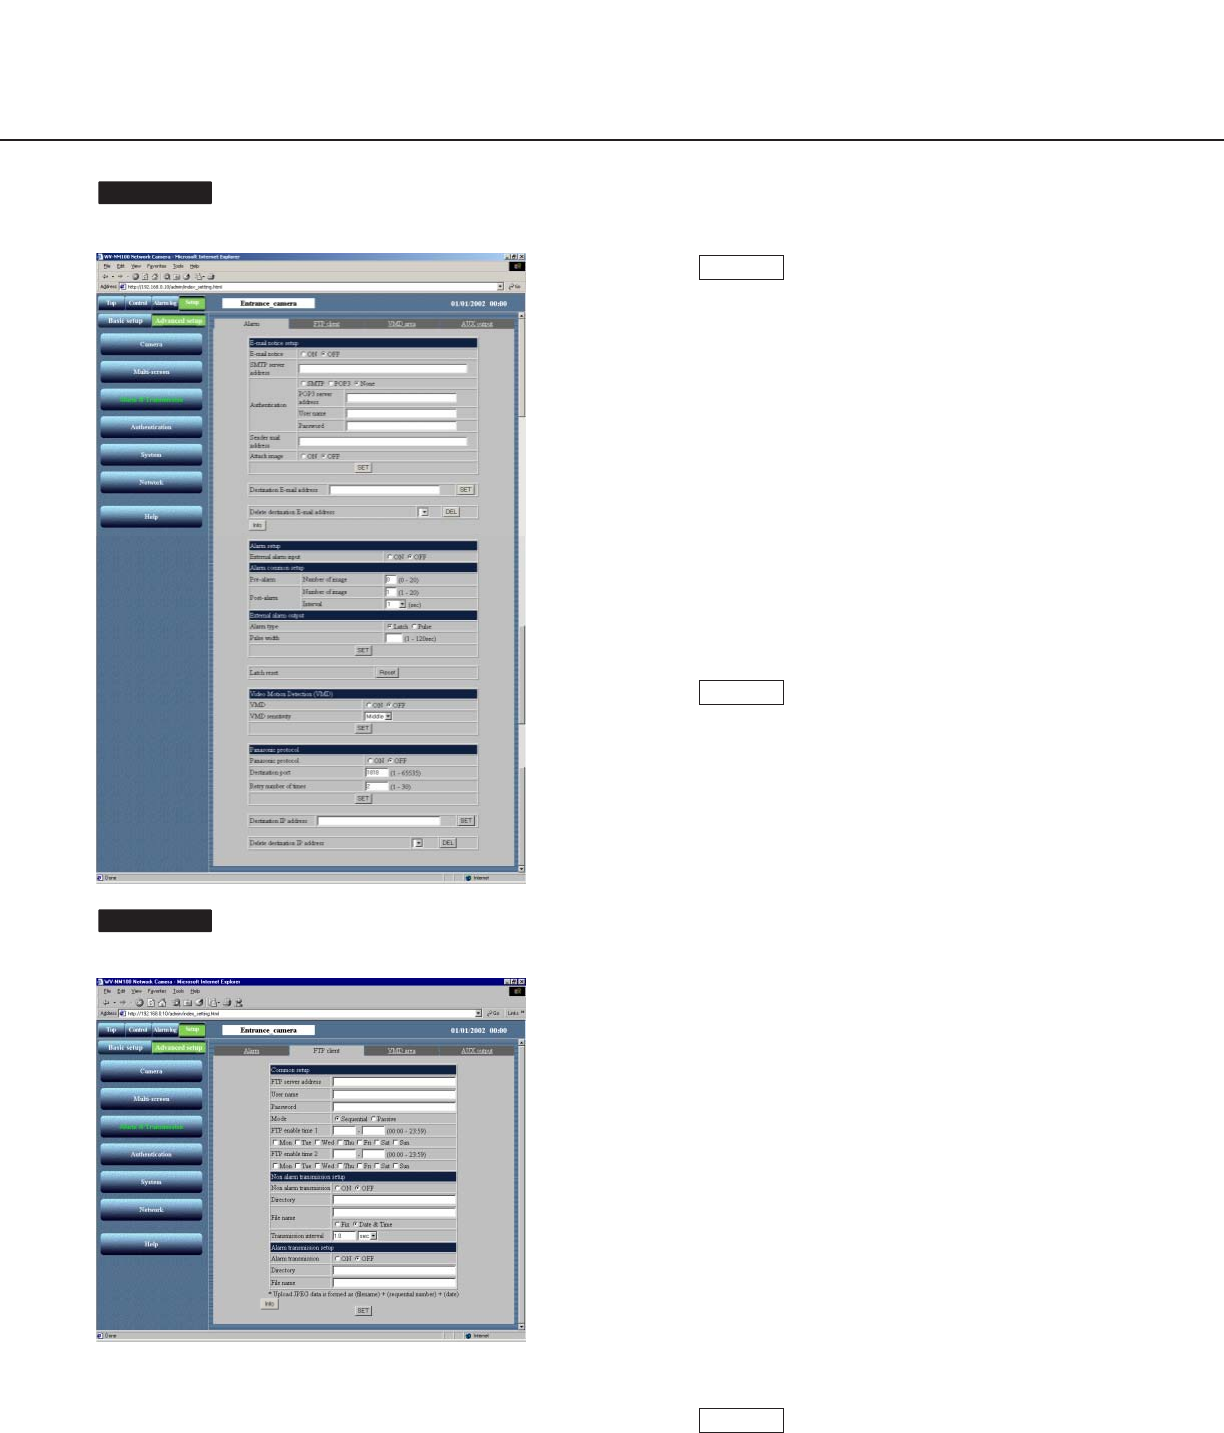
The "Alarm" page of "Alarm&Transmission" appears.
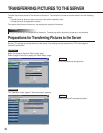
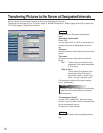
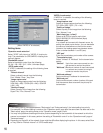
The "FTP client" page of "Alarm&Transmission" appears.
Screenshot 4
Screenshot 3
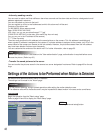
Click the [FTP client] tab.
STEP3
Set the items on the "FTP client" page.
This explanation is only for "Common setup".
"FTP server address"
Enter the address of the server where to transfer
the picture. You can enter the IP address or the
host name.
"User name"
Enter a user name for login in the FTP server,
up to 64 characters.
"Password"
Enter a password for login in the FTP server, up
to 64 characters.
"Mode"
Select the transfer mode from "Sequential" or
"Passive". In case the connection can not be
made selecting "Sequential", select "Passive".
"FTP enable time 1""FTP enable time 2"
Set the day of the week and the time range
(start time – finish time) for the pictures to be
transferred. Check the desired day of the week
and enter the desired time range.
[Info] button
Displays the error information page. You can
check the situation of the error occurrence. For
further information, refer to page 71.
Click the [SET] button after completing the set-
ting.
STEP5
STEP4