


67
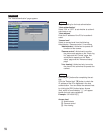
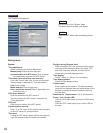
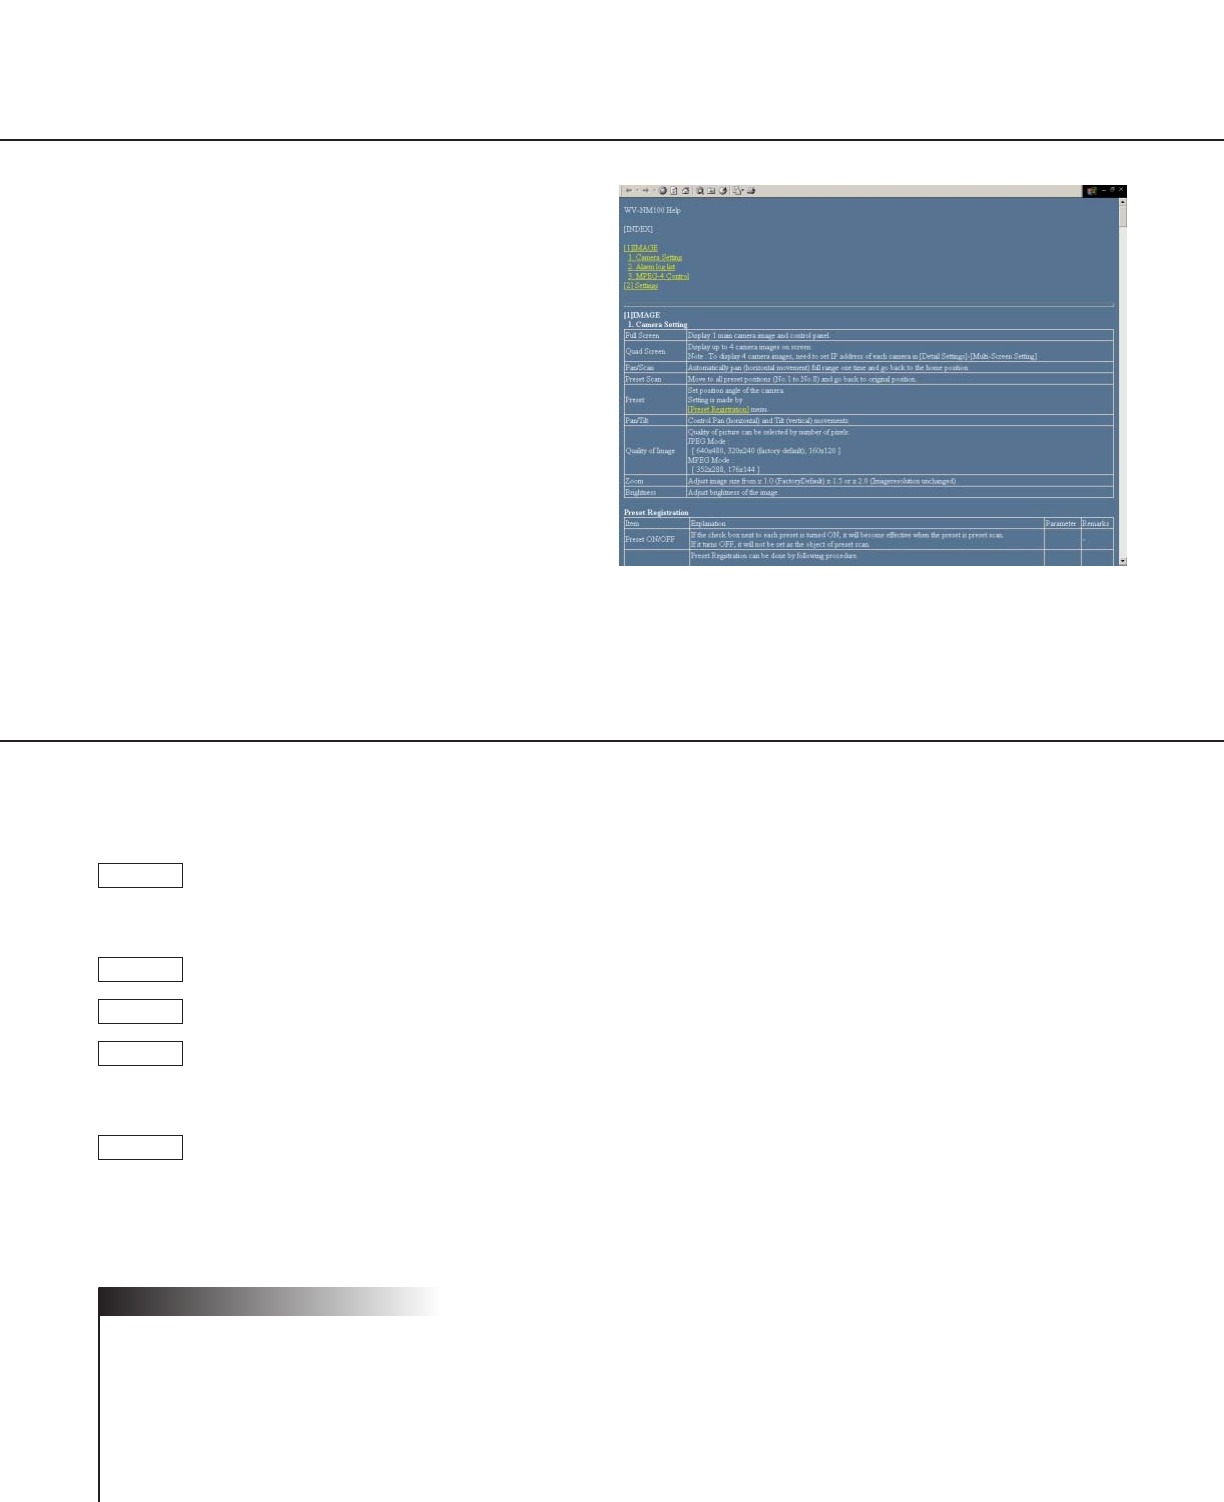
You can refer to the "Help" page for details about the
items.
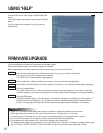
The "Help" page below appears by clicking the [Help]
button.
You can display an explanation by clicking on the
desired item.
USING "HELP"
You can upgrade the firmware of the camera to the latest version.
Refer to the dealer whether the firmware upgrade is available.
Before upgrading the firmware, save the current firmware onto the hard drive of the PC.
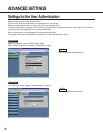
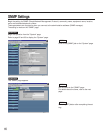
Start up the browser and enter the following: http://xxx.yyy.zzz.nnn/admin/upload.html
(xxx.yyy.zzz.nnn is the IP address of the camera.)
The "HTML and Firmware upload" page appears.
Click the [Browse…] button to select the firmware, and then click the [Upload] button.
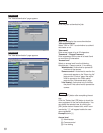
Click either of the radio buttons to choose whether to initialize or not to initialize the data after uploading.
Click the [Upload] button.
The screen where you can verify the uploading and data initialization appears. (If the data is not initial-
ized after uploading, the screen where you can verify the progress does not appear but uploading starts.)
Click the [OK] button.
Update the firmware starts. It will take approx. 5 minutes to complete the uploading. (It will be approx. 2
minutes if there is no initialization. It may take more time for uploading depending on network environ-
ments.) The top page of the operation screen automatically appears after completion of uploading.
• Use a PC in the same subnet where the camera is installed to upload the firmware to the camera.
• When upgrading, confirm that the file name of the firmware is "firmware.img" in small caps.
• It will take around 70 seconds for the next screen to be displayed after the [Upload] button is clicked.
• Do not turn off the power of the camera or detach the Ethernet cable while uploading.
• Do not operate the web browser at all, not even for adjusting the window size.
• The following data related to the network is out of the object to be initialized: IP address, netmask, default gate-
way, HTTP port, ON/OFF of BOOTP, DHCP and DNS, and primary and secondary addresses of DNS.
! Important
STEP5
STEP4
STEP3
STEP2
STEP1
FIRMWARE UPGRADE