3
Shooting
48
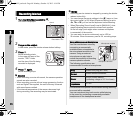
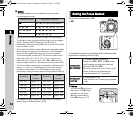
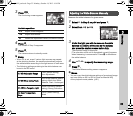
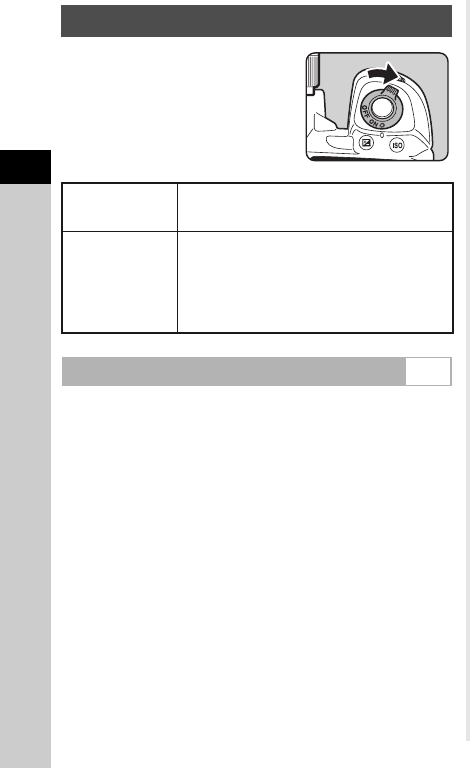
Turn the main switch to U to use
the preview function.
There are two preview methods.
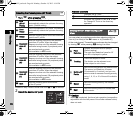
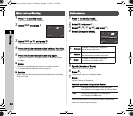
1 Select [Button Customization] in A4 menu
and press D.
The [Button Customization] screen appears.
2 Select [Preview Dial] and press D.
The [Preview Dial] screen appears.
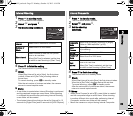
3 Select [Optical Preview] or [Digital Preview]
and press E.
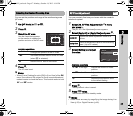
4 Press F three times.
The camera returns to standby mode.
t Memo
• Optical Preview is always used when the drive mode is set
to [Mirror Lock-up Shooting], [Multi-exposure], [Interval
Shooting] or [Interval Composite], or when ASTROTRACER
is activated.
• The display settings and camera operation during Digital
Preview can be changed in [Digital Preview] of the A4 menu.
(p.21)
• The preview function can also be assigned to P. (p.73)
You can easily switch between Optical Preview and Digital
Preview after assigning different kinds of preview methods to
the two controls, U of the main switch and P.
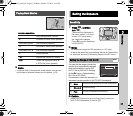
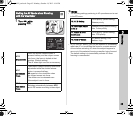
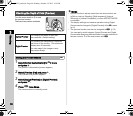
Checking the Depth of Field (Preview)
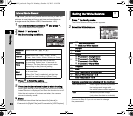
Optical Preview
For checking the depth of field with
the viewfinder. (Default setting)
Digital Preview
For checking the composition, exposure
and focus on the monitor. (The maximum
display time: 60 seconds)
You can magnify the image or save
the preview image.
Setting the Preview Method A4
e_kb502_om.book Page 48 Monday, October 14, 2013 4:14 PM


