3
Shooting
54
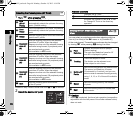
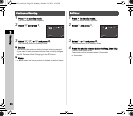
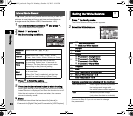
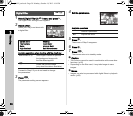
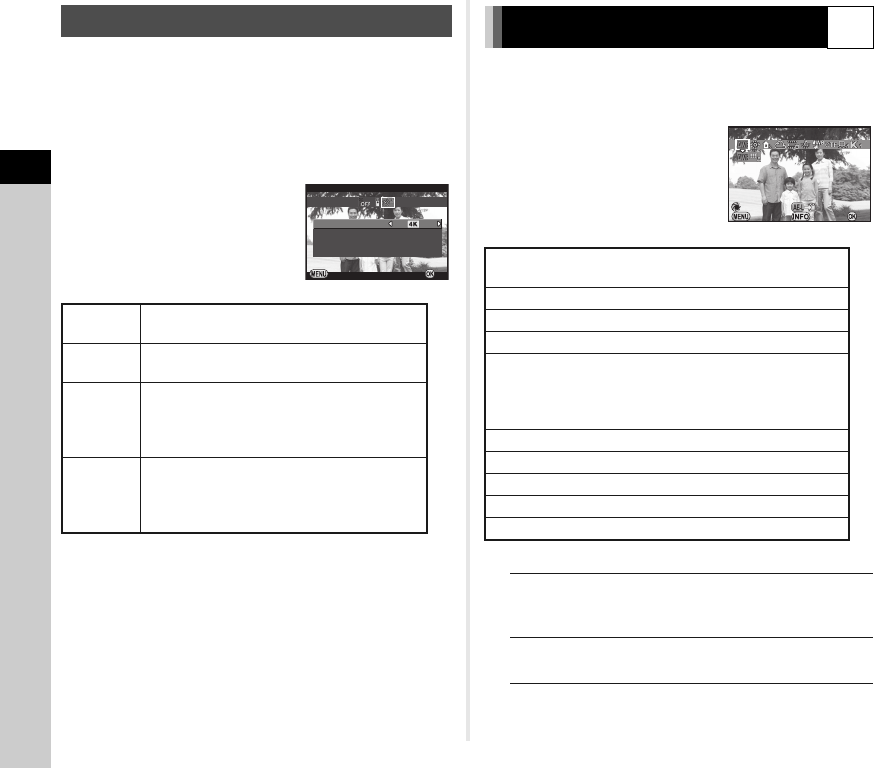
In C mode, you can use [Interval Movie Record] to take still
pictures at a set interval from a set time and save them as
a single movie file (Motion JPEG, file extension: .AVI).
1 Turn the Stills/Movie switch to C and press A.
The Drive Mode screen appears.
2 Select Y and press B.
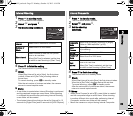
3 Set the shooting conditions.
4 Press E to finish the setting.
The camera returns to standby mode.
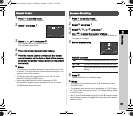
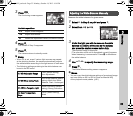
5 Press the shutter release button to start shooting.
When [Start Interval] is set to [Now], the first picture is taken.
Instant Review is displayed, and then the monitor turns off.
After the set number of pictures are taken, the camera
returns to standby mode.
t Memo
• The shortest interval time that can be set for [Interval] is
10 seconds for [Digital Filter] and 20 seconds for [HDR Capture].
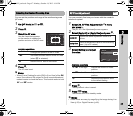
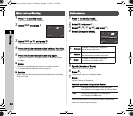
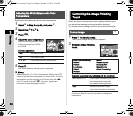
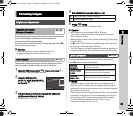
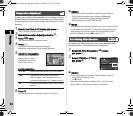
1 Press C in standby mode.
The White Balance setting screen appears.
2 Select the White Balance.
Available operations when shooting with the viewfinder
Proceed to Step 5 if you do not need to change
the parameters.
Interval Movie Record
Recorded
Pixels
Select from z, u, or t.
Interval
Select from 2 sec., 5 sec., 10 sec., 20 sec.,
30 sec., 1min., 5 min., 10 min., 30 min., or 1 hour.
Recording
Time
Set the time from the start to the end
of recording. Select from 14 seconds to
99 hours. The time that can be set varies
depending on the [Interval] setting.
Start
Interval
Select whether to take the first picture now
or at a set time.
When [Set Time] is selected, set the time
at which to start shooting in [Start Time].
2sec.
2sec.
Cancel
Cancel
OK
OK
Interval
Interval
Recorded Pixels
Recorded Pixels
Interval Movie Record
Interval Movie Record
Recording Time
Recording Time
Start Interval
Start Interval
00:00'14"
00:00'14"
Now
Now
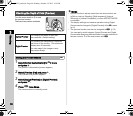
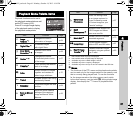
Setting the White Balance
Y
g
g Auto White Balance
u Multi Auto White Balance
h
Daylight
i
Shade
j
Cloudy
k
q Fluorescent - Daylight Color
r Fluorescent - Daylight White
s Fluorescent - Cool White
t Fluorescent - Warm White
l
Tungsten
m
Flash
n
Color Temperature Enhancement
o
Manual White Balance 1 to 3
p
Color Temperature 1 to 3
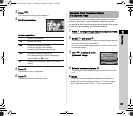
Main switch to U Uses Digital Preview to preview
the background image with
the white balance effect applied.
H
Saves the preview image
(only when the data is available).
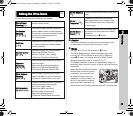
Auto White Balance
Auto White Balance
Cancel
Cancel
Check
Check
WB
±
WB
±
OK
OK
e_kb502_om.book Page 54 Monday, October 14, 2013 4:14 PM


