


4
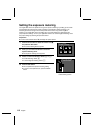
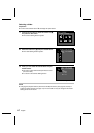
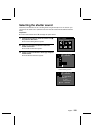
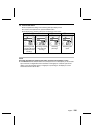
Press the SET button.
œ The Shutter Sound Recording Ready Screen appears.
5
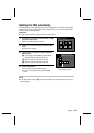
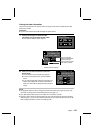
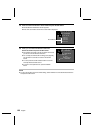
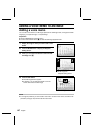
Press the shutter release button.
œ Recording begins.
œ Up to a maximum of five seconds can be recorded.
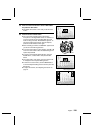
œ To stop the recording before five seconds elapses,
press the shutter release button.
œ When recording is completed, “COMPLETE” appears
and you return to the Shutter Sound Screen.
œ At this time, you can press the shutter release button
to hear the newly recorded shutter sound.
œ The recorded sound file is stored on the disk in the
digital disk camera (see page 148).
œ To return to the Option Screen, press the MODE
button.
NOTE
œ If a long shutter sound is set, the time from when the shutter release button is pressed until
when the image is captured will become longer.
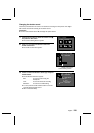
œ In addition to recordings made using the microphone, you can also use the software included in
the SANYO Software Pack to set sound files saved in your computer.
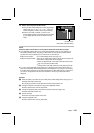
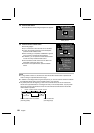
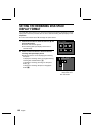
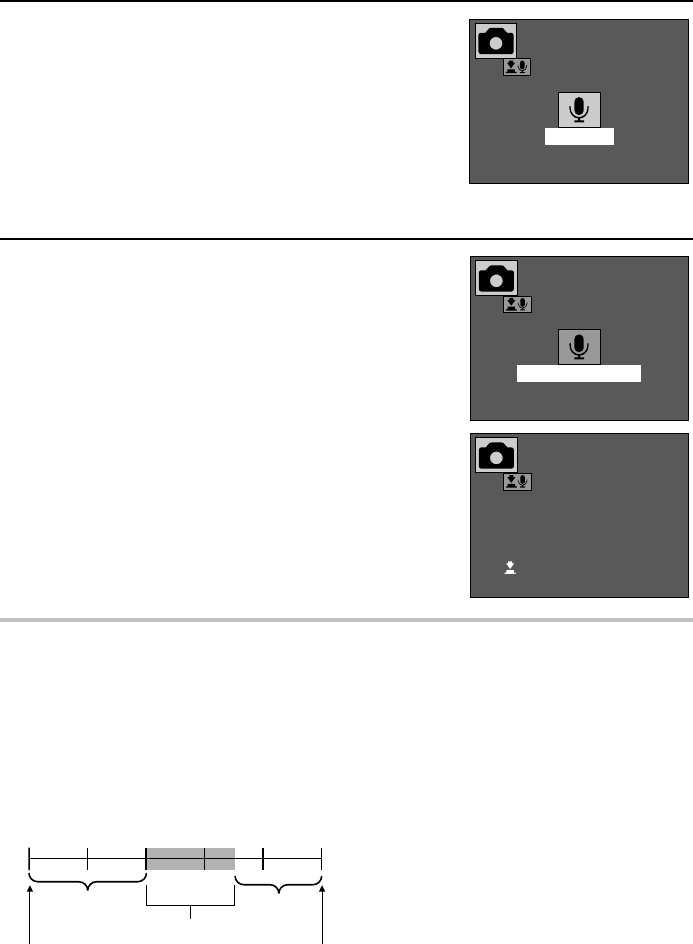
œ Any silent portions at the beginning or end of the sound file will be cut and not used as the
shutter sound (provided there is no background noise). In the example below, only the portion
with sound is used as the shutter sound so the sound will be heard the moment the shutter
release button is pressed.
Shutter Sound Recording
Ready Screen
PREFERENCES
OP.SOUND
SOUND SAMPLING
READY
100-0001
PREFERENCES
OP.SOUND
SOUND SAMPLING
RECORDING
100-0001
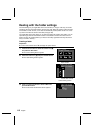
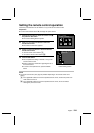
PREFERENCES
OP.SOUND
INPUT SOURCE
ÄMIC
FILE
DEFAULT
TRY SOUND
(Sound)
Shutter release button is pressed
(recording starts)
No sound
0 1 second 2 seconds 3 seconds 4 seconds 5 seconds
No sound
After five seconds
(recording stops)
121
English