


Setting the exposure correction
Preparation
œ Set the CAMERA/PLAY switch to “CAMERA.”
œ Turn the mode selector dial to &, r, or 7 to select the desired shooting mode.
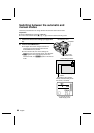
1
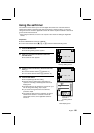
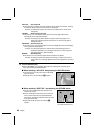
Turn the control dial.
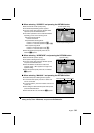
œ The Exposure Correction Screen appears.
œ If the exposure control setting (see page 92) is set to a
setting other than program AE, then the Exposure
Correction Screen will not appear. To set the exposure
correction, change the exposure control setting to
program AE (see page 94).
œ If the AE shift sequential shot is selected (see page
82), the Exposure Correction Screen will not appear.
To set the exposure correction, change back to the
normal sequential shot mode (see page 83).
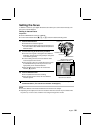
2
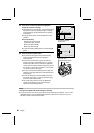
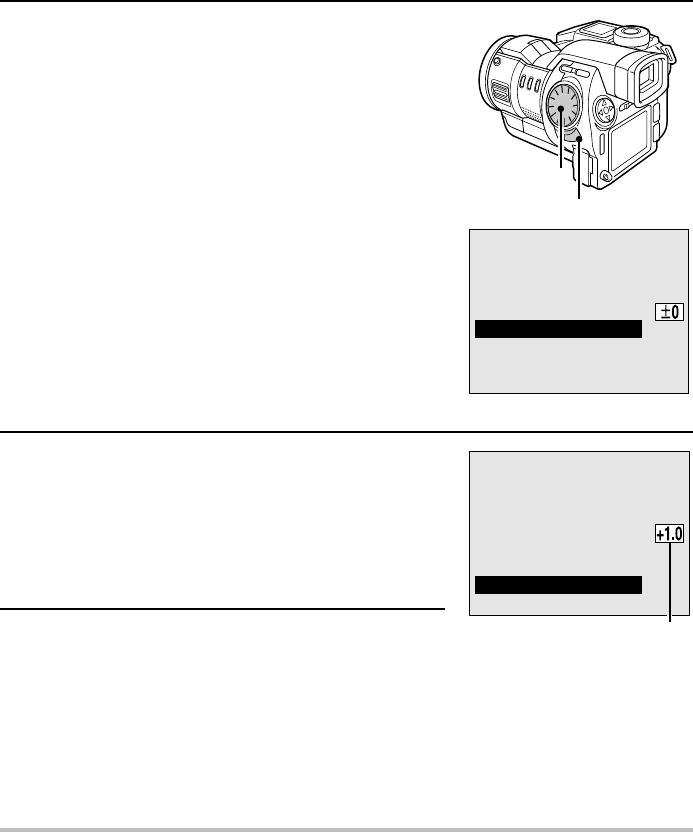
Turn the control dial to select the desired exposure
correction value.
œ The exposure correction can be set from to –1.5 EV to
+1.5 EV in 0.5-EV increments.
œ Select positive values for brighter images and negative
values for darker images.
œ Set ±0 EV for automatic exposure correction.
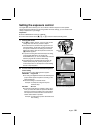
3
Wait two seconds.
œ The exposure correction is entered and the Exposure
Correction Screen disappears.
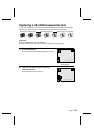
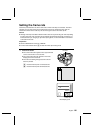
œ The exposure correction value appears in the right
side of the monitor.
œ You can also enter the exposure correction setting and
exit the Exposure Correction Screen by pressing the
RETURN button.
NOTE
œ To clear the exposure correction setting, select á0 at step 2.
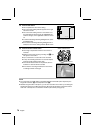
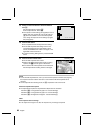
Control dial
RETURN button
EXPOSURE
–1.5
–1.0
–0.5
á0
+0.5
+1.0
+1.5
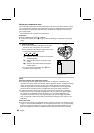
Exposure Correction Screen
EXPOSURE
–1.5
–1.0
–0.5
á0
+0.5
+1.0
+1.5
Exposure correction value
87
English