Camfire PC Installation and User's Guide 5
Step 2: Fasten the wall bracket to the wall
1. At each toggle bolt anchor location, drill a 1/4 in. (6 mm) pilot hole and then drill the
final 1/2 in. (13 mm) hole through the drywall.
If the marked location is at a wall stud, don’t use a drywall anchor. Use a No. 8 by
2 in. (38.1 mm) long wood screw for wood studs or a self-drilling metal screw for
metal studs.
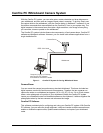
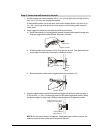
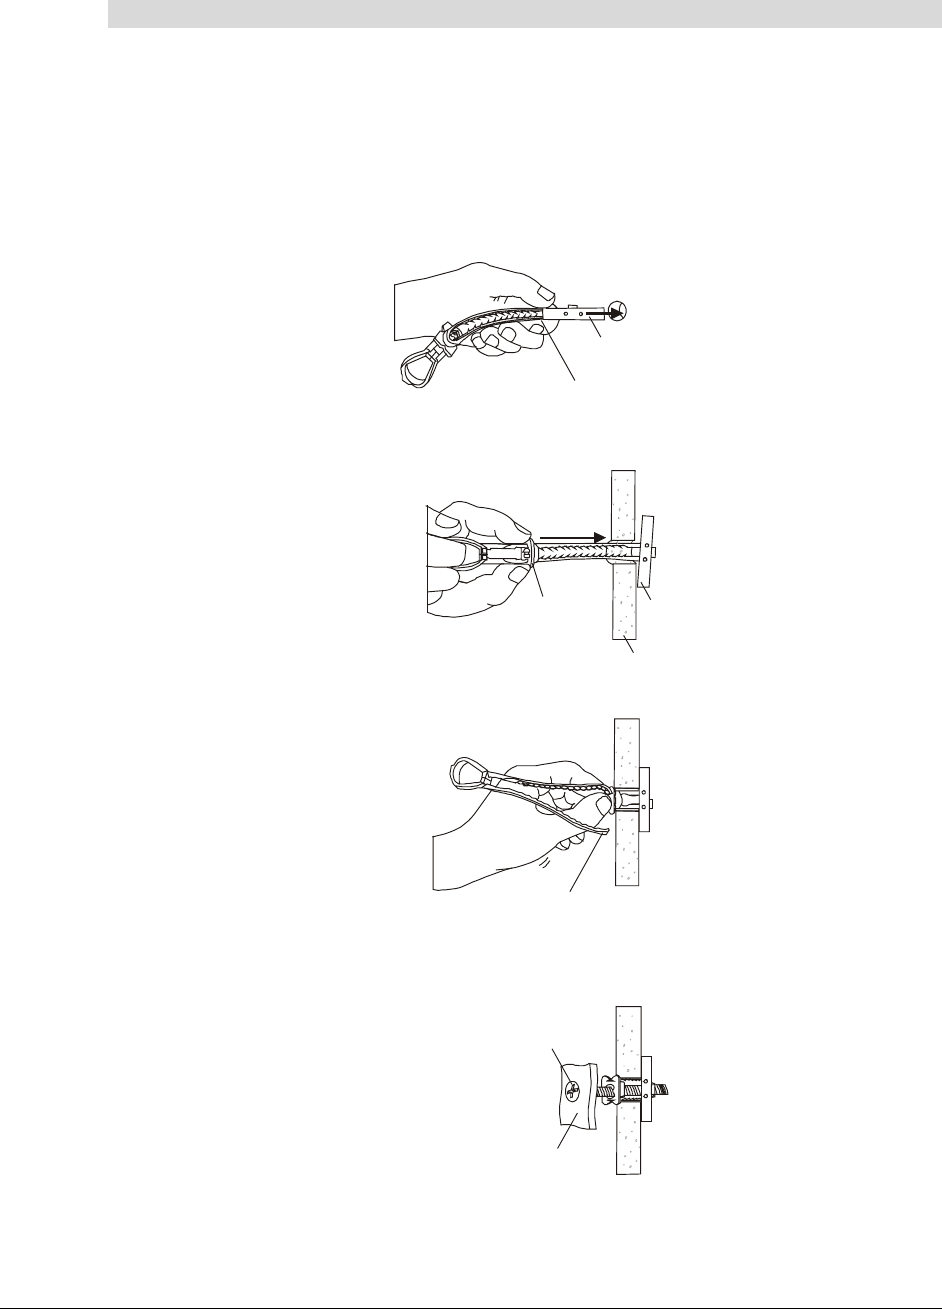
2. Insert toggle bolt anchors in the marked locations as follows:
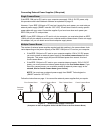
a. Bend the metal end of the toggle bolt anchor flat against the plastic handle and
push the toggle bolt anchor through the hole in the wall.
Plastic Handle
Metal End
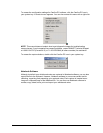
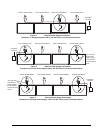
b. Slide the plastic cap forward until it’s flush with the drywall. The metal end then
pivots open on the inside of the wall to create an anchor.
Metal
End
Wall
Plastic Cap
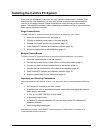
c. Bend the plastic handle on the toggle bolt anchor to break it off.
Plastic Handle
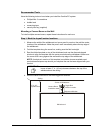
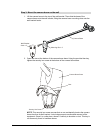
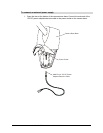
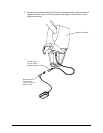
3. Align the camera boom wall bracket with the toggle bolt anchors. Insert by hand a
3/16–24 UNC x 1 3/4 in. Phillips pan head bolt into each toggle bolt anchor. When
the threads begin to catch, use a Phillips hand screwdriver to tighten the bolts.
Camera Boom
Wall Bracket
3/16-24 UNC x 1 3/4 in.
Phillips Pan Head Bolt
NOTE: Do not use an electric screwdriver. Overtightening the bolt may cause the
plastic to break and the metal end to fall behind the wall.


