Chapter 9 Setting Up the Camcorder
148
9-1 Power Supply
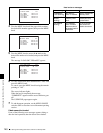
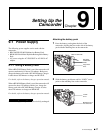
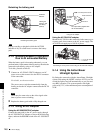
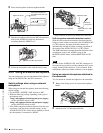
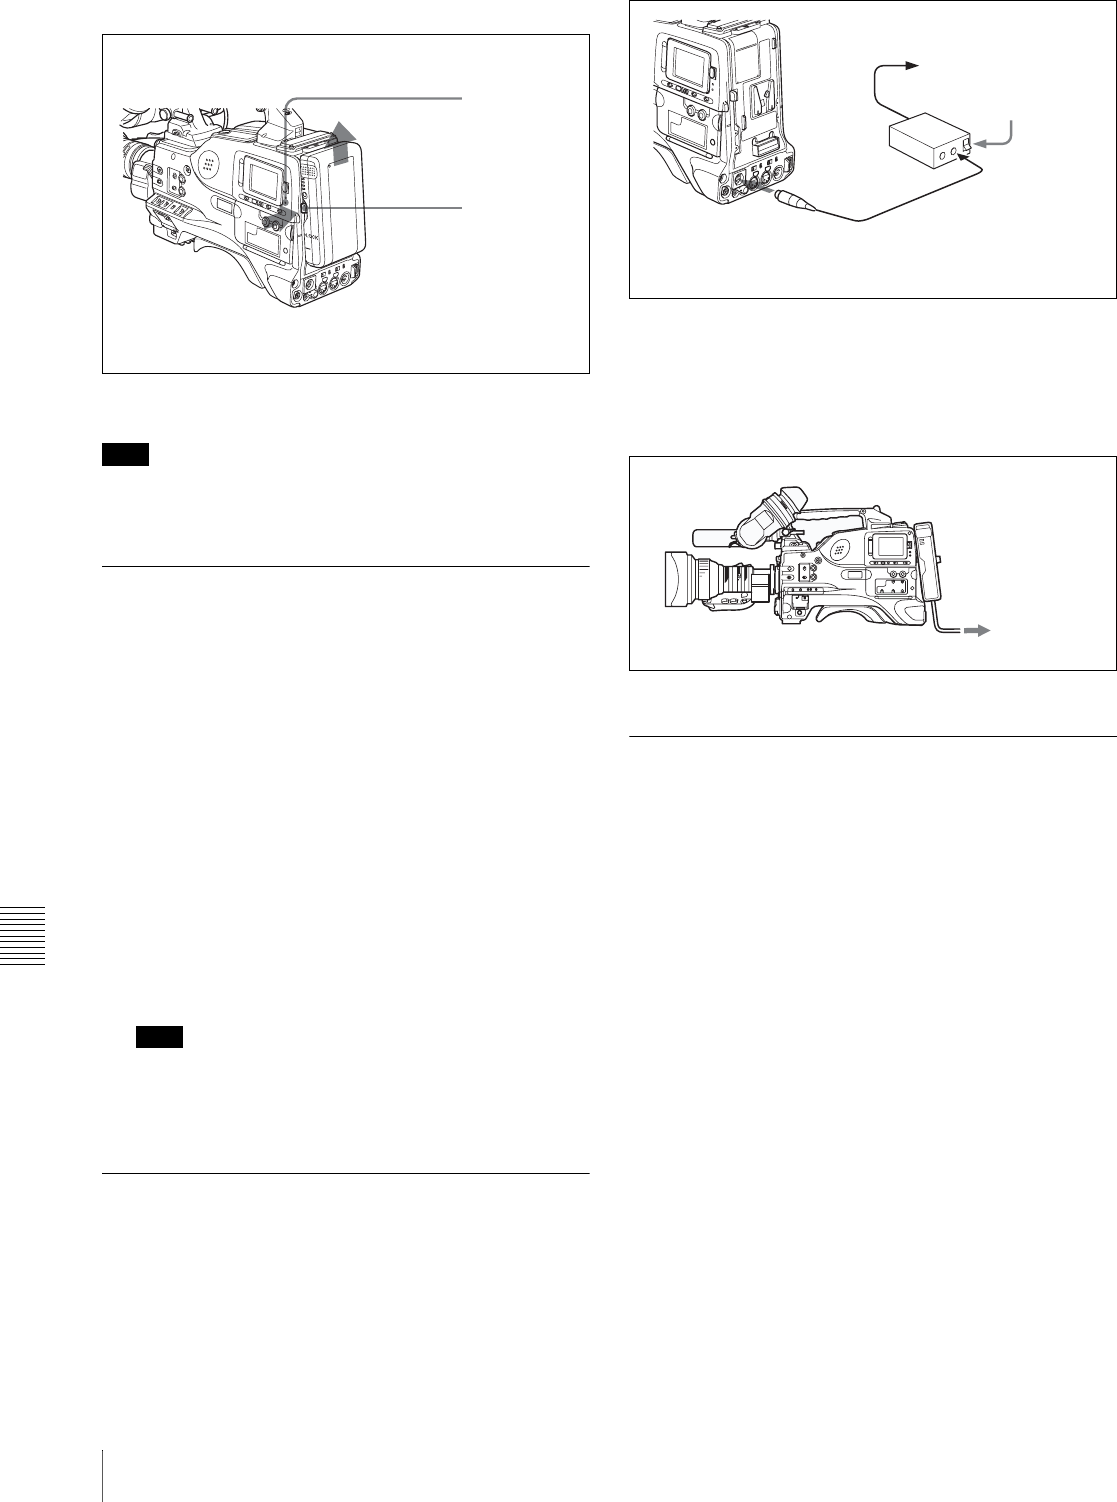
Detaching the battery pack
Detaching the battery pack
Note
During recording or playback (while the ACCESS
indicator is lit), be careful never to remove the battery
pack.
9-1-2 Avoiding Breaks in Operation
Due to an exhausted Battery
When the battery pack is becoming exhausted, you can
perform battery replacement without causing a break to the
camcorder operation by using an AC adaptor.
To do this, proceed as follows.
1
Connect an AC-550/AC-550CE Adaptor to an AC
power source, then connect it to the DC IN connector
of the camcorder.
For details, see the next section.
The power source switches automatically from the
battery pack to the AC adaptor connected to the DC IN
connector.
Note
There may be some noise on the video signal at the
time of power source switching.
2
Replace the battery pack with a fully charged one.
9-1-3 Using an AC Adaptor
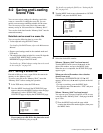
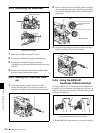
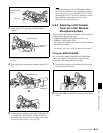
Using the AC-550/550CE AC adaptor
Connect the camcorder to the AC power supply through
the AC-550/550CE AC Adaptor as shown in the following
figure, and turn the POWER switch of the AC-550/550CE
on.
Using an AC adaptor
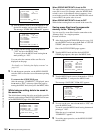
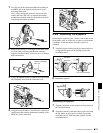
Using the AC-DN10 AC adaptor
Mount the AC-DN10 on the camcorder in the same way as
a battery pack, then connect to the AC power supply. The
AC-DN10 can supply up to 100 W of power.
Connecting to an AC power source using the AC-DN10 AC Adaptor
9-1-4 Using the Anton Bauer
Ultralight System
By fitting the camcorder with the Anton Bauer Ultralight
system, and setting the LIGHT switch to AUTO, you can
switch the light on and off automatically as you start and
stop REC operation. This system operates with lights
powered by 12 V, with a maximum power consumption of
50 W.
Holding the
button in, pull
the battery
pack up.
ACCESS
indicator
to an AC power source
Power switch on
AC-550/
550CE
AC Adaptor
DC OUT
DC IN
DC output cable (supplied with
the AC-550/550CE)
to an AC power
source


