13
GB
Setting Up
Setting Up
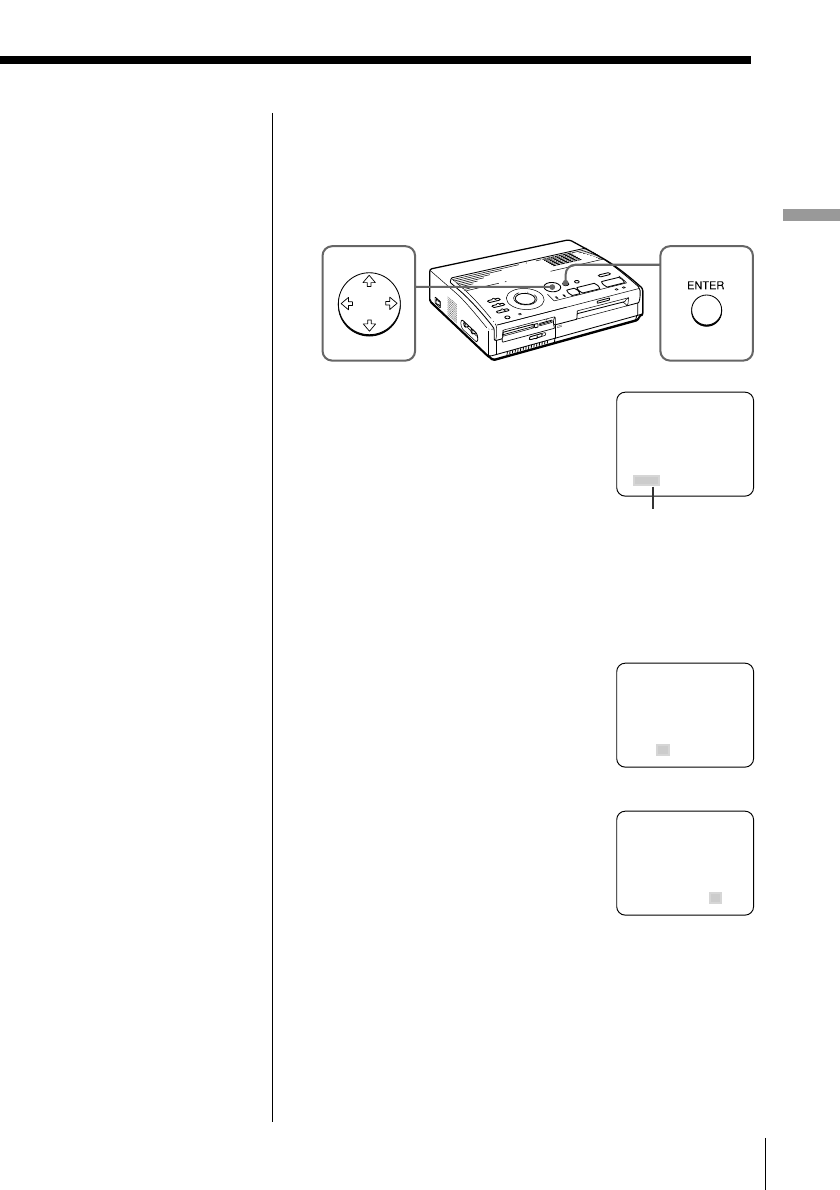
3 If the cursor ( ”) does not appear on “CLOCK SET,”
press V/v to move the cursor to “CLOCK SET” and
press ENTER.
The “CLOCK SET” display turns yellow and the
clock setting display appears.
4 Press b.
The cursor appears on the month
(for the DPP-MS300) or the day
(for the DPP-MS300E).
5 Press V/v to set the the month (for the DPP-MS300)
or the day (for the DPP-MS300E).
Pressing V increases the item.
Pressing v decreases the item.
6 Press b.
The cursor moves to the next
item.
7 Repeat steps 4 and 5 to set all of
the items: month, day, year, hour
and minute (for the DPP-MS300)
or day, month, year, hour and
minute (for the DPP-MS300E).
If you want to set the previous
item, press B.
8 Press ENTER.
The clock setting display disappears.
9 Press MENU.
The menu disappears and the printer returns to
standby mode.
SELECT ALL IMAGES
DELETE
FORMAT
CLOCK SET
MAY 01. 1999 01:00 AM
SELECT ALL IMAGES
DELETE
FORMAT
CLOCK SET
JAN 01. 1999 01:00 AM
Cursor
SELECT ALL IMAGES
DELETE
FORMAT
CLOCK SET
MAY 10. 1999 09:35 AM
Cancelling the menu
operations
Press MENU. The menu
display disappears
without saving the
settings. The printer
returns to standby mode.
Confirming the clock
setting
Follow the steps 1
through 3. The current
clock setting appears on
the screen.
To return to the previous
screen, press MENU.
Note
The following CLOCK
SET example shows the
screen for the DPP-
MS300.


